Introduction to 3D Modeling for Prop and Costume Making
In prop and costume making, I've found that being competent at 3D modeling has been an amazing boon to the productivity and quality of the pieces I produce.
Through a weird and winding job path, I landed a pretty compelling career as a prop and costume maker, but I that’s not where I intended to go when I started. When I was a starry eyed youth, I had ambitions of being a professional 3D modeler and animator for movies and video games! I even went to school for, and got a degree in, 3D computer art, modeling, and animation. Then life happened and I never actually got a real job doing any of that. I did, however, end up in a highly creative field that requires me to keep my fabrication skills finely honed and to keep pushing myself to make things better and faster.
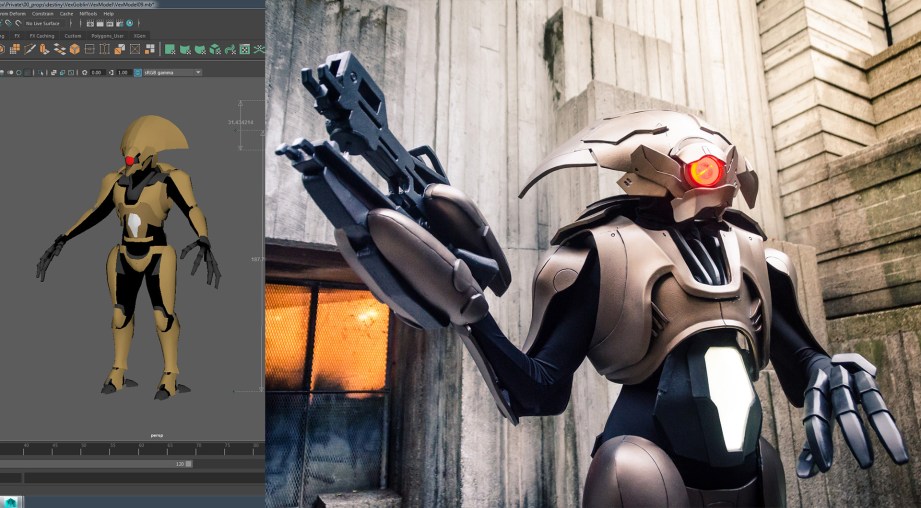
Why should I learn 3D Modeling?
Enter my 3D modeling skills! In prop and costume making, I’ve found that being competent at 3D modeling has been an amazing boon to the productivity and quality of the pieces I produce. The obvious first reason is the current 3D printing craze. 3D models of props can be made real with affordable desktop printers at an alarming rate. This rapid prototyping makes iterating prop designs a snap! Not only can props be made completely from printed parts, but those prints can be used to design, scale, and test parts quickly and easily.
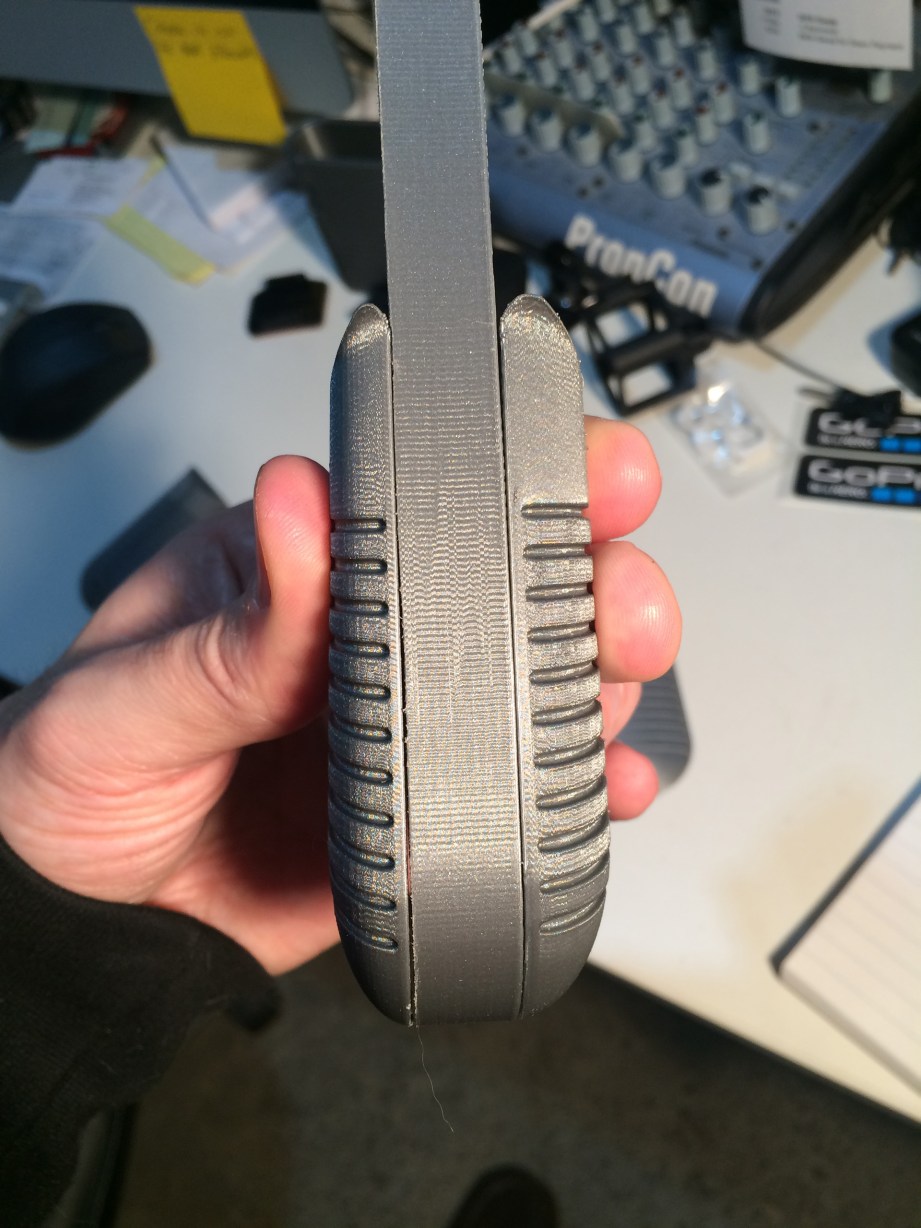
3D drafting can also provide a bevy of other benefits to the prop maker, even if one doesn’t own a 3D printer. One of my other favorite outputs for my models is Pepakura. Many makers rely on the pep files that other makers release online to print out and make their own Iron Man helmets and armor pieces, but what if nobody has modeled the specific piece that you want to recreate? You’re going to have to model it yourself!
If you make your own Pepakura models, you have complete control over the size and form of the final pieces. This flexibility will give you the power to make pieces that will fit whatever body you plan to put them on. Plus you can design the Pepakura to work with materials of a variety of thicknesses (EVA foam vs. cardstock).
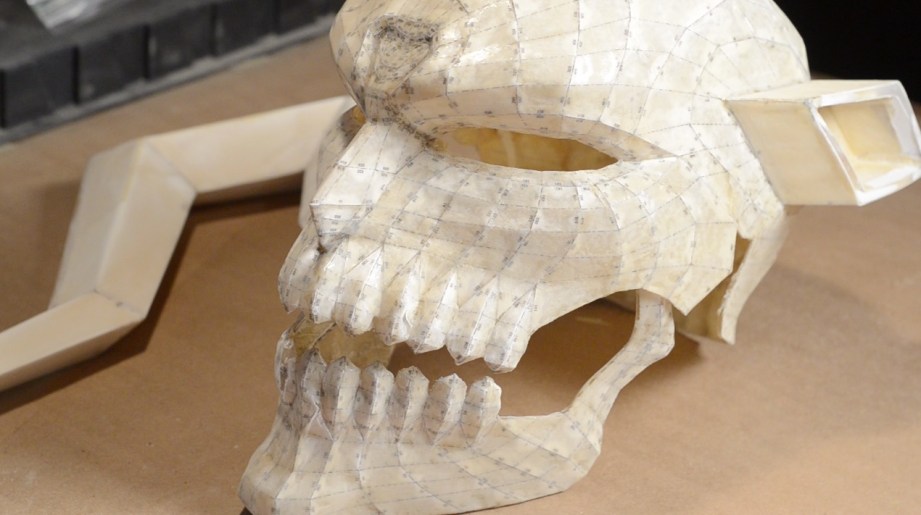
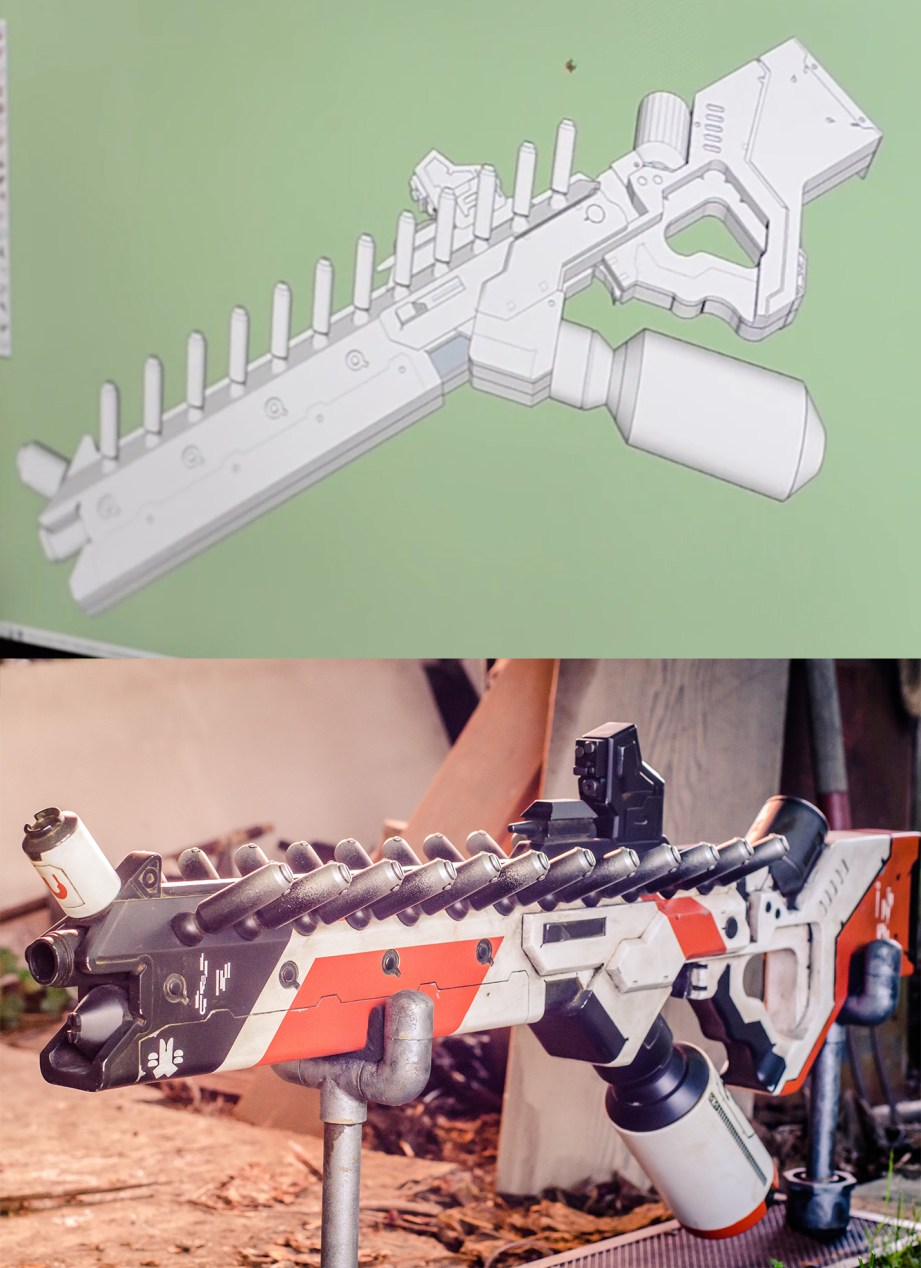
Finally, 3D modeling your prop or costume pieces can be an incredible first step in planning and visualizing your build before buying and modifying your stock materials. I modeled every piece of my District 9 Rifle in SketchUp before starting the actual build. This allowed me to make detailed blueprints that I could lay out flat and plan exactly how much material I needed to buy in a plethora of thicknesses.
A 3D modeler can do the same for their costume pieces by modeling the parts around a stock human form. We will usually do this when planning large, bulky armor sets so that we can check out the scale and silhouette of the costume and plan our build accordingly. Even if these 3D files aren’t used for 3D printing or Pepakura, it’s still incredibly useful as a visual aid for your costume fabrication.
Isn’t 3D modeling software expensive and difficult to learn?
It used to be the case that all 3D modeling software cost thousands of dollars and you needed to take extensive courses just to understand the basics of how to use them. This was the state of reality when I got started in the late 90s. I was fortunate that my high school had 3D Studio Max installed on some of the computers and I was able to blunder my way through the smattering of user made tutorials available on the internet at the time. So, I made due at a snail’s pace until I got a decent, in-depth education in college using Maya.
The times have changed for the better! Nowadays there are a variety of 3D modeling software packages, both open source and made by big companies, like Autodesk, that won’t cost you a dime! Even better, since big companies have a stake in getting you to use their software, they a have an incentive to make easy to follow video tutorials on how to use their software. Some of my favorites are the tutorials from SketchUp, 123D Design, and Fusion 360. I used these tutorials along with their free software to make models for many of my recent prop and costume builds.

All of the options above are for a more CAD like modeling experience, but if you’re looking to get into polygon modeling for pepakura, video games, or animation, then look no further than Blender. This is a free, open source 3D modeling application similar to Maya. Want something that’s a little closer to traditional sculpting? Try Sculptris!
Those are all fantastic, free 3D modeling applications and there are many more out there. You have no reason to not go download them and give them a try!
Note: Links to all of the mentioned software are at the end of this article!
Where to get started?
If I were just getting into the 3D modeling game these days, I’d give Tinkercad or 123D Design a go. Both are free and aimed at the entry level modeler. I have since hit a wall in what these applications can do, but the newbie will find them extremely easy to use and will be churning out wonderful little prop models in no time. In fact, Tinkercad was designed to teach CAD to children and is available as a web app. Talk about a seriously low barrier to entry!
What types of projects are good for beginners? Well I wouldn’t start with a full set of Iron Man armor. An “appropriate level of ambition” is required when learning any new software. Otherwise you might hit a wall quickly and rage quit in desperation. Pick a small prop piece, something that you think is neat like, say, a thermal detonator. Something with fairly basic geometric forms that are easy to make from default primitive forms will be an excellent first 3D modeling project.
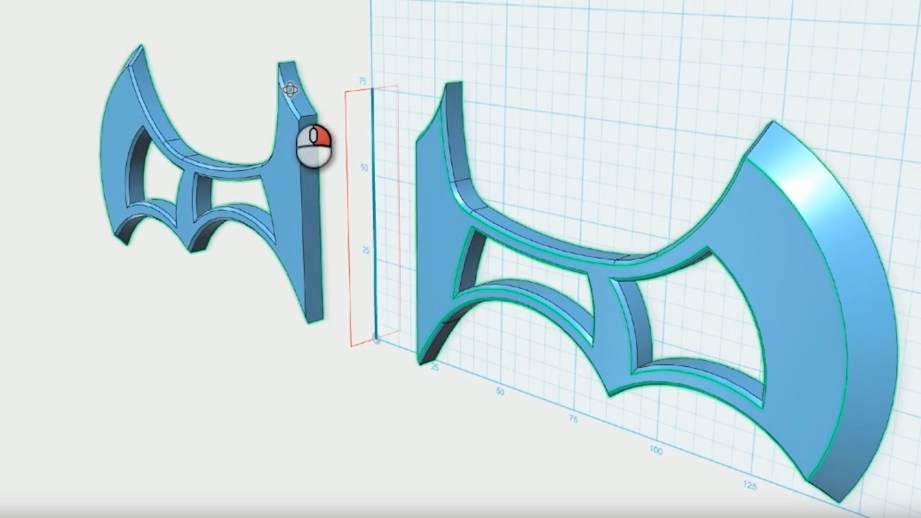
Once you start to sharpen your 3D modeling claws, you should really push yourself to try some more ambitious builds! If you’re anything like me you’ll run into the limits of what some of the free, beginner level software can do and start looking to move to the next level.
What do the pros use?
Ever since I got a 3D printer, I’ve been dabbling with as many of the 3D modeling software options as I can get my paws on. The majority of my training is in Maya and if you work for a large video game company, you probably use that, 3ds Max, Rhino, or some other proprietary software suite. I’m a small independent company and the cost of those packages are currently outside of my reach, and that’s just fine. I’ve been having a lot of success with Fusion 360.

Most of the modeling work I do is for very geometric forms. Things like robots, helmets, and space guns are excellent fodder for CAD based applications like Fusion 360 and, since I’m a small startup, I can get it for free! So far it’s been absolutely incredible for cranking out 3D models that are just perfect for 3D printing and the results speak for themselves.
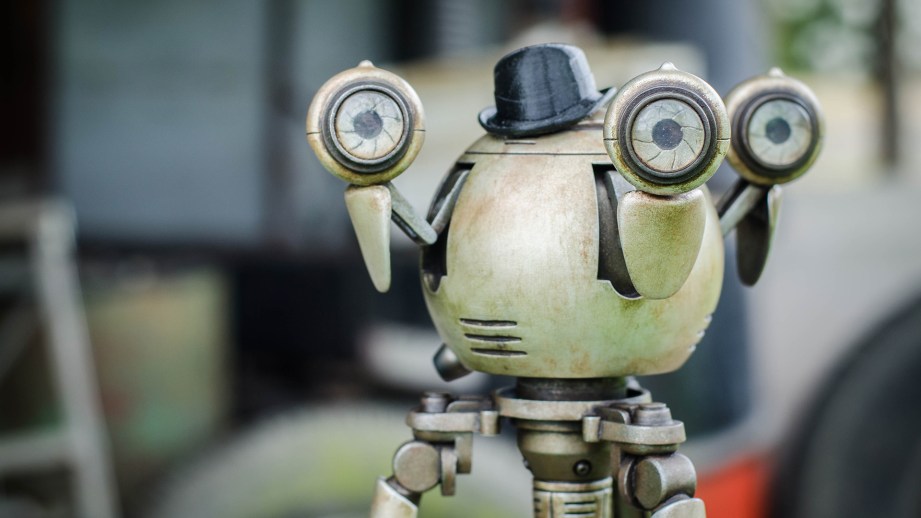
For me, one of the most compelling features of Fusion 360 is their “sculpting” mode, which allows you to create pieces in a free form manner, much like the polygon or sub-d modeling I know and love. This means than when I have a slightly more organic form to build, like the collar under Mister Handy’s eyeballs, and I can’t figure out how to do it in CAD, I can just eyeball the sculpt by pulling, pushing, and extruding the faces, points, and edges of a soft 3D form.
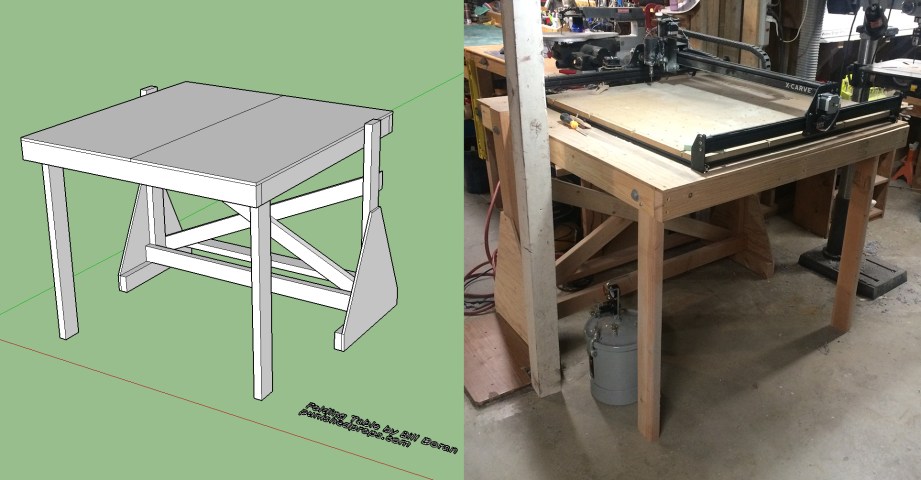
If you’re more interested in woodworking projects, the standard seems to be SketchUp. Their community is also really great about creating 3rd party plugins to solve specific problems for a variety of 3D modeling projects and styles. I used it to design a bench for my CNC router.
No excuses! Give 3D modeling a try!
Especially if you own a 3D printer, you owe it to yourself to dive into the wonderful, glorious world of 3D modeling. Hopefully I was successful and you’re already downloading a pile software as you read this! It can be extremely rewarding to rebuild your favorite prop piece in a 3D digital world. For a more in-depth look at using software like 123D Design, check out the 3D modeling and printing tutorial content we’ve put together on the Punished Props site. Happy modeling!
Some 3D modeling software for you to try
- Polygon Modeling & Animation
- CAD
- Inventor
- Solidworks
- (Free & iPad App) 123D Design
- (Free to hobbyists, students, and startups) Fusion 360
- (Free & Paid Versions) SketchUp
- (Free Web App) Tinkercad
- Sculpting
Bill Doran is a professional prop and costume maker. You can find more of his work at PunishedProps.
8 thoughts on “Introduction to 3D Modeling for Prop and Costume Making”
Leave a Reply

One Day Builds
Adam Savage’s One Day Builds: Life-Size Velocirapt…
Adam embarks on one of his most ambitious builds yet: fulfil…

Show And Tell
Adam Savage’s King George Costume!
Adam recently completed a build of the royal St. Edwards cro…
All Eyes On Perserverance – This is Only a Test 58…
We get excited for the Perserverance rover Mars landing happening later today in this week's episode. Jeremy finally watches In and Of Itself, we get hyped for The Last of Us casting, and try to deciper the new Chevy Bolt announcements. Plus, Kishore gets a Pelaton and we wrack our brains around reverse engineering the source code to GTA …

One Day Builds
Mandalorian Blaster Prop Replica Kit Assembly!
Adam and Norm assemble a beautifully machined replica prop k…
House of MCU – This is Only a Test 586 – 2/11/21
The gang gets together to recap their favorite bits from this past weekend's Superb Owl, including the new camera tech used for the broadcast and the best chicken wing recipes. Kishore shares tips for streamlining your streaming services, and Will guests this week to dive into the mind-bending implications of the latest WandaVision episod…

One Day Builds
Adam Savage’s One Day Builds: Royal Crown of Engla…
One of the ways Adam has been getting through lockdown has b…

Making
Adam Savage Tests the AIR Active Filtration Helmet…
Adam unboxes and performs a quick test of this novel new hel…

Making
Weta Workshop’s 3D-Printed Giant Eyeballs!
When Adam visited Weta Workshop early last year, he stopped …

One Day Builds
Adam Savage’s One Day Builds: Wire Storage Solutio…
Adam tackles a shop shelf build that he's been putting off f…

Show And Tell
Mechanical Dragonfly Automata Kit Build and Review
Time for a model kit build! This steampunk-inspired mechanic…


It would be good to point out that Autodesk gives away free 3 year licenses to their creative suite (which includes 3ds max, Maya and Mudbox, their sculpting program) to “students”. They also don’t really check what school you go to, so anyone can grab the programs. Houdini, another vfx package that you can model in, also gives away a free “non commercial” versions of their software.
FreeCAD is, …well, free and is very capable. I use it and Blender all the time to create models for construction and my 3D printer.
Another cool sculpting program I’d point out is Stéphane Ginier’s SculptGL. http://stephaneginier.com/sculptgl/ It’s open source, runs in your browser and is very powerful (there’s also a downloadable version)
Great recommendations! Even more reasons to start learning the software today!
Another CAD program for the list: I’ve been using ViaCAD Pro for years now and am very happy with it for CAD work (mechanical parts, but also complex surfaces like boat hulls and propellers). The cheapest version is $99. They also have a functional free 30 day demo.
What’s quite neat in ViaCAD is the “Concept explorer” that allows you to go into each object and see all the steps how it was created, edit parameters, take things apart and recombine them again etc. Not quite as powerful as full parametric modelling, but I find it very intuitive and fast.
I have tried and tried to get a handle on Blender and just can’t seem to do it. I am a Photoshop pro, 3D AutoCAD savvy, ESRI Arcgis, Sketchup, and numerous pretty complicated science/data programs – I am not software illiterate – but Blender baffles me. I was “OK” at 3ds max at one point (couldn’t afford to keep it) but I just can’t translate to Blender. Right now all I use it for is a file converter. I wish I could figure it out.
I would recommend having a look at Maya LT, which replaces the high cost of Maya with a subscription model and you can buy it straight through steam.
Small warning though, almost all function name, icons and menu organisation is different from Maya. I’ve been using maya for almost 10 years, and must admit it took a little while to get fully comfortable with Maya LT, but the interface makes more sense in the end, although there are functions I miss from Maya.
For people with no previous maya experience, and who only need to do poly/nurbs modelling, I would recommend to start with Maya LT as it’s easier to get into 🙂
You guys are all making some really great recommendations. Thanks so much for throwing in your two cents. This is why I love the Tested community. =D