


Building Fallout 4 T-60 Power Armor, Part 0
Prop and costume maker Michelle Sleeper is documenting her build of Fallout 4 armor cosplay, which will be unveiled at this year's Dragon*Con
Hello again, Tested! I’m Michelle Sleeper, a hobbyist prop and costume builder based out of Atlanta, GA. You may have seen a few posts from me on Tested, such as my build of the Furiosa Bionic Arm prosthetic from Mad Max: Fury Road and reviews of 3D printers like the LulzBot Mini. I am better known as an art project called Overworld Designs, which is my personal foray into the world of cosplay, building props and costumes from my favorite video games and comic books.
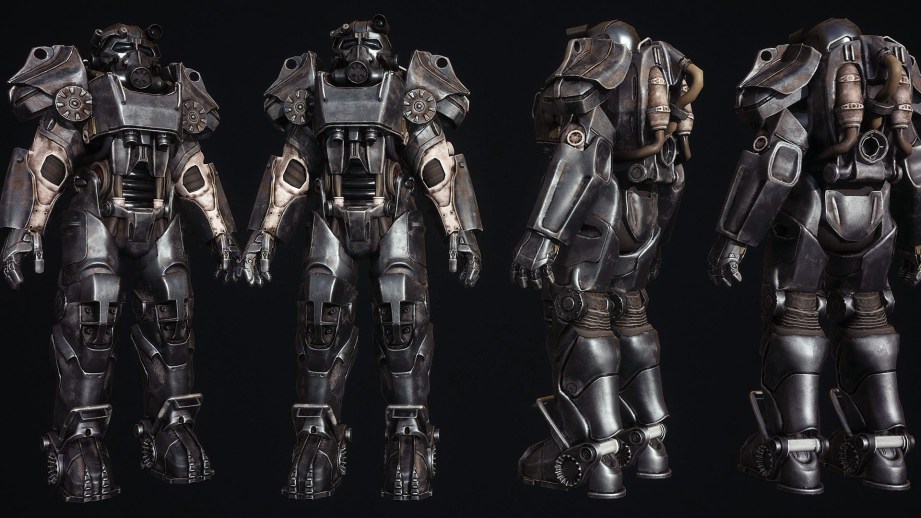
This year, my big personal project is building the T-60 Power Armor from the game Fallout 4–a set of armor the game’s lore describes as a next generation tank on legs. Fallout armor has been on my list of things I wanted to build for a long time, and the release of the game last year only confirmed that it was something I had to do. This build is also the biggest–physically as well as conceptually–that I’ve undertaken in my career as a prop builder, and I wanted to share with you the entire process.
Over the next several months, I will be documenting the build from start to finish, going from 3D digital designs, through fabrication and molding and casting, to finishing and walking the armor at Dragon*Con this fall in Atlanta. Before we begin building, let’s outline the steps we’ll be taking and break this build down into manageable chunks. Whenever I talk about big projects like this, I often hear “I could never do that!” and the thing is: you totally can. The decision to make this this project or my ability to build it didn’t appear out of thin air, I didn’t start building props yesterday and then today I decided to build a seven-foot-tall set of armor. You start small and build on what you learn and always be evolving.
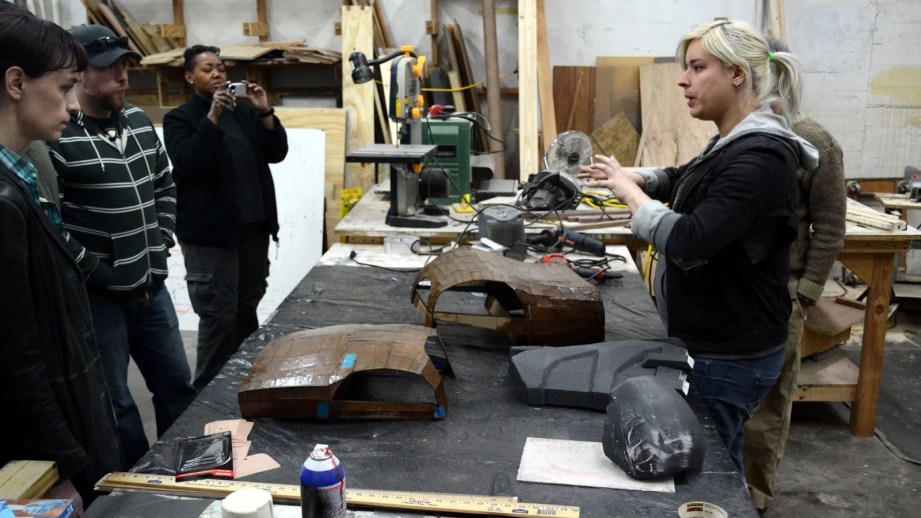
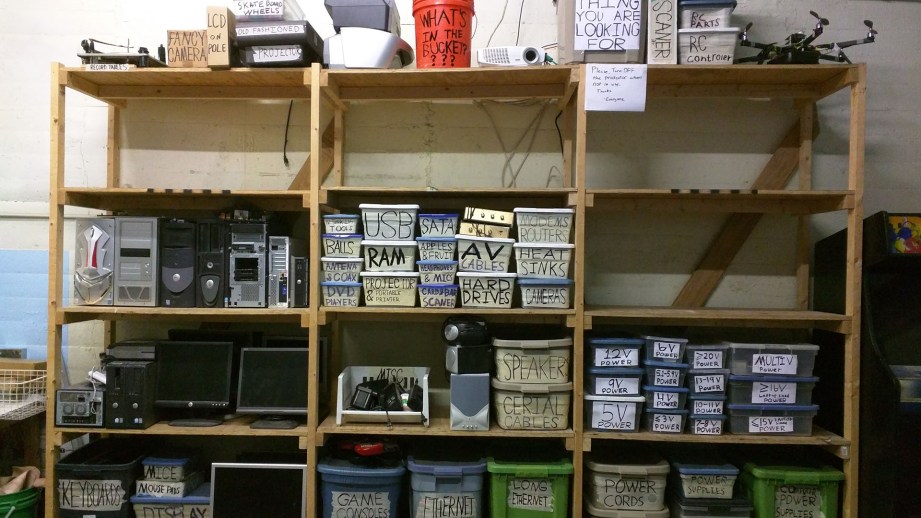
It’s important that I mention right here at the top that: I don’t own my own workshop! I work out of a hackerspace called Freeside Atlanta in the downtown Atlanta area. You’ll be seeing and hearing a lot more about this place throughout the build, but for those of you who aren’t familiar with “what is a hackerspace”: Freeside is a non-profit workshop with 6,000 square feet and just about every tool you can think of. From 3D printers and laser cutters, to a full machine shop and wood shop, a hackerspace like Freeside is great for people like me who want to build things, but can’t own a personal shop full of tools. If you have always wanted to make cool things but don’t have space to do it, find a local hackerspace and get involved. As we say at Freeside: the only limit is yourself.
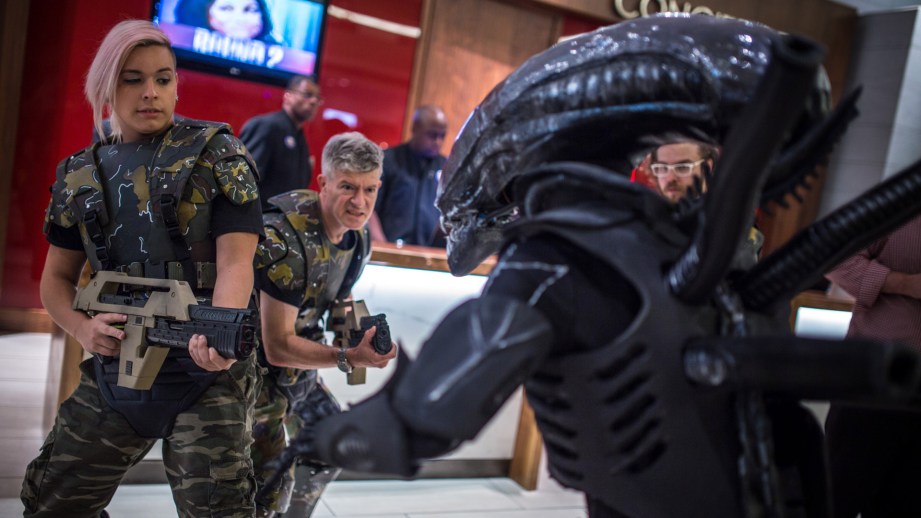
The T-60 is going to take a lot of cues from my big project last year, a group of Colonial Marines from the film Aliens. Myself and Adam Greene of Pixelbash Props, along with the Atlanta Cosplay Meetup at Freeside, built a handful of Colonial Marines using a number of techniques similar to what I’ll be doing here.
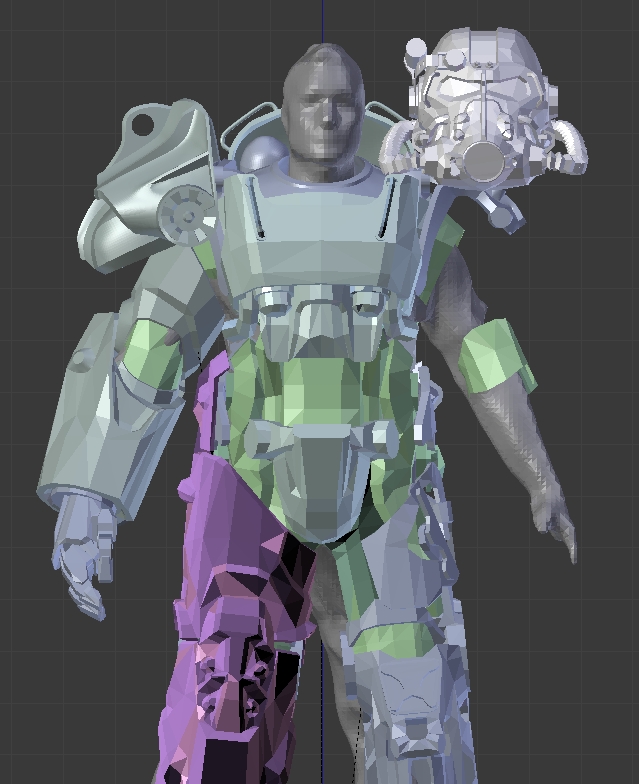
First we have to build our digital designs. We’ll be extracting the 3D models from Fallout 4, and turning them into high detail models suitable for 3D printing, CNC routing, and laser cut 2D templates via a program called Pepakura. We’ll also need to generate a 3D scan as a digital body double to scale the game models to real world proportions.
Then we’ll be firing up the 3D printer and CNC router for large scale 3D fabrication. Most people think 3D printers are perfect to make desk toys and keychains, but using one to build parts for a 7 foot costume is a whole different creature. I’ll be going over the pitfalls in 3D printing pieces this large, how to chop them up into printable sections and assembling it together like a giant jigsaw puzzle. Then once we have everything printed, how to start cleaning them up to make the armor not look like it was made on a home 3D printer!
We’ll also be using Pepakura for laser cutting and 2D fabrication. Some parts of the armor will be designed for a program called Pepakura, a tool that takes 3D models and turns them into 2D templates. Similar to what we did for the Colonial Marine project, we’ll be using cardboard instead of heavy card stock, and using Freeside’s laser cutter instead of hand cutting out all the 2D shapes. The laser cut parts will then be assembled using hot glue and coated in a few coats of fiberglass resin. Then the real work begins – applying body filler, sanding it down to shape, applying more body filler to areas of imperfection. Rinse and repeat for a few weeks, and we’ll have something that looks a lot more like power armor!
After our masters are finished, we start mold making. The goal is to produce two finished sets of Power Armor, and rather than spend time making two of everything, we’ll make molds to pull copies. This project has parts that are big and small and different end materials, and I’ll go over the process and different molding techniques we’ll be utilizing.
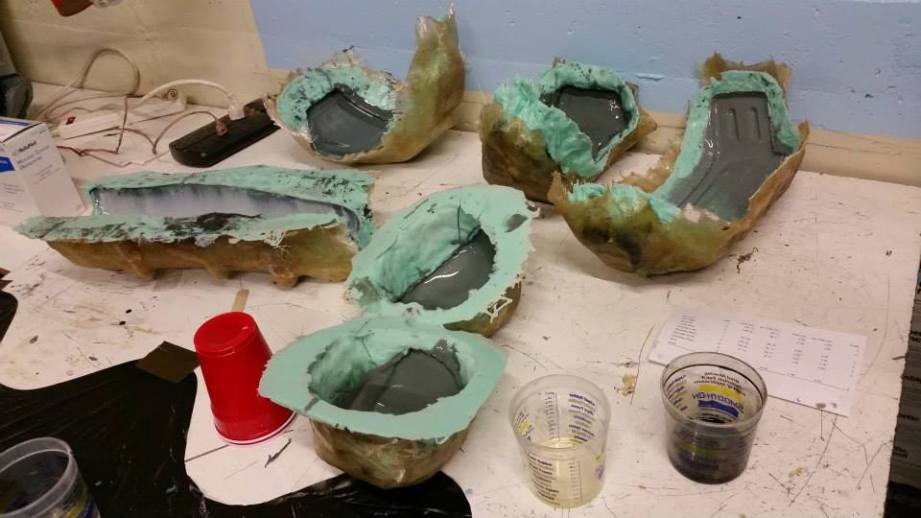
Once we have molds then we have to do some casting. The armor will be cast in a few types of materials, some casting resin and some fiberglass, and even some plaster. Different sized molds and different types of molds require different techniques to produce our final parts.
Other parts of the armor will be vacuumformed. We’ll be using Freeside’s vacuumformer to pull light weight thermoplastic sheet to produce some parts of the armor. I’ll be going over what parts are vacformed and why, and the process for creating both the vacuumforming “bucks” as well as the vacformed sections themselves..

After we have built everything, we have to clean it up and paint and detail the armor. Personally this is my favorite part of any build – you can really bring your project to life with a great paint job and weather techniques.
There will also be a small bit of electronics integrated into the build. From simple circuits for LEDs and cooling fans, to some Arduino work for special effects on the con floor. While this won’t be a comprehensive guide on electronic design for cosplay, it will show different ways to make simple and complex electronic components for your props.
Then finally we have to strap it and make it wearable. Simply building the armor isn’t enough–you need to make sure you can move around in it and it stays on you when you move around! We’ll also have to fabricate some stilts since I’m quite a bit shorter than the seven-foot height of the armor.
I’ll be going over each of these processes in depth through the build process over the next several weeks while we’re building and getting ready for Dragon*Con 2016. But first, we have to start building the digital models. I’ll go over the process of extracting 3D models from video games and what to do with them from there. These models will form the basis of our 3D printed, CNC routed, and Pepakura built masters.
Time to get started, and see you in the next update!


10 thoughts on “Building Fallout 4 T-60 Power Armor, Part 0”
Leave a Reply

One Day Builds
Adam Savage’s One Day Builds: Life-Size Velocirapt…
Adam embarks on one of his most ambitious builds yet: fulfil…

Show And Tell
Adam Savage’s King George Costume!
Adam recently completed a build of the royal St. Edwards cro…

All Eyes On Perserverance – This is Only a Test 58…
We get excited for the Perserverance rover Mars landing happening later today in this week's episode. Jeremy finally watches In and Of Itself, we get hyped for The Last of Us casting, and try to deciper the new Chevy Bolt announcements. Plus, Kishore gets a Pelaton and we wrack our brains around reverse engineering the source code to GTA …

One Day Builds
Mandalorian Blaster Prop Replica Kit Assembly!
Adam and Norm assemble a beautifully machined replica prop k…
House of MCU – This is Only a Test 586 – 2/11/21
The gang gets together to recap their favorite bits from this past weekend's Superb Owl, including the new camera tech used for the broadcast and the best chicken wing recipes. Kishore shares tips for streamlining your streaming services, and Will guests this week to dive into the mind-bending implications of the latest WandaVision episod…

One Day Builds
Adam Savage’s One Day Builds: Royal Crown of Engla…
One of the ways Adam has been getting through lockdown has b…

Making
Adam Savage Tests the AIR Active Filtration Helmet…
Adam unboxes and performs a quick test of this novel new hel…

Making
Weta Workshop’s 3D-Printed Giant Eyeballs!
When Adam visited Weta Workshop early last year, he stopped …

One Day Builds
Adam Savage’s One Day Builds: Wire Storage Solutio…
Adam tackles a shop shelf build that he's been putting off f…

Show And Tell
Mechanical Dragonfly Automata Kit Build and Review
Time for a model kit build! This steampunk-inspired mechanic…
I am excited to see the coming progress!
wow, what an ambitious project! this is bound to be interesting, with the multitude of different manufacturing technologies and whatnot. 🙂
Looking forward to it!
Good to see a new face and process here at tested! Excited to watch this develop.
Not sure if it helps, but there’s a really nice model of a T45 helmet out on Thingiverse (http://www.thingiverse.com/thing:990409). I recently printed my own helmet and it’s really impressive.
Really looking forward to this series.
Jump in, Yasser Arafat! This looks like it will be fun to watch.
wow, looking forward to seeing more.
Fantastic build! I’m stoked to see this at Dragon Con this year.
Looking forward to following this build and then seeing this at D*Con!
And here I was thinking about making some Combat Armour pieces….. lol
I for one, will be eagerly awaiting for the next installment! 8]