


The Zoidberg Project, Part 4: Let’s Start Sculpting!
Ok, after building out our core life cast and having a life-sized figure to work on, we are finally on to the sculpting stage. This is the part where I take some clay, and start making the character that will eventually become the one and only Zoidberg.
Ok, after building out our core lifecast and having a life-sized figure to work on, we are finally on to the sculpting stage. This is the part where I take some clay, and start making the character that will eventually become the one and only Zoidberg.
There are a million sculpting techniques and a million ways to approach a new sculpture, so don’t take my methods as gospel–it’s just what seems to work for me. But to start, the thing I think about is really wanting to try and get the scale right. Shape placement and general forms and anatomy are what I’m focusing on right now. Anatomy is something that I picked up from general observation and a bit of research (on the internet or in books). Human, animal, insect, or in this case decapod–really anything that you can look at and apply will make it more realistic and believable.
Sometimes I can get lucky and attack a sculpture and go right to the character that I am trying to find, other times it takes a lot of pushing and pulling on the clay to get there. Forms are always more important than the details.
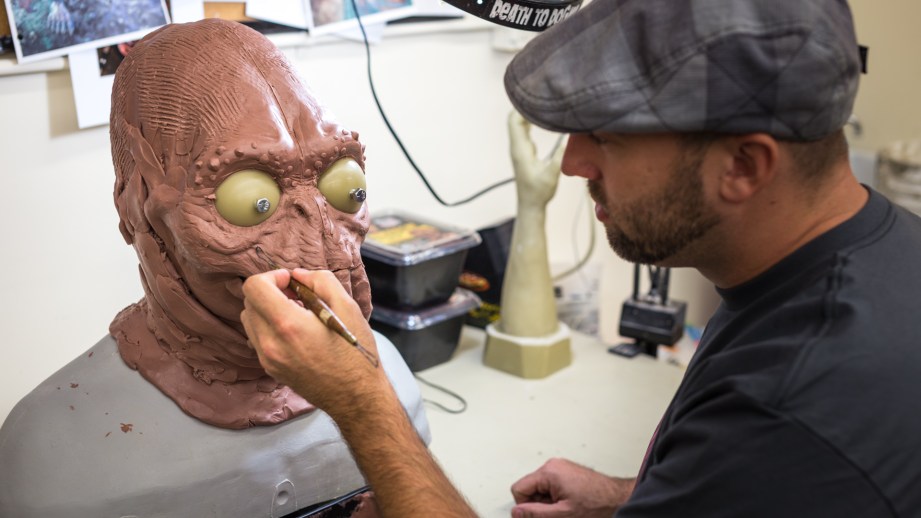
We’re going to be sculpting on the lifecast that I have of our model, because we want it to fit on top of his head and line up with his mouth and eyes (so he will be able to eventually see and speak and breathe in this thing).
For clay choices, there are two main categories: water-based and oil-based. With water based clays (such as Laguna EM-217, otherwise known as WED) you have to stay aware of how wet or dry the clay is getting. If the water clay gets too dry, it will start to crack and crumble. If it’s too wet, it’s like sculpting with soup. Oil-based clays offer more versatility. Out of necessity, I stay away from clays with sulfur in them because sulfur will inhibit platinum-based silicones when you are making your mask molds.
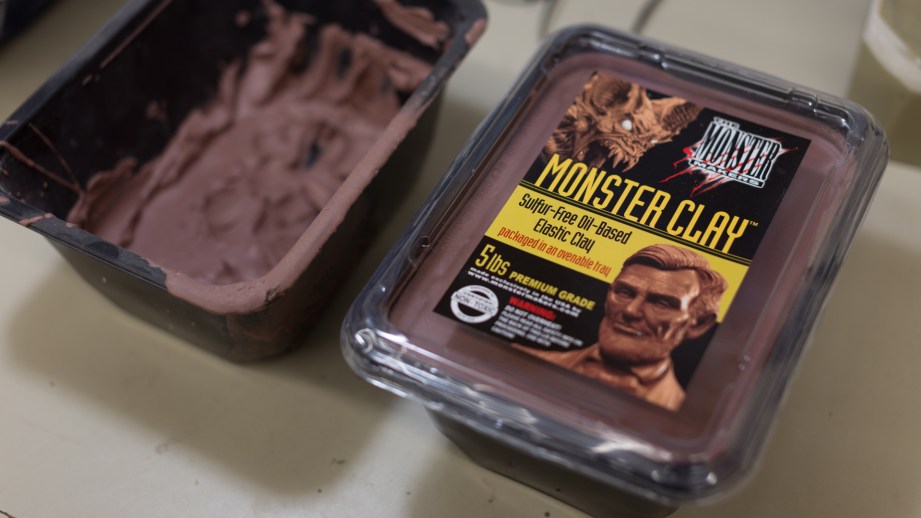
My two main choices in oil clay are Chavant Medium and Monster Clay. Both of these clays have their quirks and which one I pick sometimes just depends on what mood I’m in. In general, I love Chavant for prosthetics, and love Monster Clay for everything else. For Zoidberg, I’ll be using Monster Clay. Its high wax content is really nice for both crisp details and smooth shapes.
I like medium hardness clays because at room temperature they will hold high detail, but when warmed a bit, they become more malleable and easily shaped. An easy way to warm the clay is to buy a small convection oven and put it on the lowest setting, 140F or below. If you don’t want to spend money on an oven, get a cardboard box, line it with aluminum foil and put a lamp through a hole. It’s less controlled, but still works!
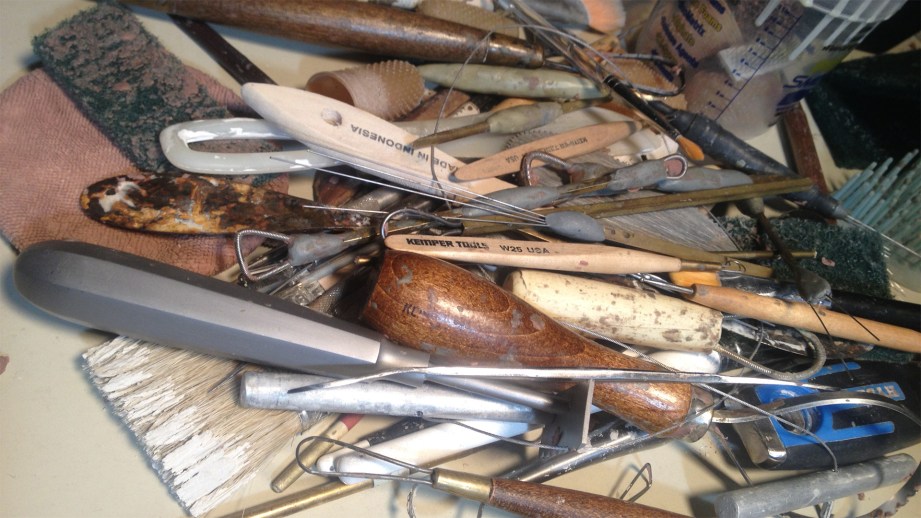
I cringe a little bit when I see people’s sculpting tools and they are just a tiny box of dental pickers, so I’ll walk you through the ones I’ll be using on these first steps.
Your hands are the first set of tools you should think about. Take some warm clay and mush it around. Make worm shapes, or pancakes, or a big chunk to build up mass. Think about the silhouette that the shapes would make, only focusing on really rough forms and shapes. I rarely bother smoothing clay out at this point; it’s a waste of time. For Zoidberg, I’m still kind of shooting in the dark as to what I want this to be. Even with the maquette and designs…it’s going to take a bit of fiddling.
When you start getting some shapes put together, you might want to refine them farther, and that’s where rakes come in. I have a bunch of tools that are basically ribbons of metal with one side notched incrementally.
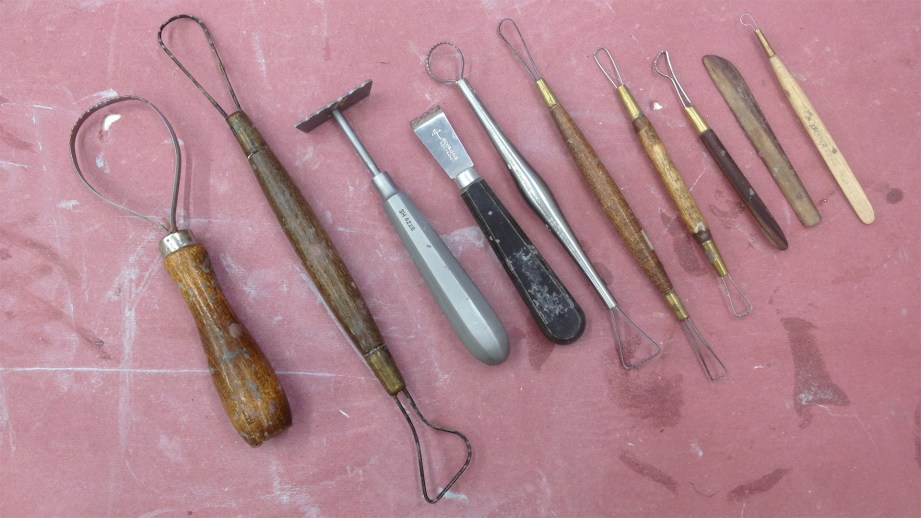
I prefer these blunt teeth to the sharp teeth of a section of saw blade. The shallow rake is much more functional, in that it doesn’t gouge a deep crevice into the clay, it just rakes the surface. I rake in a criss-cross kind of motion, so that (again) I’m not just gouging out a crevice or ravine. The X pattern will evenly take down the surface. I have two or three tools that I use more than others, and my largest rake is one of them.
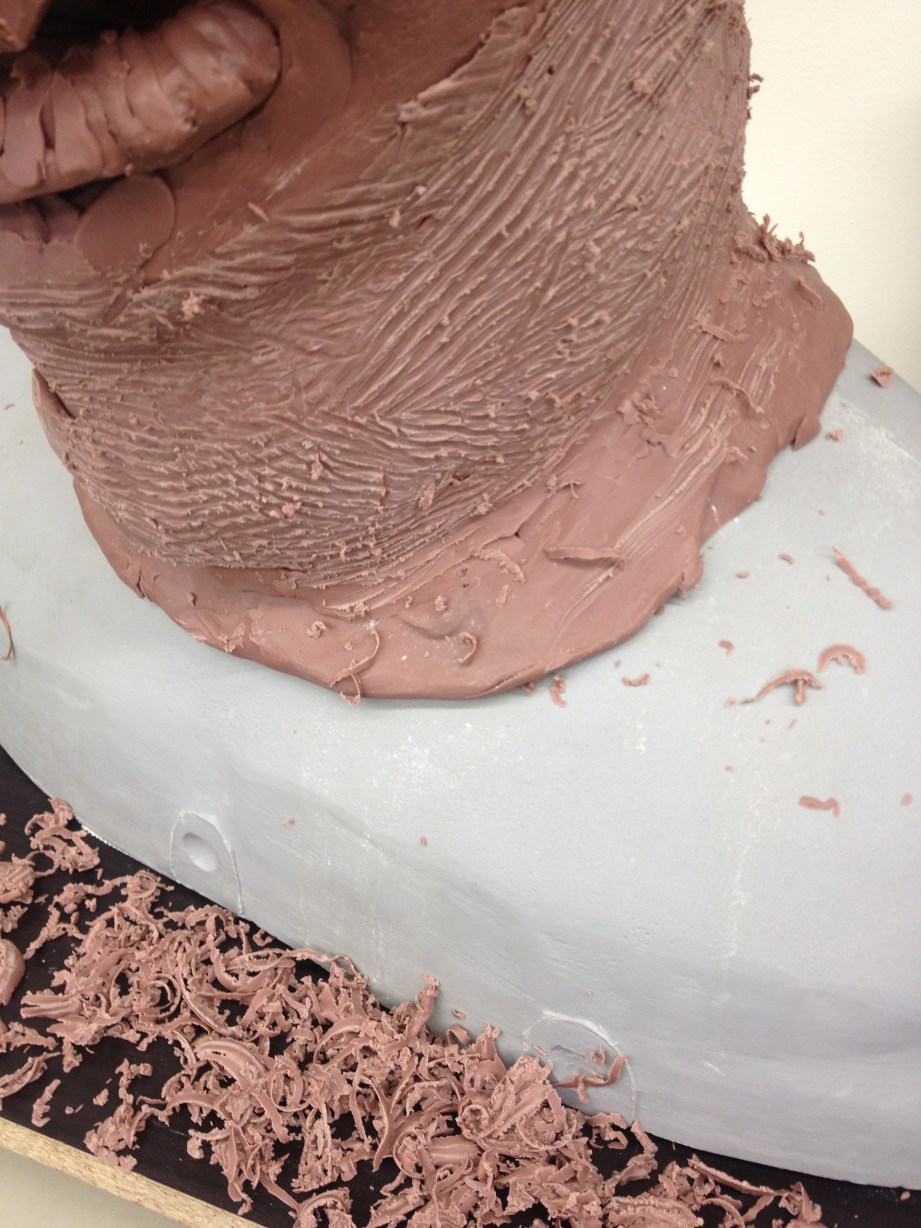
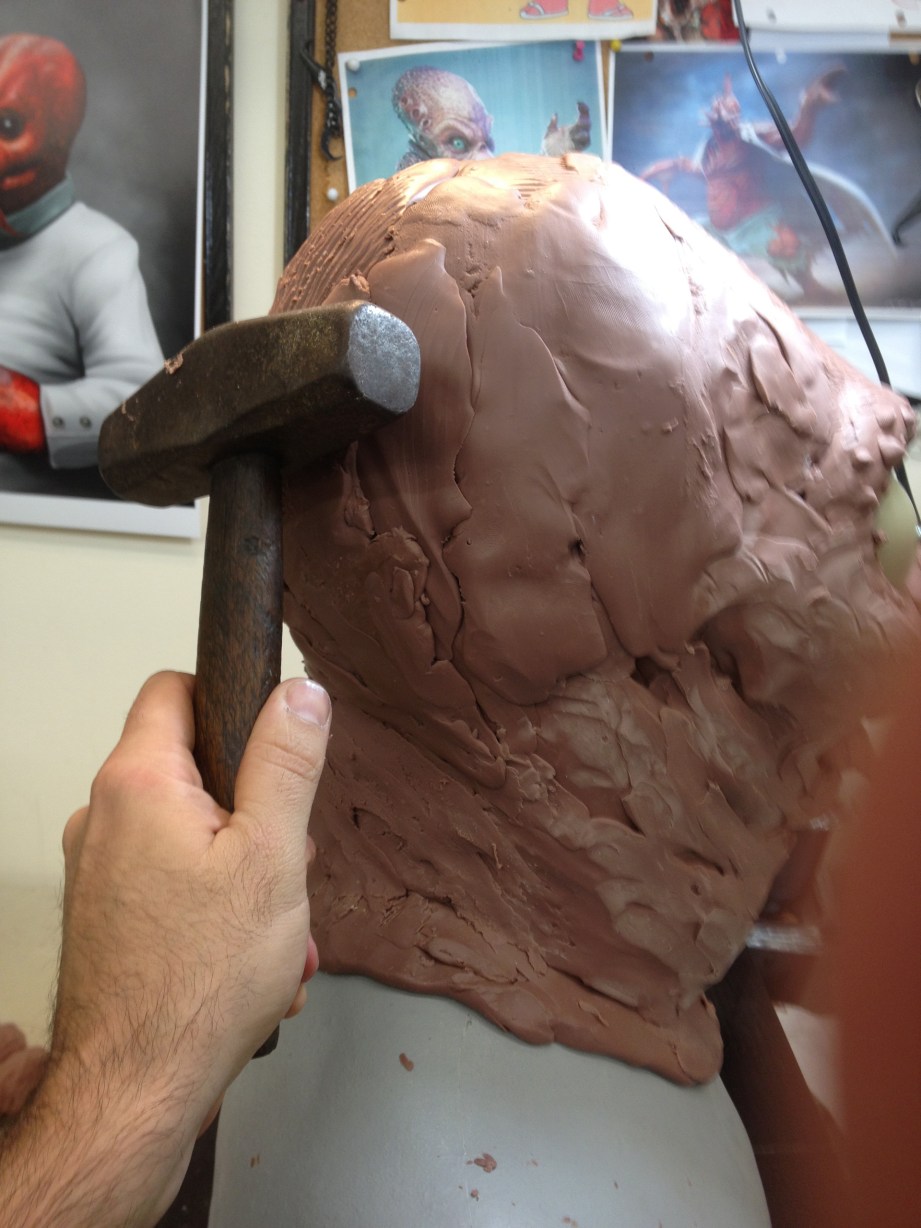
It helps me concentrate on the broad strokes of the form, and not worry about the small details. Even when I get far into a sculpture, I’ll pull out the big rake or a hammer and start changing the silhouette.
I shot this time-lapse video to give you a sense of how the first pass came together. Trust me–it’s not really this fast!
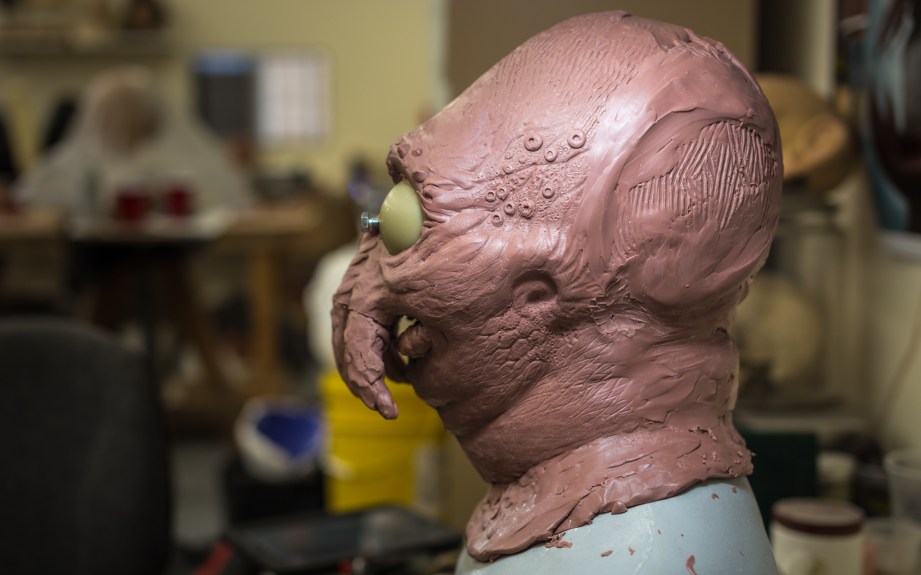
This first pass I make feels too Cthulhu to me, but I’m just working out forms, so it’s OK.
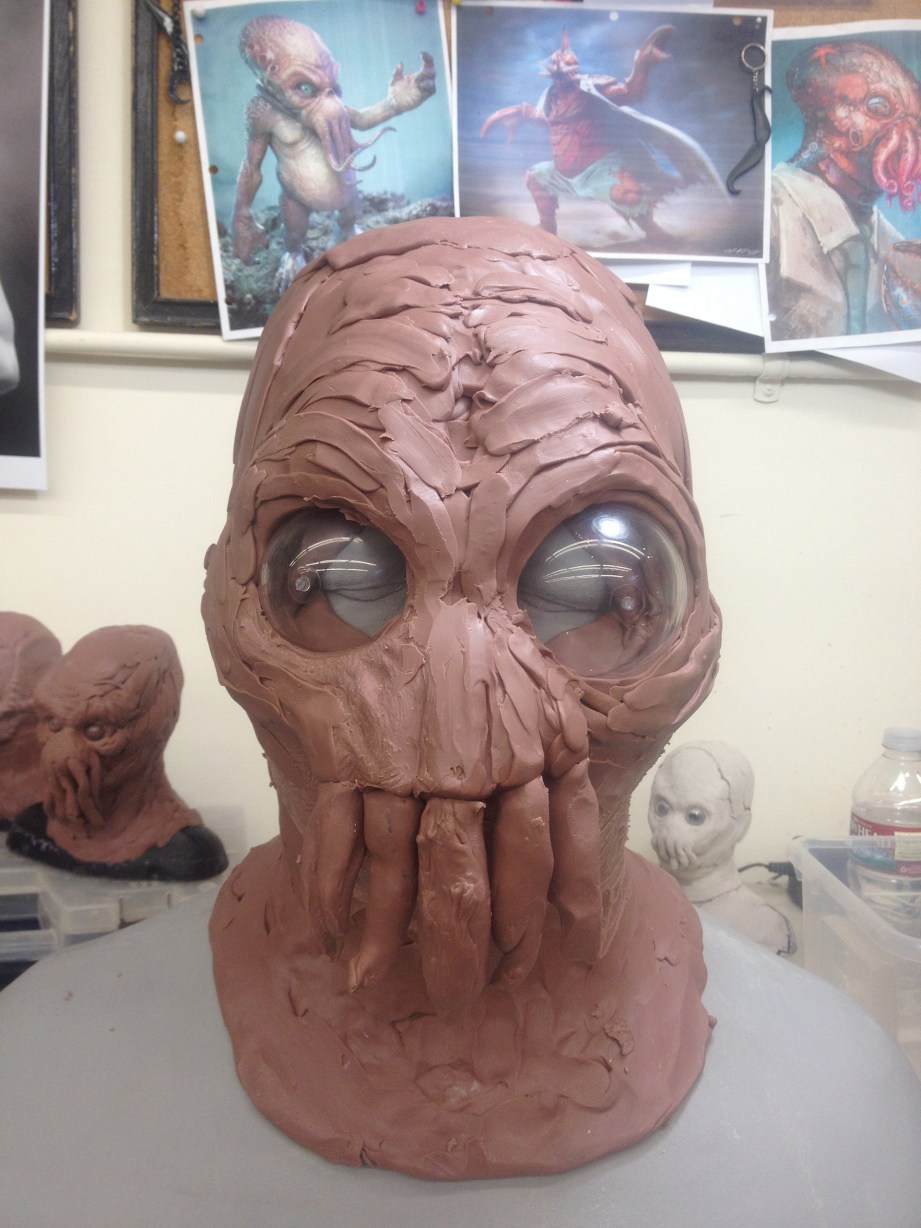
I need to make the tentacles feel more mustache-like and get the head into proportion. I’m using the raw clear plastic eye forms at first to see which size I like better. Once I decide what I like, I’ll just dig it out and replace it with the urethane ones that I made with the bolt in the center. For eye placement, I want to make sure I keep in mind the vision of the performer.
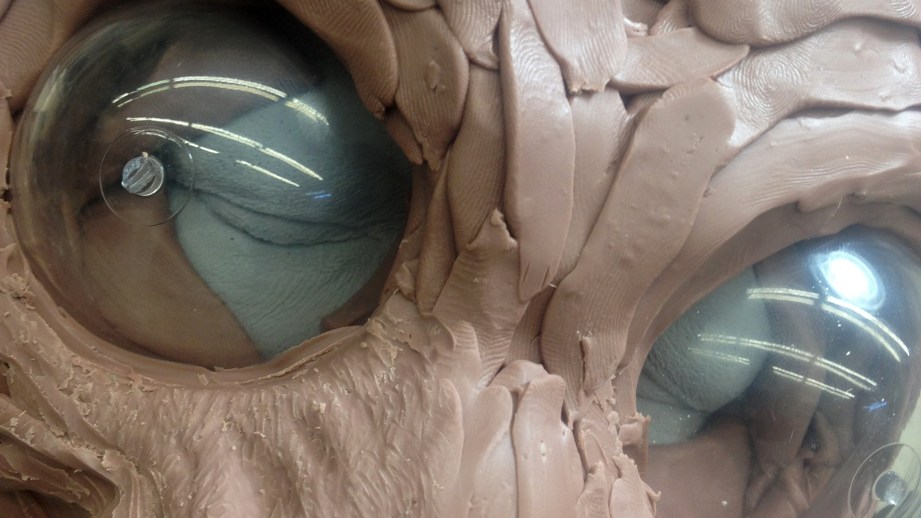
For Adam’s Admiral Ackbar, any wearer was able to see through the nose holes, but I don’t think I have that luxury in this case. I want to keep the eyes in a relatively similar position as to the cartoon. I’ll have to figure out how to make the final eyes able to see through or some other placement for an eyehole…but I’ll sort that out as I figure out the shapes and proportion.
Refining shapes and anatomy, texture, solvents and finishing will come later. Next up is getting the arms and feet going, and refining forms on the head. Here’s a teaser of how far it’s come along since that first pass!
Thanks to Iwata-Medea and Smooth-On for providing materials and sponsoring this project.


6 thoughts on “The Zoidberg Project, Part 4: Let’s Start Sculpting!”
Leave a Reply

One Day Builds
Adam Savage’s One Day Builds: Life-Size Velocirapt…
Adam embarks on one of his most ambitious builds yet: fulfil…

Show And Tell
Adam Savage’s King George Costume!
Adam recently completed a build of the royal St. Edwards cro…

All Eyes On Perserverance – This is Only a Test 58…
We get excited for the Perserverance rover Mars landing happening later today in this week's episode. Jeremy finally watches In and Of Itself, we get hyped for The Last of Us casting, and try to deciper the new Chevy Bolt announcements. Plus, Kishore gets a Pelaton and we wrack our brains around reverse engineering the source code to GTA …

One Day Builds
Mandalorian Blaster Prop Replica Kit Assembly!
Adam and Norm assemble a beautifully machined replica prop k…
House of MCU – This is Only a Test 586 – 2/11/21
The gang gets together to recap their favorite bits from this past weekend's Superb Owl, including the new camera tech used for the broadcast and the best chicken wing recipes. Kishore shares tips for streamlining your streaming services, and Will guests this week to dive into the mind-bending implications of the latest WandaVision episod…

One Day Builds
Adam Savage’s One Day Builds: Royal Crown of Engla…
One of the ways Adam has been getting through lockdown has b…

Making
Adam Savage Tests the AIR Active Filtration Helmet…
Adam unboxes and performs a quick test of this novel new hel…

Making
Weta Workshop’s 3D-Printed Giant Eyeballs!
When Adam visited Weta Workshop early last year, he stopped …

One Day Builds
Adam Savage’s One Day Builds: Wire Storage Solutio…
Adam tackles a shop shelf build that he's been putting off f…

Show And Tell
Mechanical Dragonfly Automata Kit Build and Review
Time for a model kit build! This steampunk-inspired mechanic…
i was wondering when we would see the next part in this series 🙂
thanks for the insight into you process.
That looks amazing so far.
articles are about every other week.
Frightening, but excellent looking so far. The good doctor is regularly in my top 3 of favorite Futurama characters (along with The Professor and Zapp). I know you probably have access to people who do it far better, but I do a pretty good Zoidberg impression should you need a specific line recorded for this costume.
Seeing this progress / process is great! I see other versions of Zoidberg in some of the backgrounds, would be great to see a this to that progression.
Great work.
I’m not sure what options are available to you for eyes, but some sort of lense with a one way reflective coating might give the best visibility, it is taking a bit of artistic license, but on a project like this you need to do that anyway.