


How I Built a Half-Life 2 Gravity Gun Prop
The Gravity Gun from Half-Life 2 has always been one of my favorite video game guns, both in terms of design as well as use. In December 2012, I decided to build one for myself.
The Gravity Gun from Half-Life 2 has always been one of my favorite video game guns, both in terms of design as well as use. It was always amazing to me that it took almost eight years for accomplished prop builders to take a crack at it, given how iconic both the weapon and the game are to the broader gaming community.
In December 2012, I decided to start on a build of it myself.
For the uninitiated, the Gravity Gun is one of the primary weapons and tools that you use in the video game Half-Life 2. It allows you to pick up and throw various objects in the game. You only get to see it from the 3rd person in a few instances, thankfully one of which is when another character in the game is holding it.
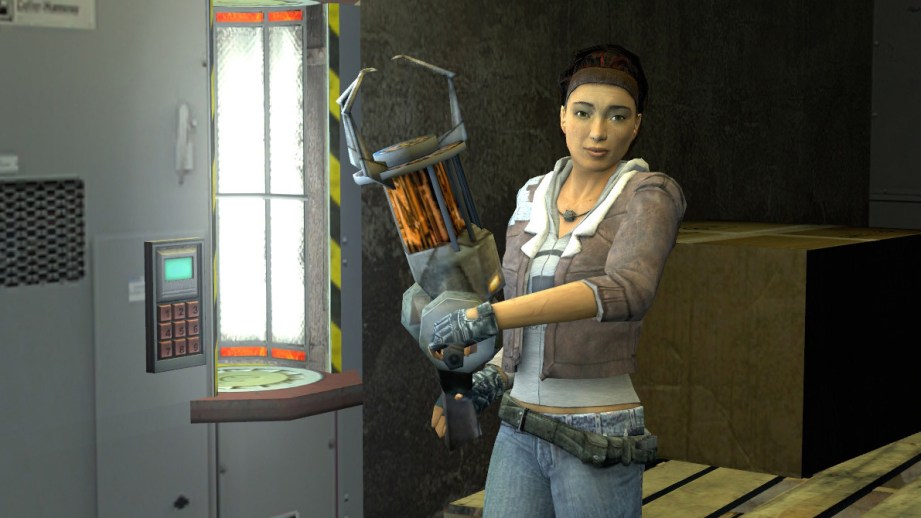
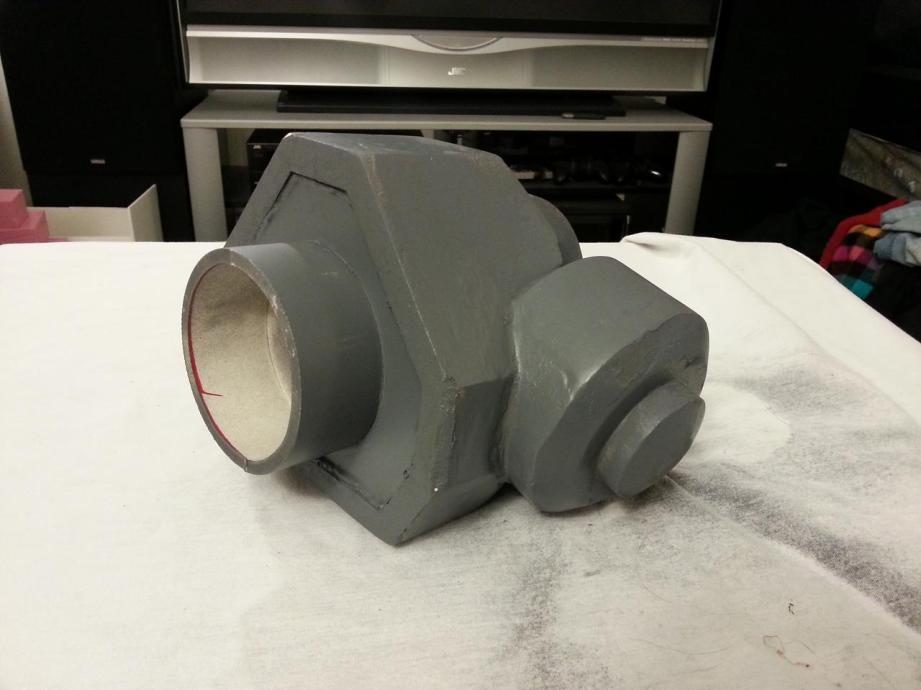
You can see the size of the weapon here, and I used this image to help determine the scale used when building everything. Coming from a 3D design background, my primary prototype building methods utilize laser cutting and 3D printed parts. Props from video games make the first steps easy, since in most cases you can easily extract a game model into a workable format. However there are a few caveats to this:
Most of these models are built in such a way that there are many intersecting solids–that is, two objects sitting inside one another without any way to connect – or with many missing “faces”. Especially in view models, which are the models you see in your HUD when holding a weapon, any side of the gun that isn’t viewable from the camera gets removed to save rendering time.
Secondly, especially with older games, a lot of weapon and items models are incredibly low poly and have a great number of their details in their texture. In a weapon like the Gravity Gun, which comes from a game that came out almost 10 years, the model quality is pathetically low.
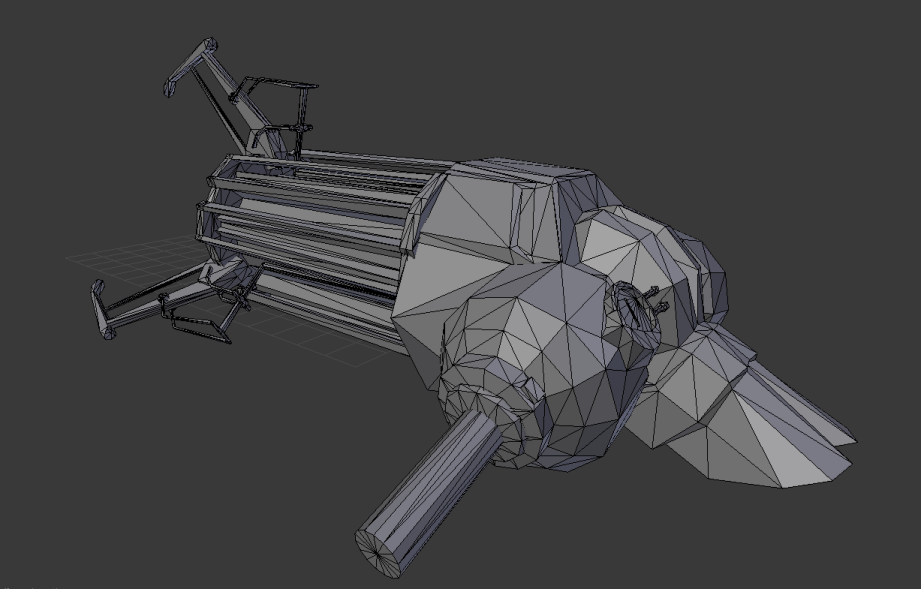
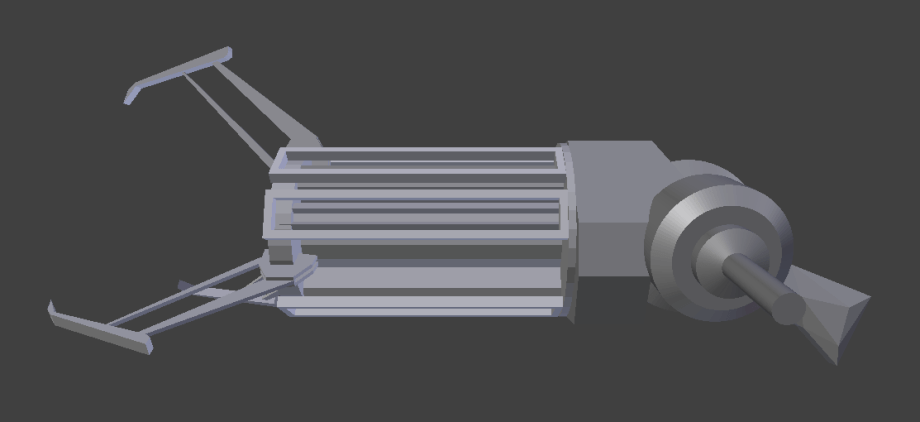
So, this necessitated remodeling the entire gun. This isn’t a huge deal as it’s something that is needed for pretty much any project. But it required a lot of cleanup and a lot of rebuilding. This process took a couple of weeks, but in the end yielded our digital master.
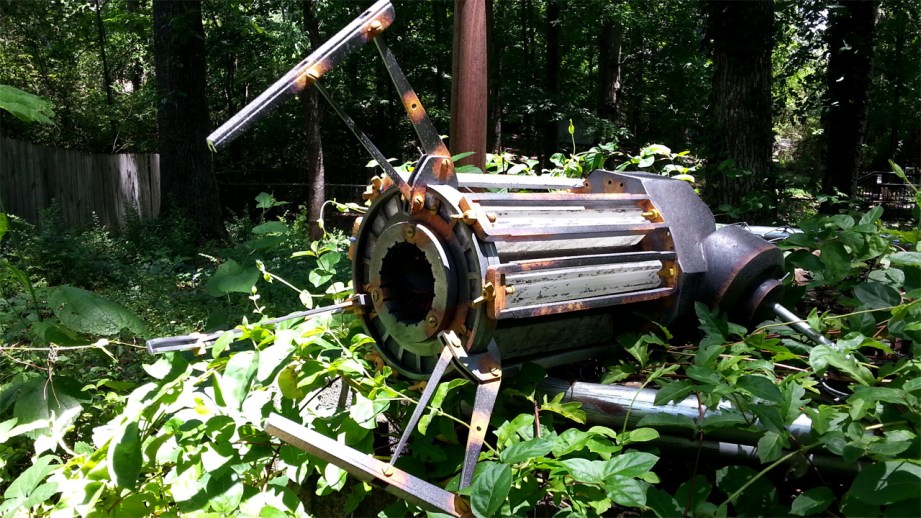
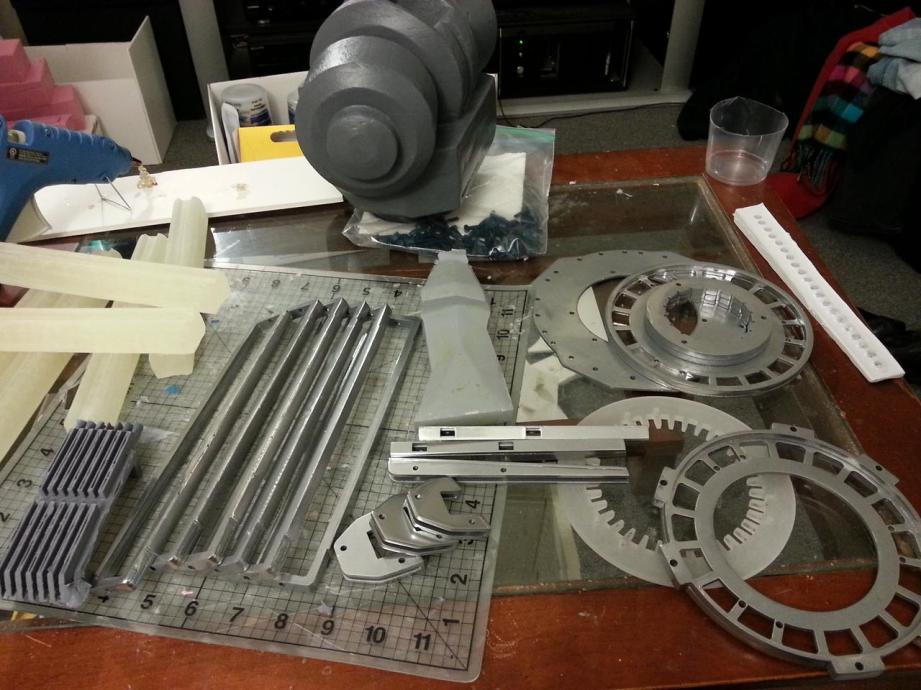
The Gravity Gun breaks down into two very distinct sections: the front barrel made up of flat objects, a mostly plain circular “barrel”, and six energy crystals with accompanying “cages”. And the rear drum base which consists of a couple circular “drums” connected to a weirdly shaped geometric base, the rear pistol grip handle and the left side bar handle. Altogether there are about 25 or 30 individual pieces which would need to be put fabricated, and once the 3D master was sorted out, I started making 2D templates for the sections that would be laser cut.
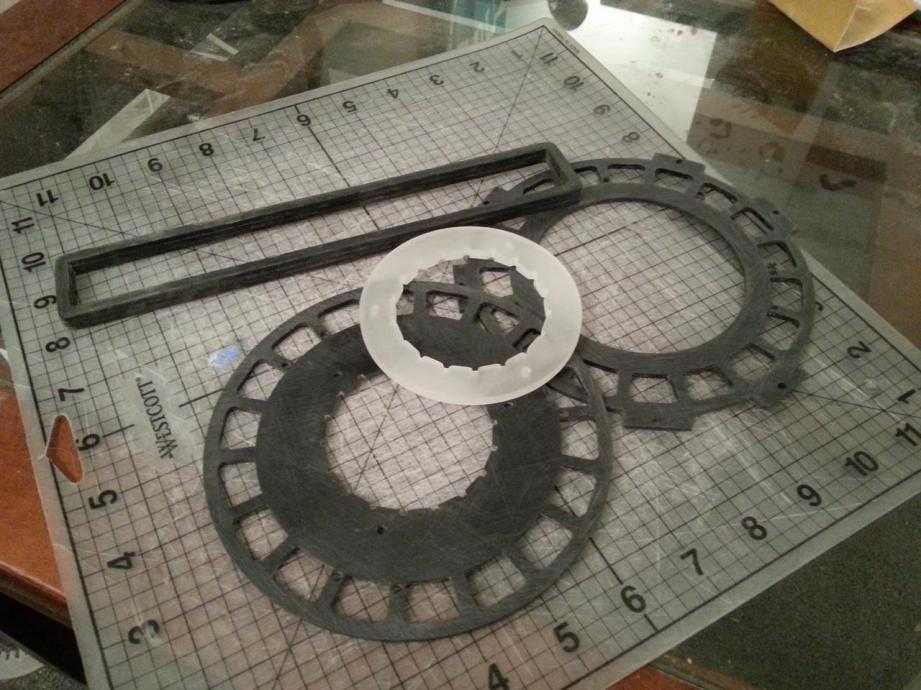
The front of the barrel section is made up of a series of stacked sheets, which would be laser cut out of acrylic. The back plate of the barrel section would also be made from laser cut acrylic. Along the barrel itself – a 3″ piece of PVC pipe – are six “crystal” bars and six corresponding rectangular “cages”. These cages too were made from three cut pieces of acrylic.
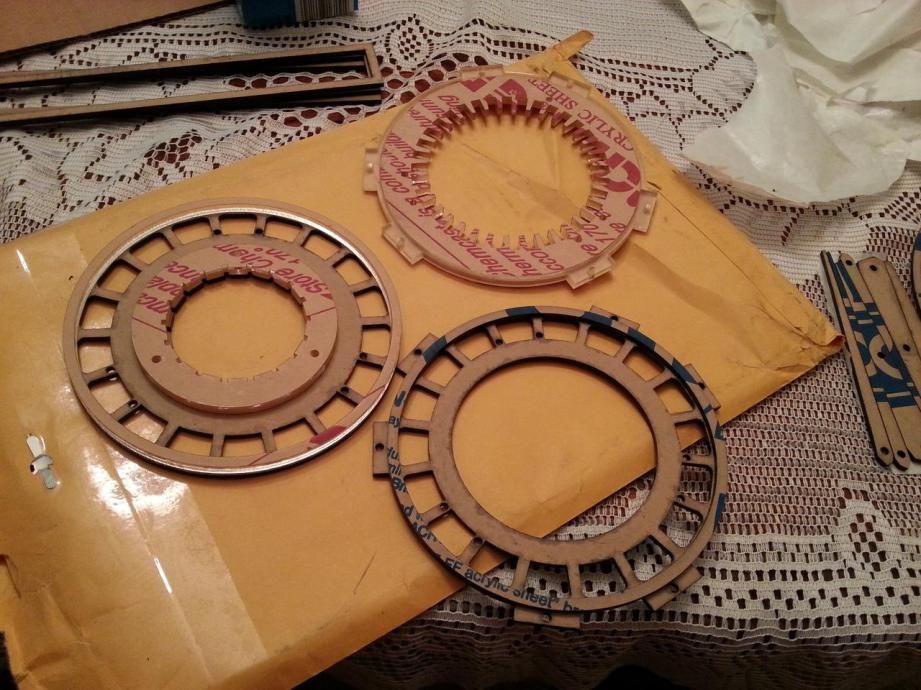
The acrylic needed a lot of sanding in order to get rid of the perfectly level surface to allow it to accept paint and to bond together with the few sections that needed gluing.
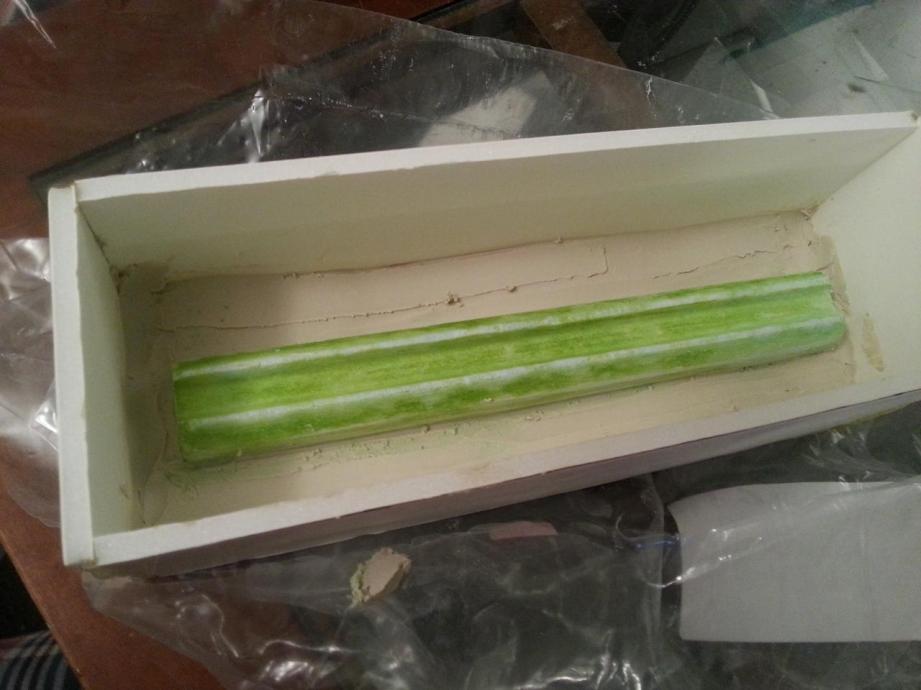
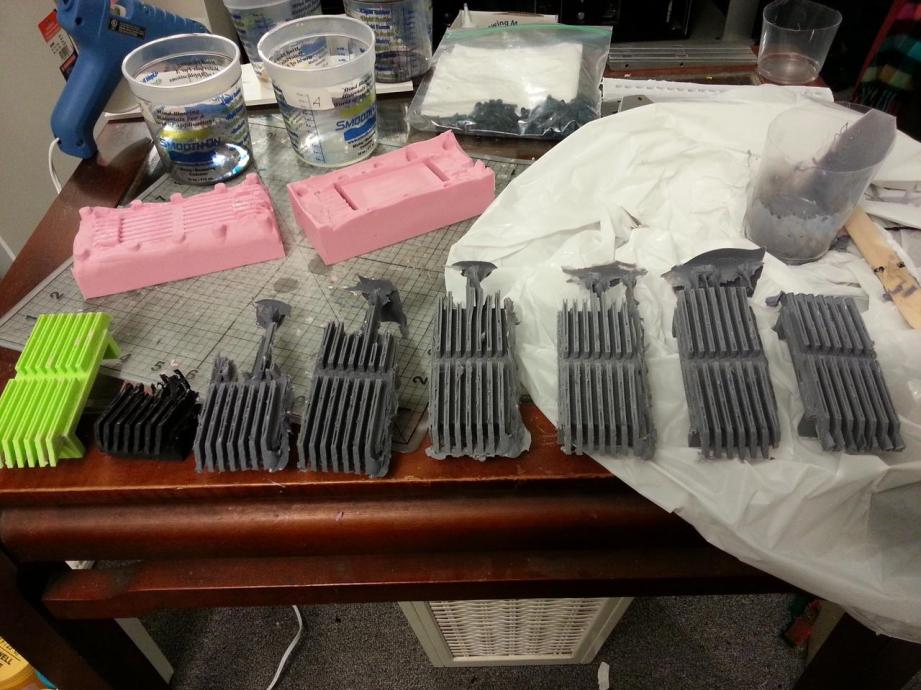
Meanwhile, I set about making a mold of the crystal bars which were 3D printed and for the cages (not pictured).
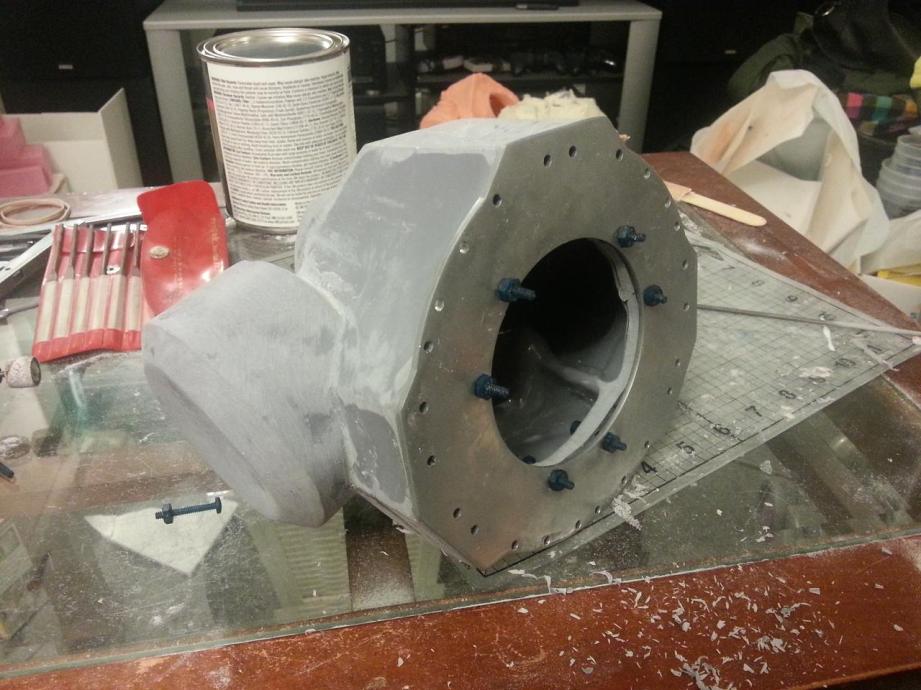
At this point, the acrylic pieces were nearly finished and ready for paint, and the casts for the six crystals and six cages was finished. I purchased a small fortune in the fasteners needed for the project, a total of about 60 nylon nuts and bolts, and mocked everything up.
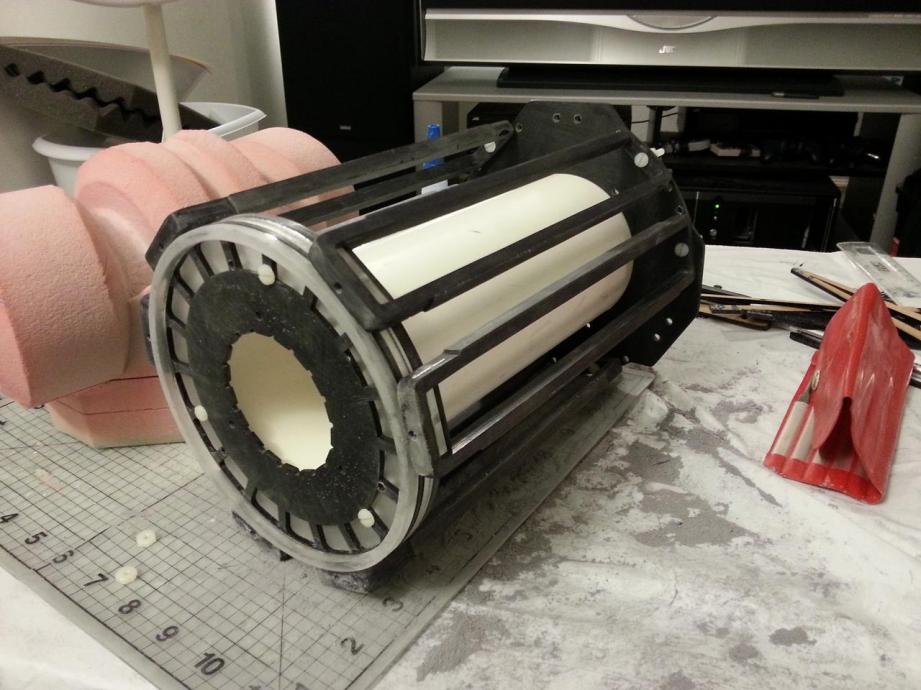
Looking pretty good!
Now that the front barrel was in pretty good shape, I turned my attention to the rear base. The 3D printing method that I used, a plaster based printer, has a lot of pros and a lot of cons. The best part about it is that it is dirt cheap to buy materials needed. But unfortunately, that means the end result suffers a lot of issues. The plaster is heavy, brittle, extremely porous, and has a texture over the surface that leaves a lot to be desired. This issue can be resolved by using high fill primer and giving each coat a light sanding, but it’s still far from perfect.
My plan was to make a 2 part jacket mold for the rear base and rotocast it, leaving the interior empty both to keep the weight of the object down as well as leaving room for electronics. Unfortunately, my inexperience and frugality meant my final mold suffered more than a couple of problems.
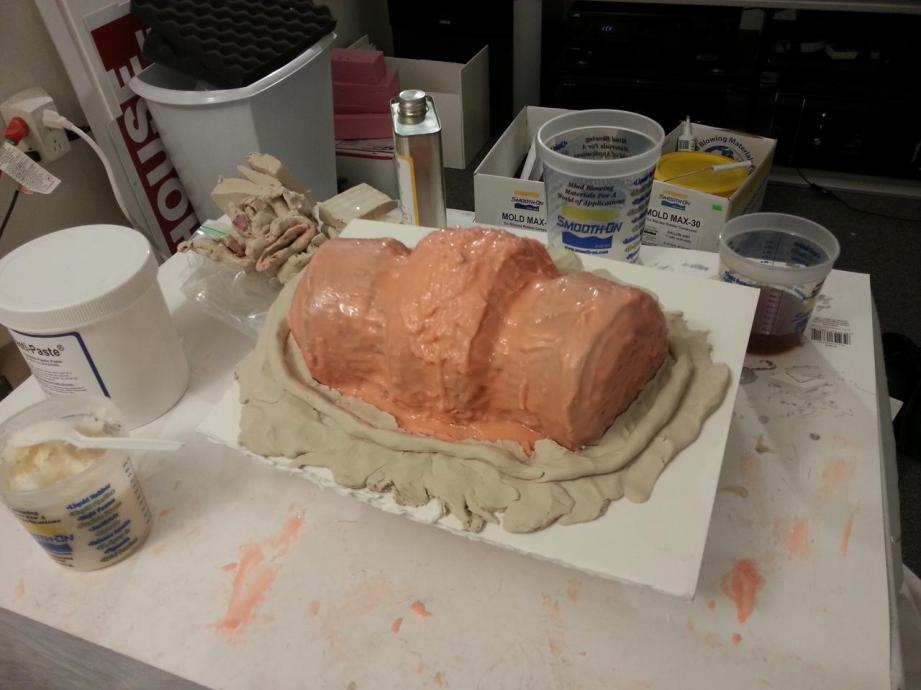
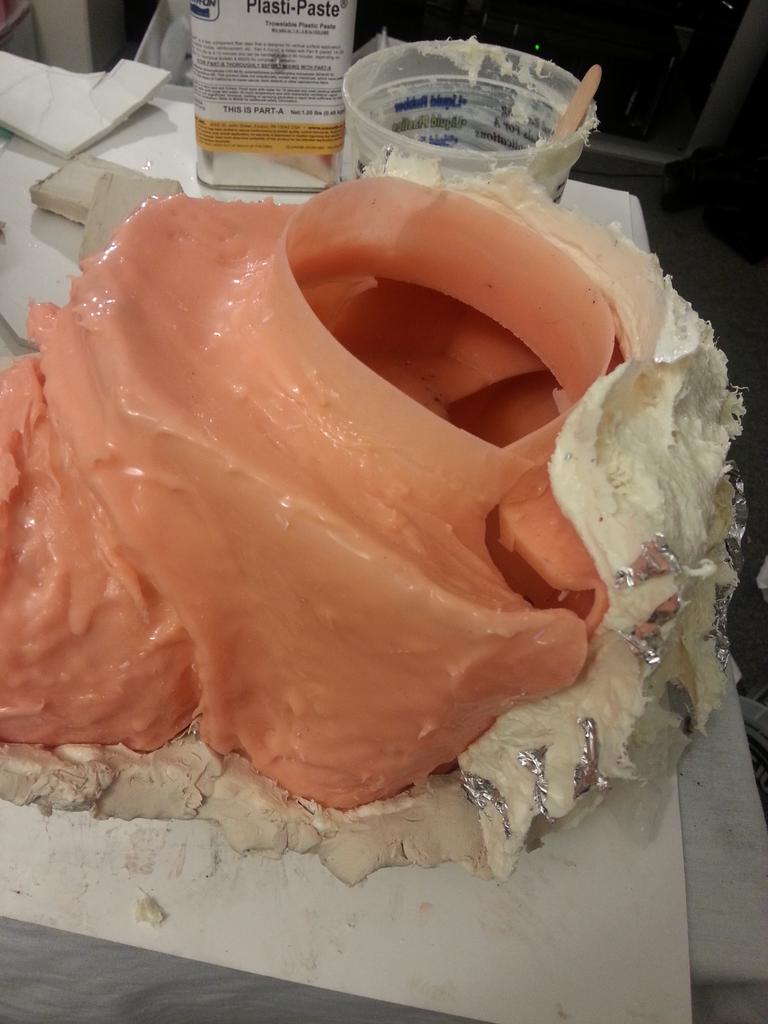
The silicone was far too thin in a few places, resulting in some sagging in the mold once the mother was applied. I also tried to cut corners and chop up an old mold to fill in some of the deep undercuts, but I seemed to have made a huge mistake here. While the axiom of “silicone always sticks to silicone” is true, be sure you are using the same grade of silicone! You can’t mix tin cure and platinum cure silicones, like I did, otherwise you’ll run into the problem where the new silicone won’t fully cure.
What this meant was these big chunks were left in the pull that would need to be cut out, and the sections that sagged needed to be filled in heavily with body filler and leveled out. Thankfully all of the hard edges still seemed to be in square, so it was tedious but not totally impossible.
Once all of the issues were cleaned up and I hit it with a coat of primer, it was looking miles ahead better than where I started.
Taking a page from Harrison Krix’s Gravity Gun build, I modeled up a “heatsink” that goes on to the bottom of the rear drum body and had it 3D printed in an ABS printer, which was then molded and cast as well. A few attempts later and I have a nice resin pull of the heatsink.
At this point I give the acrylic pieces their first coats of paint. Eventually all of the parts will be given a similar paint scheme–dark gray primer, followed by high gloss silver, then varying thin coats of light, medium, and dark gray metallics. None of the parts have the same exact looking paint since the design of the weapon makes it clear it was a hodgepodge of found items, rather than something made in a factory. All of the parts look similar enough but are not identical.
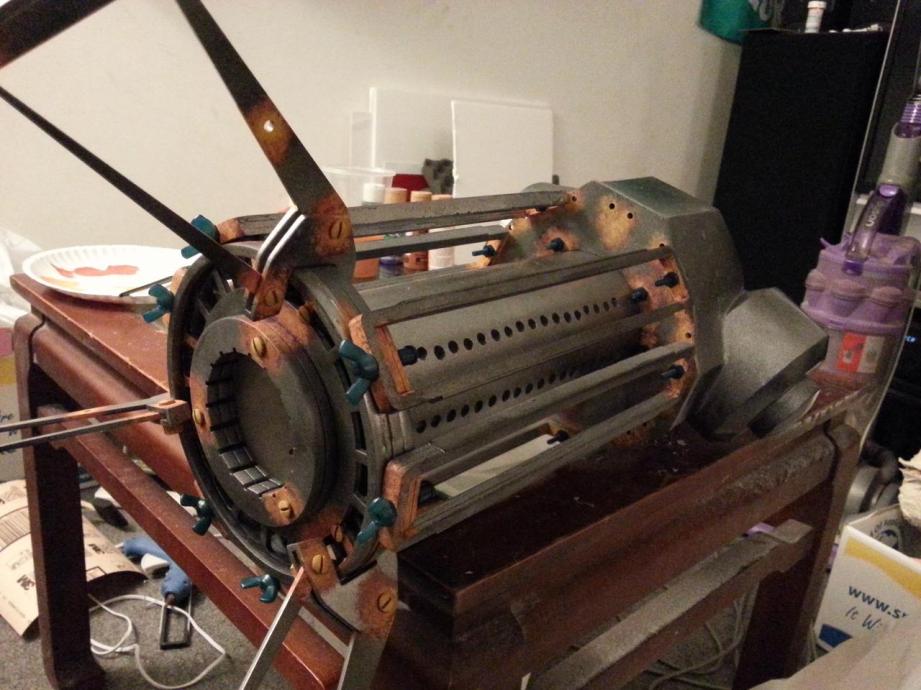
Then it was time to detail. The metallic parts were given a few washes in blacks and browns to dirty them up, and then all of the bolt holes were painted with a rust coloration. The rear plate and front barrel were painted in such a way to make it appear as if years of slow rust slowly dripped downwards. The rear drum base and the heatsink were also more heavily weathered on the bottom side, as if it sat level for most of its age.
The last thing needed was to wire the thing up, but this was such a rush job (that will need to be completely redone as well) that I didn’t get any photos of it being done.
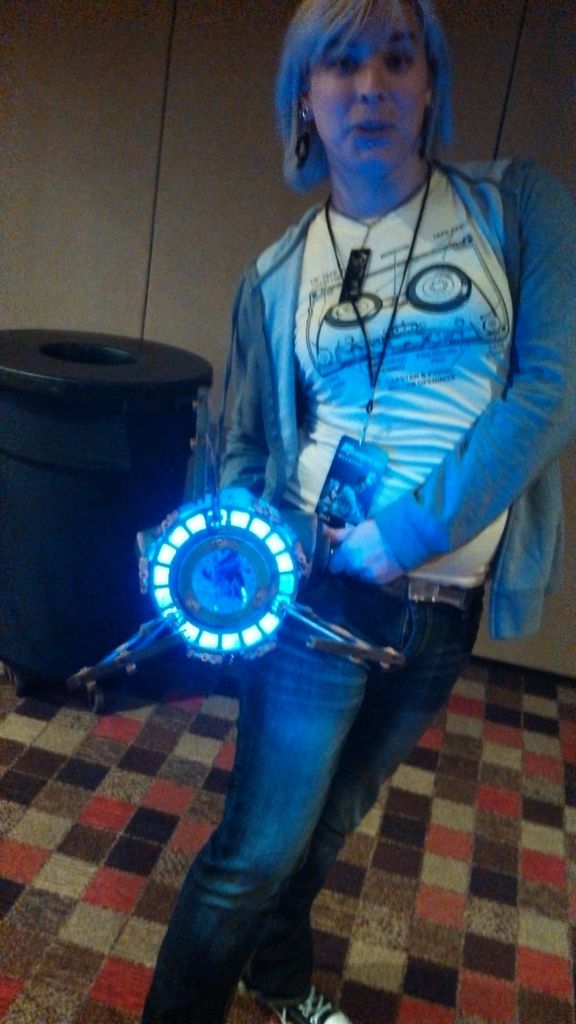
I set a deadline for myself of a small local convention here in Atlanta, and all in all I met the goal. Up to this point, I consider the project about 90% complete.

There are a few things left that I’d like to do. There is a small “vent” on the left side that needs to be added. I need a more accurate handle rather than a 4″ bolt. I also want to rewire the lighting to use programmable LED strips. The blue is a little too “icy” blue and not enough white-blue to make it look like electricity. The project continues!
Michelle Sleeper is an Atlanda-based prop maker, and the creator of Overworld Designs. This post originally appeared on her blog, and is reprinted with permission. You can also follow her progress on TheRPF, and see an extensive gallery of all her Gravity Gun photos here.


2 thoughts on “How I Built a Half-Life 2 Gravity Gun Prop”
Leave a Reply

One Day Builds
Adam Savage’s One Day Builds: Life-Size Velocirapt…
Adam embarks on one of his most ambitious builds yet: fulfil…

Show And Tell
Adam Savage’s King George Costume!
Adam recently completed a build of the royal St. Edwards cro…

All Eyes On Perserverance – This is Only a Test 58…
We get excited for the Perserverance rover Mars landing happening later today in this week's episode. Jeremy finally watches In and Of Itself, we get hyped for The Last of Us casting, and try to deciper the new Chevy Bolt announcements. Plus, Kishore gets a Pelaton and we wrack our brains around reverse engineering the source code to GTA …

One Day Builds
Mandalorian Blaster Prop Replica Kit Assembly!
Adam and Norm assemble a beautifully machined replica prop k…
House of MCU – This is Only a Test 586 – 2/11/21
The gang gets together to recap their favorite bits from this past weekend's Superb Owl, including the new camera tech used for the broadcast and the best chicken wing recipes. Kishore shares tips for streamlining your streaming services, and Will guests this week to dive into the mind-bending implications of the latest WandaVision episod…

One Day Builds
Adam Savage’s One Day Builds: Royal Crown of Engla…
One of the ways Adam has been getting through lockdown has b…

Making
Adam Savage Tests the AIR Active Filtration Helmet…
Adam unboxes and performs a quick test of this novel new hel…

Making
Weta Workshop’s 3D-Printed Giant Eyeballs!
When Adam visited Weta Workshop early last year, he stopped …

One Day Builds
Adam Savage’s One Day Builds: Wire Storage Solutio…
Adam tackles a shop shelf build that he's been putting off f…

Show And Tell
Mechanical Dragonfly Automata Kit Build and Review
Time for a model kit build! This steampunk-inspired mechanic…
Nice project and nice to see a new propmaker on Tested, that rust looks very nice 🙂
Looks awesome, well done.