


The Zoidberg Project, Part 8: Rethinking the Claws and Feet
In rethinking the materials he'll be using to cast Zoidberg's claws, Frank dives into different casting options and how these materials work together. Plus, a surprise visit!
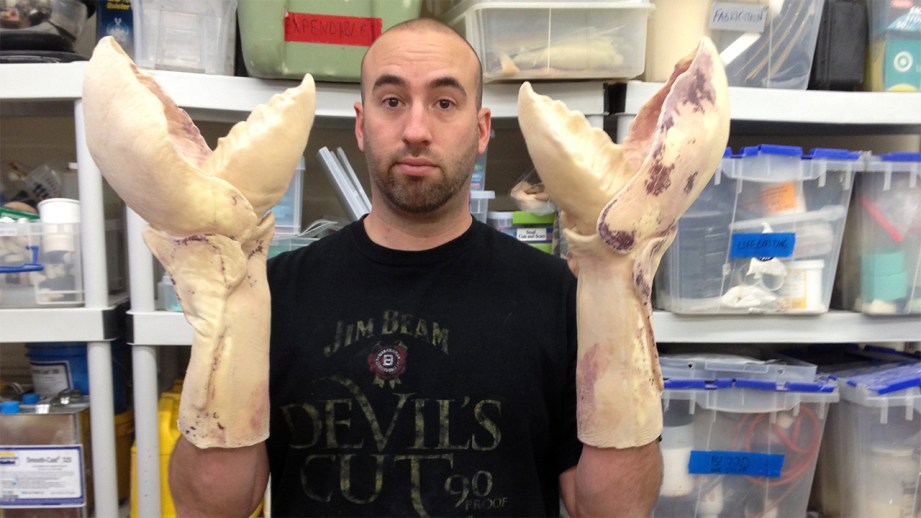
Pulling a rigid cast from a rigid mold can sometimes be tricky. In the case of Zoidberg’s claws, I had a major change of direction in how I wanted to build them. If you remember, I originally sculpted and molded the claw with the intention of pulling a latex and soft polyfoam casting, but the casting was was too tight–it was slightly uncomfortable to move in and got hot very fast. Luckily, I made the mold in such a way that it was still possible to pull a rigid part without breaking the mold for an undercut or locked detail.
When you pull a soft part (latex, silicone, or other flexible material) out of a hard mold (plaster, epoxy, or other rigid material), the flexible part will bend and flex out of small details and areas that might lock together like a puzzle piece. So, to pull a rigid part from the same rigid mold can be a little complicated.
The first step is to properly release the mold (separating it from the cast part). Using a proper release agent in the mold will eliminate one of the things that might make my part stick to the plaster mold. In this case, I’m going to use two coats of wax. This happens to be the wax that is in my cabinet at the shop, but any carnauba wax (eg. car wax) will do. Once one coat is brushed in and the solvent in the wax has evaporated, I apply another coat. These coats have to be put on thinly, as not to clog up any of the details or build up residue. Then, right before I start the plastic step, I’ll spray a heavy coat of Ease Release 200 in for extra protection.
The Smooth-On surface coat I usually use comes in either grey or a heavily pigmented red-oxide, but I don’t want that for Zoidberg’s claws. There are also white and black surface coats available from other manufacturers, but again, that doesn’t help me. I want the surface coat to be a color that can easily be painted to the paint scheme that is in my head for Zoidberg. This means I’ll need to get on the phone with my pal Jason over at Smooth-On to see what options I might have. The reason I want a surface coat is that the regular laminating resin has too low of a viscosity and won’t build up a decent thickness in one or two coats. Surface coats usually have thixotropic (thinning) agents and fillers that make them more durable as well.
I remember back a few weeks ago, I was playing around with some worbla thermoplastic and trying to get a sandable surface, and Jason recommended using a coating product called Epsilon. It’s a thixotropic translucent epoxy that is the exact sort of material that might work for coating the claws. And as it turns out, Smooth-On has Epsilon in the pigment that will work for this project! I want the base coat for Zoidberg to be a sort of salmon color so that I can layer on different reds to give depth to the paint job. So I add a little of Smooth-On’s So-Strong urethane pigments until it’s just right. Now, I have a surface coat to match exactly the color I want, with a little translucency, and it has about the same setting time as EpoxAcote! This opens a ton of possibilities for future epoxy casts that I might want to make!
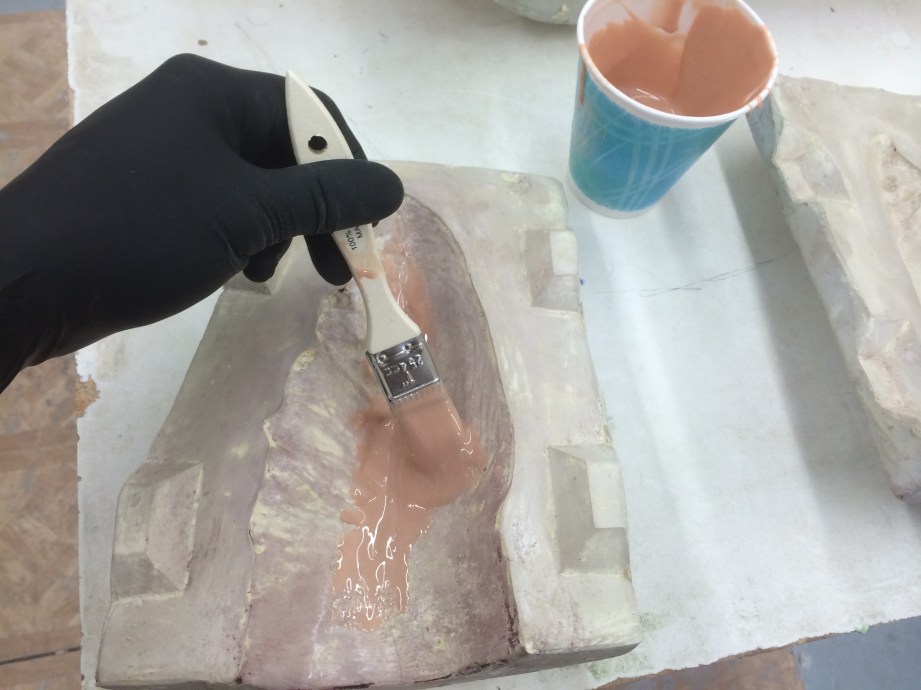
Once this first layer of Epsilon is just about set (when I touch it with a gloved hand, I can leave a fingerprint but none sticks to my finger), I can add a little reinforcement. Because this part doesn’t need to be super structural, I only put in one layer of glass cloth. With the trusty EpoxAmite 102 epoxy laminating resin, I wet out the surface then lightly saturate in some pieces of glass cloth. I want to close the molds and not have to assemble the halves (or thirds) later, so the easiest way to do this is with a little chopped up glass cloth. I basically just chop up a few pieces of the glass until it’s just small strands. This, mixed with a little of the laminating resin will make a super-strong and manipulable bonding material. You just spread a bit of this material along the edges of the part, overlapping onto the flange of the mold a bit. Then, when the mold is closed up, the sides will press together and bond once set.
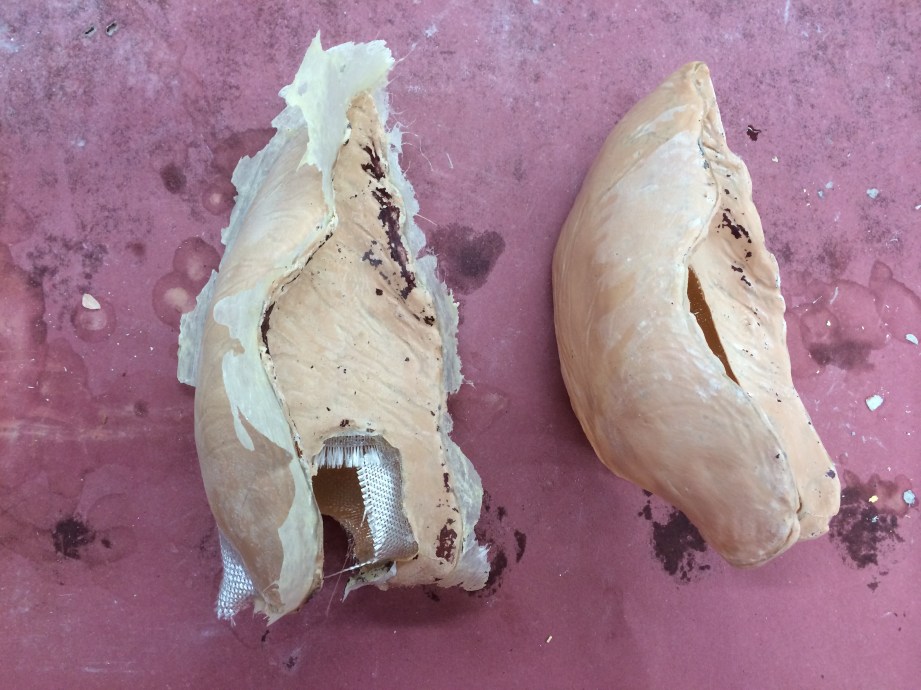
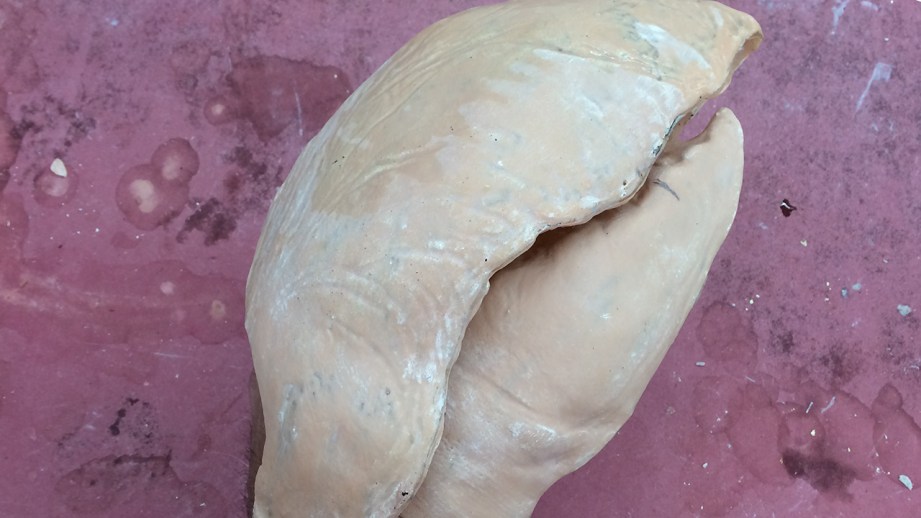
Any little rough or pointy parts can be cleaned up with a dremel after the part is demolded. Because this glass is chopped up so fine here, the little bit of material on the flange is squished between the mold parts, and only produces a super thin part line that can easily be dremeled off. After the molds sit overnight I pop them open and trim them to be Zoidbergs claws! Now I’ll have to fabricate his wrists and the flexible parts to bridge the rigid claws together.
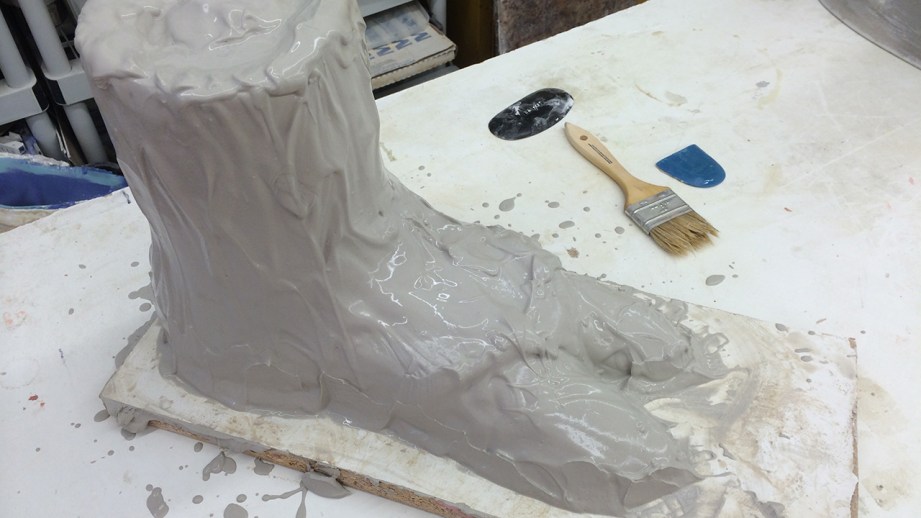
During this process, I started thinking about how I wanted to make the feet differently, too. A while back, I started sculpting Zoidberg’s feet from Monster Clay, and then set it aside. After thinking about how I want to mold and cast each foot, I decided to resculpt the foot out of WED clay. This is partially because it’s faster to sculpt with and partially because it will be easier to clean out of the mold the way i want to cast it. So I had my friend Carson Sciarrino use my roughed in foot sculpture as a guide to block out the new foot, and when I was done with the claws, I jumped back over and finished the foot. It just needs to be a simple shape–not a ton of thought or detail really needs to go into this part since it won’t be seen as much.
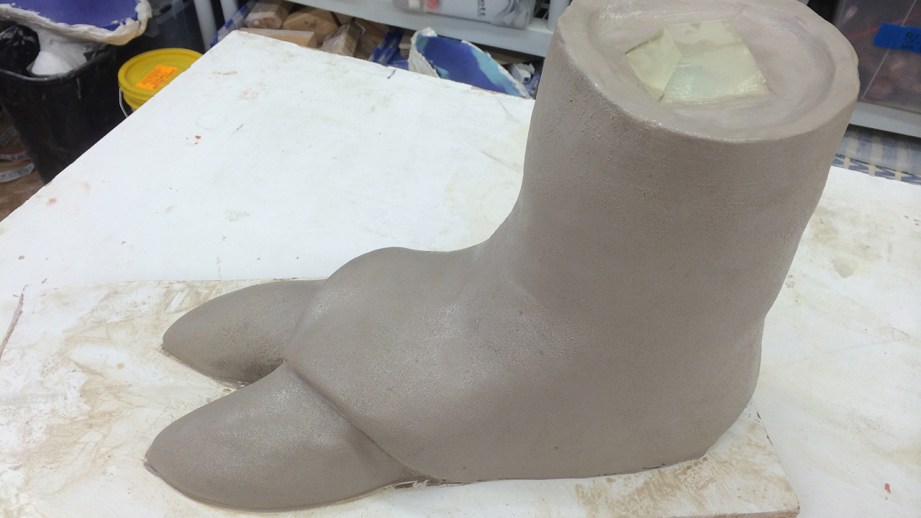
On the top of the ankle I placed a pre-made resin trapezoid key that I keep laying around to easily register the core that I’ll eventually make for this mold. I want these feet parts to be a one-piece mold made out of Ultracal. Ultracal is the same plaster that I used to mold Zoidberg’s claws, and will be perfect for this. Just like when I molded the claws, I seal the sculpture with a few coats of Crystal Clear, then a coat of dulling spray–both from Krylon. Ultracal molds are pretty straightforward–a surface coat, then four or five layers of burlap soaked in more Ultracal. I let it sit for a few hours and clean out all of the clay with a wooden tool. You don’t want to use any metal tools or anything sharp when cleaning out an Ultracal mold, because you can scratch the surface of the mold. Core, casting, and sandal-making to come in another article, after I fab the claws all together.
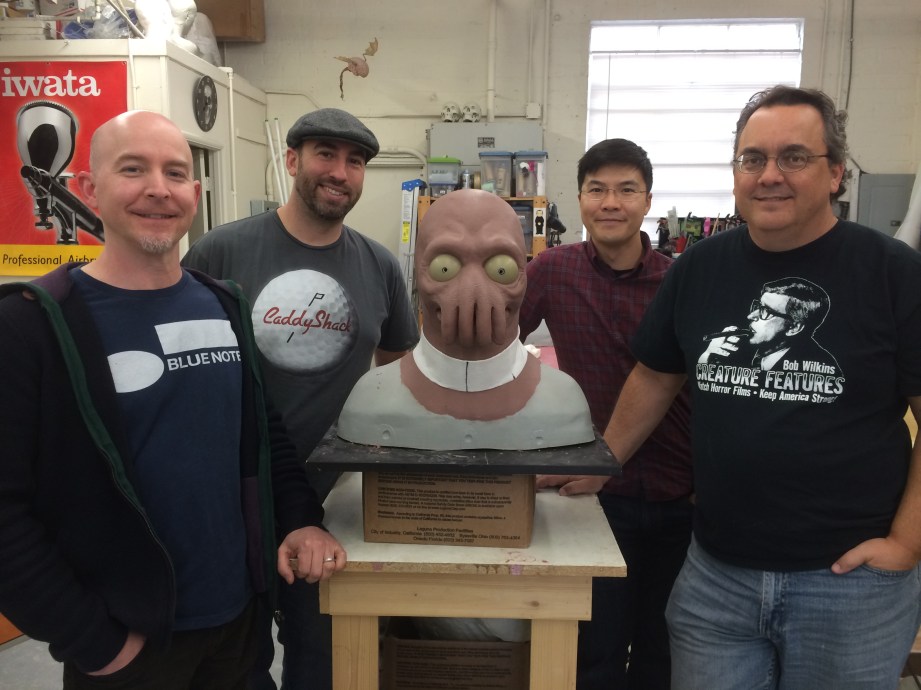
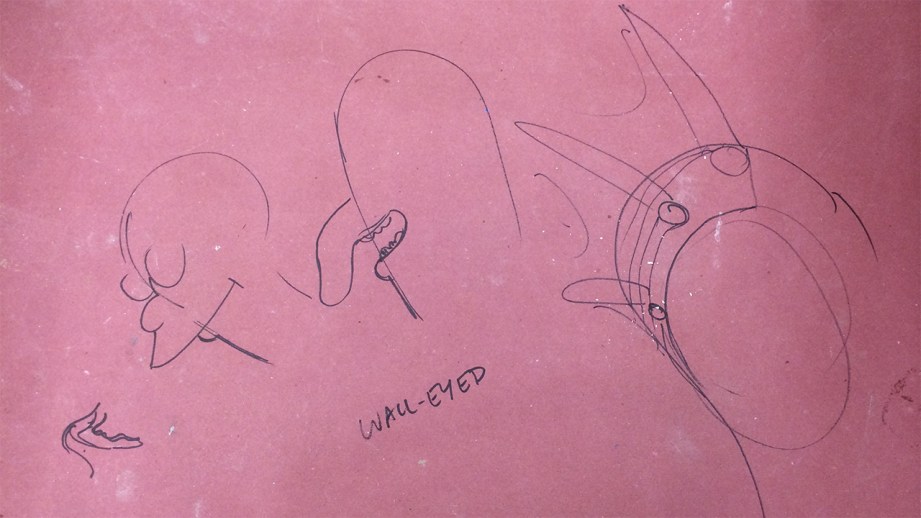
One other thing that happened this week is that some of the directors from Futurama stopped by to see the Zoidberg project! This included supervising director Peter Avanzino, Dwayne Carey-Hill, and Edmund Fong (both also directors on the show). It was great to hear from them say that I’m on the right track in capturing the essence of Zoidberg in their opinion, and they even gave me some design notes which I’m going to incorporate into the sculpture. No major changes, but I’ll be smoothing out his lower lip and removing his chin (in the Groening cartoon world, no one has a chin). Peter also explained to me that Zoidberg should be slightly wall-eyed (not cross-eyed) and his pupil should be about 7/16 at this scale. It’s great to get this kind of feedback directly from some of the people who were responsible for bringing his character to life!
Thanks to Iwata-Medea and Smooth-On for providing materials and sponsoring this project.


7 thoughts on “The Zoidberg Project, Part 8: Rethinking the Claws and Feet”
Leave a Reply

One Day Builds
Adam Savage’s One Day Builds: Life-Size Velocirapt…
Adam embarks on one of his most ambitious builds yet: fulfil…

Show And Tell
Adam Savage’s King George Costume!
Adam recently completed a build of the royal St. Edwards cro…

All Eyes On Perserverance – This is Only a Test 58…
We get excited for the Perserverance rover Mars landing happening later today in this week's episode. Jeremy finally watches In and Of Itself, we get hyped for The Last of Us casting, and try to deciper the new Chevy Bolt announcements. Plus, Kishore gets a Pelaton and we wrack our brains around reverse engineering the source code to GTA …

One Day Builds
Mandalorian Blaster Prop Replica Kit Assembly!
Adam and Norm assemble a beautifully machined replica prop k…
House of MCU – This is Only a Test 586 – 2/11/21
The gang gets together to recap their favorite bits from this past weekend's Superb Owl, including the new camera tech used for the broadcast and the best chicken wing recipes. Kishore shares tips for streamlining your streaming services, and Will guests this week to dive into the mind-bending implications of the latest WandaVision episod…

One Day Builds
Adam Savage’s One Day Builds: Royal Crown of Engla…
One of the ways Adam has been getting through lockdown has b…

Making
Adam Savage Tests the AIR Active Filtration Helmet…
Adam unboxes and performs a quick test of this novel new hel…

Making
Weta Workshop’s 3D-Printed Giant Eyeballs!
When Adam visited Weta Workshop early last year, he stopped …

One Day Builds
Adam Savage’s One Day Builds: Wire Storage Solutio…
Adam tackles a shop shelf build that he's been putting off f…

Show And Tell
Mechanical Dragonfly Automata Kit Build and Review
Time for a model kit build! This steampunk-inspired mechanic…
Wall-eyed is the opposite of cross-eyed – no?
correct, it’s a typo. The characters are supposed to be slightly wall-eyed, not cross-eyed
I’m more and more amazed every time you post about the zoidberg project.
You´re really doing an incredibe job
Must’ve been super cool to have those guys come by and not only enjoy your work, but give some feedback to help you get it even better! Looks great already and this series is answering all the questions i’ve ever had go through my mind while reading sculpting and molding threads around the web. One by one things are making sense, maybe I’ll have to venture beyond single sided one molds soon 🙂
I absolutely love these! Not only is this coming along great and is really cool, but it’s also getting a chance to learn quite a bit along the way. Reading these feels like I have a personal tutor, and that it’s not just an article on the internet . Thanks Frank! Can’t wait to see whats next!
This project is wonderful to follow. Frank is so talented.
Great work Frank!
I am not a huge fan of futurama, but I would love to have my own Zoidberg.
In the future, could you include a list of links to all parts of this build?