


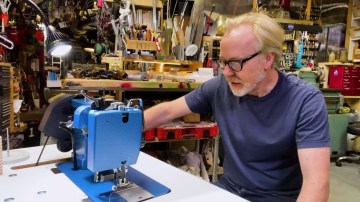
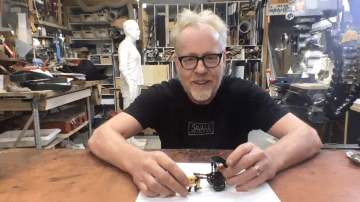
Tested Lessons: Painting Model Kits, Part 3
After spending a day (with crayons!) designing a color scheme for our next model kit, we start airbrushing and painting the second Neil Winn monster sculpt. With some tips and guidance from Frank, our paint jobs are much improved! Follow along with us by signing up for a Tested Premium Membership here!


25 thoughts on “Tested Lessons: Painting Model Kits, Part 3”
Leave a Reply

One Day Builds
Adam Savage’s One Day Builds: Life-Size Velocirapt…
Adam embarks on one of his most ambitious builds yet: fulfil…

Show And Tell
Adam Savage’s King George Costume!
Adam recently completed a build of the royal St. Edwards cro…

All Eyes On Perserverance – This is Only a Test 58…
We get excited for the Perserverance rover Mars landing happening later today in this week's episode. Jeremy finally watches In and Of Itself, we get hyped for The Last of Us casting, and try to deciper the new Chevy Bolt announcements. Plus, Kishore gets a Pelaton and we wrack our brains around reverse engineering the source code to GTA …
Making
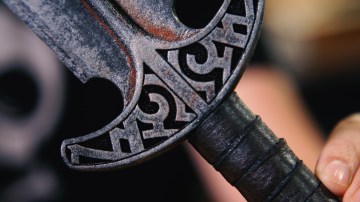
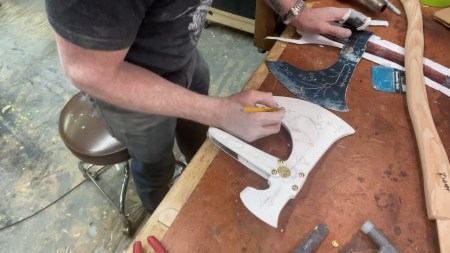
Adam Savage in Real Time: God of War Leviathan Axe…
Viewers often ask to see Adam working in real-time, so this …

One Day Builds
Mandalorian Blaster Prop Replica Kit Assembly!
Adam and Norm assemble a beautifully machined replica prop k…
House of MCU – This is Only a Test 586 – 2/11/21
The gang gets together to recap their favorite bits from this past weekend's Superb Owl, including the new camera tech used for the broadcast and the best chicken wing recipes. Kishore shares tips for streamlining your streaming services, and Will guests this week to dive into the mind-bending implications of the latest WandaVision episod…

One Day Builds
Adam Savage’s One Day Builds: Royal Crown of Engla…
One of the ways Adam has been getting through lockdown has b…

Making
Adam Savage Tests the AIR Active Filtration Helmet…
Adam unboxes and performs a quick test of this novel new hel…

Making
Weta Workshop’s 3D-Printed Giant Eyeballs!
When Adam visited Weta Workshop early last year, he stopped …

One Day Builds
Adam Savage’s One Day Builds: Wire Storage Solutio…
Adam tackles a shop shelf build that he's been putting off f…
Airbrushing 101 video – Yes please!
Nice, Will! I love Darth Maul.
I think Will would have been better painting a red undercoat and then going on top of it with a black veining, instead of going for individual dots in red.
Actually, Norm’s happy accident with the wash gave the face a great pale mottled look, not to be complained about, it looks great. I think if he had followed up the first spray coat with a rubbed off wash of a colour a little darker than the initial sprayed blue (so that it collected in the skin texture), he may have gotten more definition in the recessed details overall to give a more visually interesting varied basecoat blue. I’ve been making models for 30 years and such happy little accidents are just the best, and usually what gives a model that certain natural random look.
As for Will’s black, the same technique – a rubbed off wash – would have given the more varied black skin he had hoped for. I always find it best with black areas to start with a medium grey colour as the base coat (or, at least, a dark colour that is lighter than black) and then apply black washes and rubbed off black so that the black gathers in the recesses but the lighter base colour shows through on the raised edges and gives natural highlights and variation (or instead he could do a dry-brush coat of a colour a little lighter than black to really make the raised edges and dark recesses pop).
But, given the limited time they had and the fact they are beginners, they both did really well. Just both remember to ease in with the airbrush unless you actually want to spam the model with paint – push down for air and *then* gradually pull the trigger back little by little so that you start with a little paint at first and can build the colour up in subtle layers, rather than full on paint flow straight out of the gate. And Norm: you don’t need to shake the airbrush around like you accidentally picked up a spider – hold it steady, like a paintbrush, use slow, gentle sweeping movements and move the model into the paint spray as much as possible, rather than tilting the brush all over. Bring the model to the paint (also,. keep the brush the right way up- turning it sideways and upside down just means the paint is not flowing into the brush (that’s why it’s called a gravity-feed ^_^)
Great work, can’t wait to see how the next one comes out given they’ll have much more time!
No, but seriously, when IS lunch..?
Are photos still going to be posted? I’m curious to see the difference.
there ya go ^
I see what you mean about the difference with the camera.
your right! It’s always harder to paint lighter colours over a darker base. Especially black
awesome! Ya the video feed did not give your paint job justice. Looks great!
Re: bringing the model to the paint, one of the best things for helping you do this is mounting the model to something you can hold easily. A chunk of wire/bike spoke, an alligator clip on the end of a bamboo skewer, a pill bottle full of quarters so it doesn’t tip as easily, all of these things work well for various types of object. Also keeps you from smudging wet paint and getting your greasy finger prints all over everything.
Also, it’s a lot easier to sneak up on your paint jobs, as Frank demonstrates. Multiple thin layers dry faster and have more nuance than just blobbing it on. Also, reds have terrible coverage almost universally, no shame in taking multiple layers to get it looking good.
Also, I would totally watch an airbrush 101 series, even though I already have a pretty good idea what I’m doing. Always cool to get other people’s perspectives on stuff.
I really liked Norm’s, especially the “war paint” effect, although I wasn’t keen on how solid the black was on the horns and teeth. A little more texture would’ve made overall look perfect.
The mottled look over the mouth on Frank’s, as well as the red highlights on the lips and eye bags, are really nice.
An airbrushing 101 video would be very much appreciated. I’ve thought about getting an airbrush for a while now, but this series is making me want throw all my money at one right now (and then have none left for paints, or anything to paint).
Thanks, guys. Keep the awesome work and content coming.
$700 worth of Iwata Airbrush gear each, too rich for my blood, Just bought a cheap pawn shop compressor (Nail gun type) a Harbor freight airbrush and cheap acrylic paints, tried to airbrush, ,we definitely need a beginners guide to Airbrush.
I thought you weren’t supposed to shoot Cadmium colors through an airbrush, am I wrong?
Will’s red and black paint theme look’s very much like war paint too. I have the same Iwata airbrush. It gives a lot of variations how you can paint your models.
Really like the job Norm did on this! These would make great Premium prizes (hint hint).
This is great – and I too would love to see an airbrush 101 from Frank & the Tested team. I bought an air compressor and air brushes after watching the One Day Build with Adam and Aaron Douglas (and I picked up that Cylon as my first project). I’ve been working on technique and care and maintenance and would love some more tips and tricks from Frank.
dealing with lighting and cameras must be something that factors in when painting for something meant to be on screen. How do you handle and account for that in your client work? Do you get an idea ahead of time about the shooting conditions and potentially color grading later on?
Thanks and great stuff! I love the art dimension you bring to Tested.
Very cool
I’ll echo several of the others here, an Airbrush 101 would be an awesome idea. I’ve just started airbrushing myself, and while I already know some basics, a proper Airbrush for Beginners video/s would point beginners in the right direction.
8]
I’d love to see some airbrush tutorial videos.
Please do an airbrush 101 tutorial!
haha I love Will’s denial, Frank:”less…is…more..?” Will:”I don’t know about that!”
Would Definatly love an Air Brushing 101 video!!