


Bits to Atoms: Building the Millenbaugh Motivator, Part 1
Sean Charlesworth recaps his project working with Adam building the Millenbaugh Motivator for the Hellboy Mech-Glove project. This week, a prelude to the project, with Sean's memories from the Inventern competition that got him the job on the project.
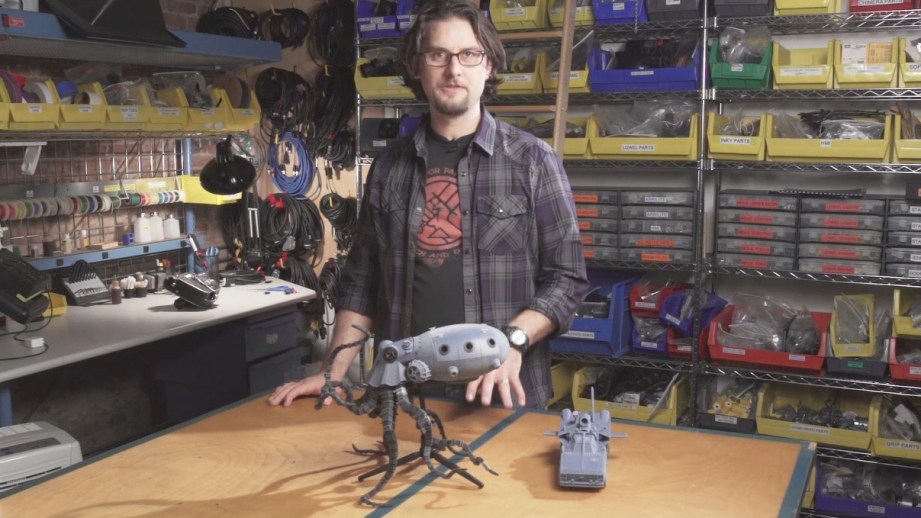
I remember watching the first Hellboy Mecha-Hand video that Will shot with Adam, and was pumped for what was to come. I’m a Hellboy fan and this particular prop had all the elements I love: mystical, mechanical, intricate WWII-era tech with a killer look. If you told me that two years later I would play a part in finishing said project, I wouldn’t have believed it.

It almost never happened since I wasn’t going to enter Adam’s Inventern competition. At the time, I was spending every extra moment 3D printing and assembling iris boxes and TARDIS kits for my booth at Maker Faire New York. And more importantly, I didn’t think I had much of a chance of winning. Thankfully, my wife suggested that I should really make an entry video. Strongly suggested. Repeatedly. I finally listened and the day before the deadline I stayed after work to make a video for my 3D printed Octopod.
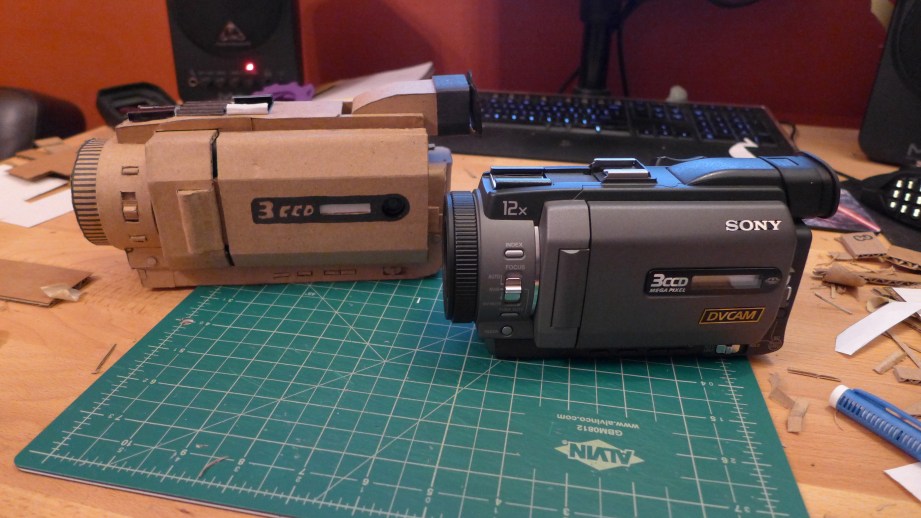
A few days later, I received a call from the guys at Tested, informing me, that I was one of the top ten entries selected to continue on–I absolutely could not believe it. Later that week we received the next challenge: make a 1:1 scale replica of a household item using only the materials sent to us. I eagerly awaited my box of stuff but it showed up later than expected, leaving me only a few days to complete the challenge. For those who didn’t catch it the first time around, the box consisted of: sheets of cardboard, Elmer’s glue, an X-ACTO knife, a black Sharpie, masking tape, a cutting matte, some classic Tested stickers and the top-of-the-line Droid phone. While waiting for my box, I decided to literally use everything in the box, meaning I needed a use for the phone. I figured my best bet was to duplicate my video camera, using the phone as the flip-out screen, the problem was that I had never built anything out of cardboard. Ever.
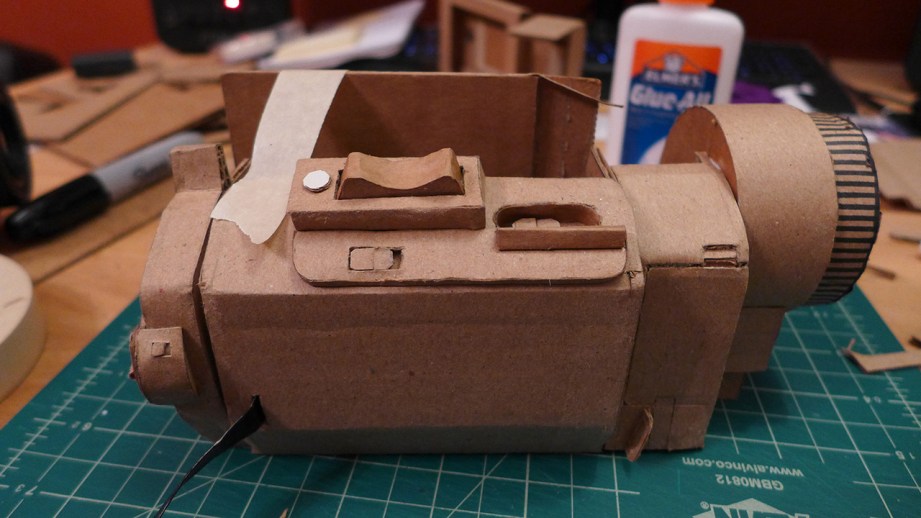
I spent the rest of the week Googling cardboard construction techniques with mixed results until I stumbled across Jude Pullen’s Design Modeling site. He had dozens of excellent how-to videos on constructing products from foam, plastic and cardboard. His work was amazing and I was like ‘who is this guy?’. Turns out Jude was a UK Design Engineer at Dyson. You know, the Dyson that makes those high-tech vacuums, fans and other gadgets. Yeah, no wonder he knew his stuff! Armed with my new-found cardboard skills and my box of stuff that finally arrived, I promptly came down with one of the worst colds ever. Immobilized in bed for the next 3 days left me with only two days to finish the cardboard camera. I finally got started and immediately ran into a big problem–literally–the phone was huge and didn’t fit the actual scale of the video camera I was duplicating. I decided to scale the whole thing up just enough to fit the phone which ended up causing all kinds of issues, so it took all day Saturday and up until 5:30 am Monday morning to finish the thing. I can safely say that I never need to build anything out of cardboard again. Norm told me that within seconds of starting my video, Adam commented, “that’s at least 10% too big,” thankfully he watched to the end for the reveal and explanation. The cardboard camera got me into the top three and I was off to San Francisco for the final stage!
As an aside, I was so thankful to Jude for sharing his cardboard skills that I sent him one of my iris boxes. SInce then, we have been chatting about projects and swapping some gadgets back and forth. A very generous and nice guy, Jude has since moved onto Innovation Management and Engineering at Sugru, where I’m sure he’ll do great things.
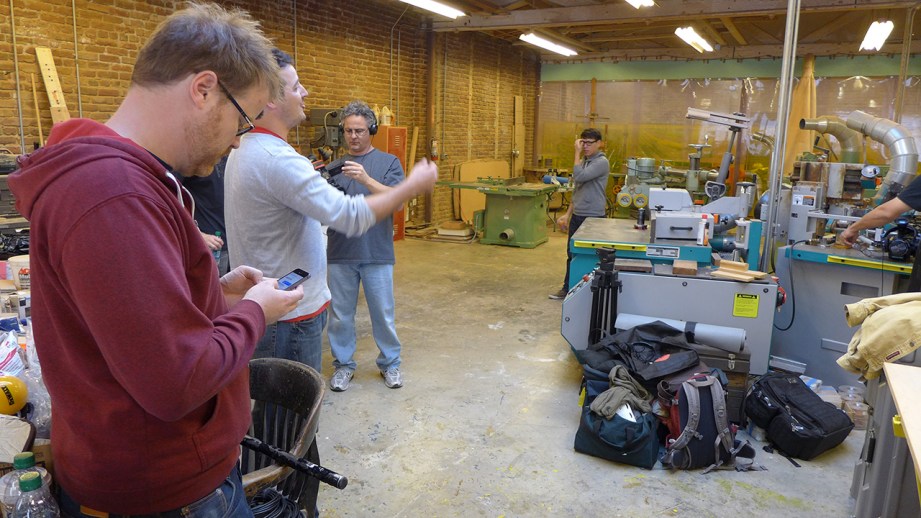
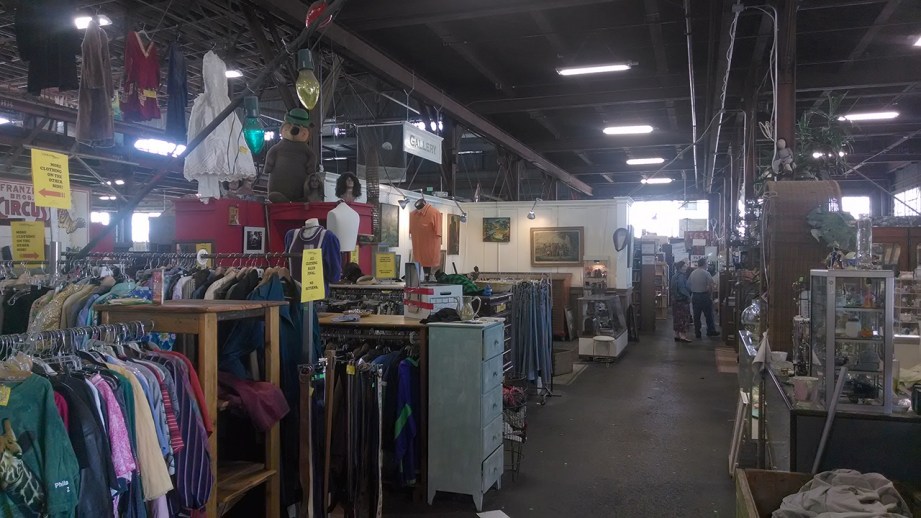
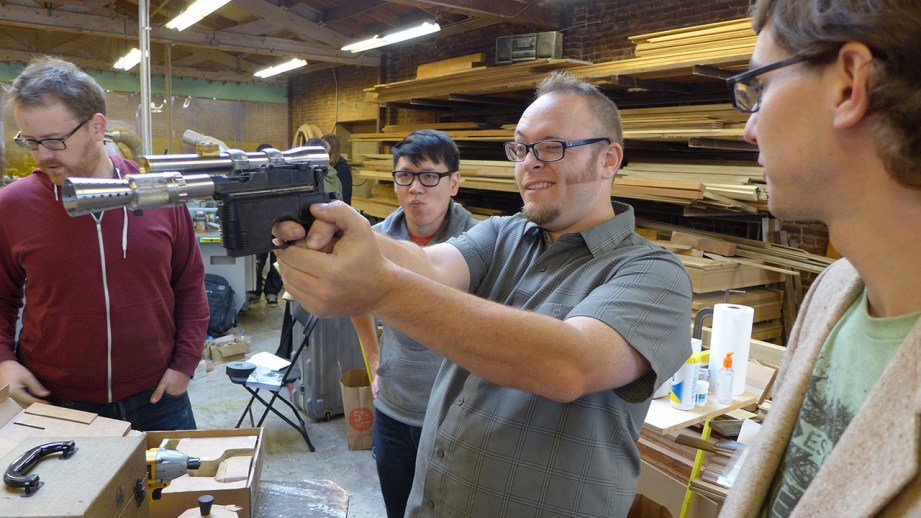
Next stop, San Francisco where Brandon Blizard, Ron Erickson and myself had two days to complete the final challenge. Tested rented out a woodshop owned by Ray Buffalo, one of the nicest people I have ever met. Yes, he was being paid for his shop and time but Ray really went above and beyond to help us out and was very gracious with his shop and skills. I had no idea what to expect and felt just a little dread when Adam gave the assignment of creating anything of our artistic vision with some type of mechanical function. This seems great, but something this wide open made it difficult for me to narrow down what to do. I generally work better with some constraints and I’m a planner so tend to not do well with on-the-spot decisions. We had a $500 budget and a list of places Adam likes to shop, so I headed straight to Urban Ore, one of the best junk stores ever. I figured that there would be plenty of stuff to draw inspiration from and, boy, was I right. They literally had everything from the kitchen sink to turntables, to car parts and I found myself in a section surrounded by vacuum cleaners.
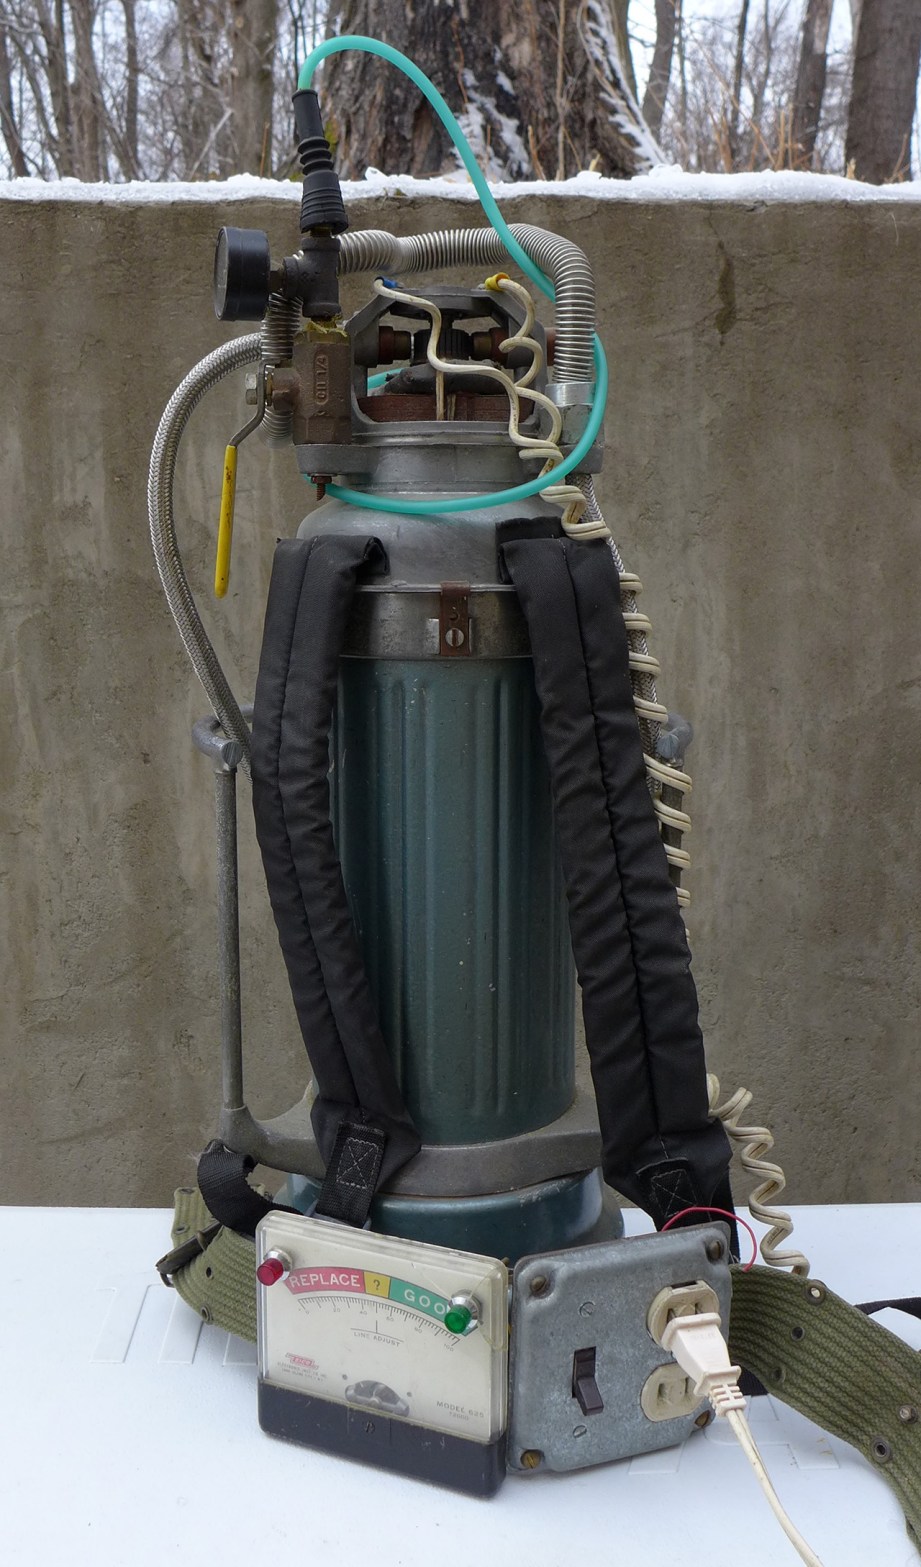
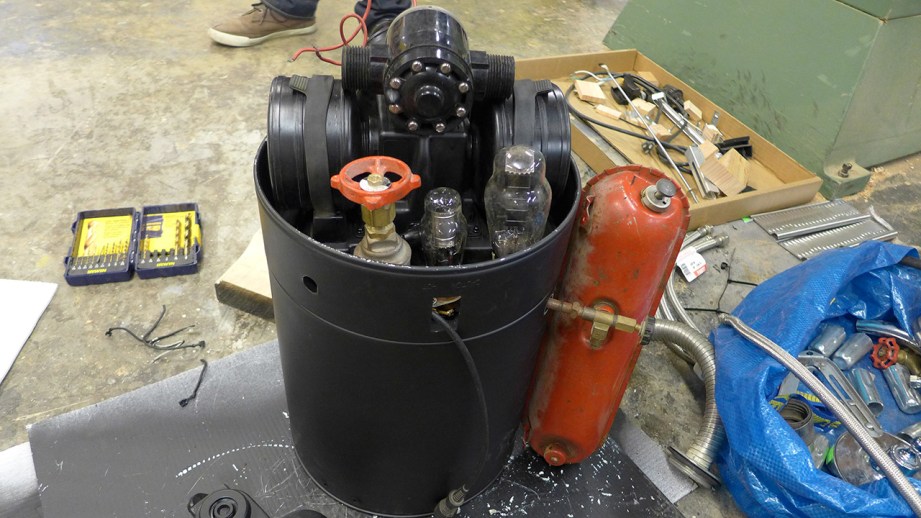
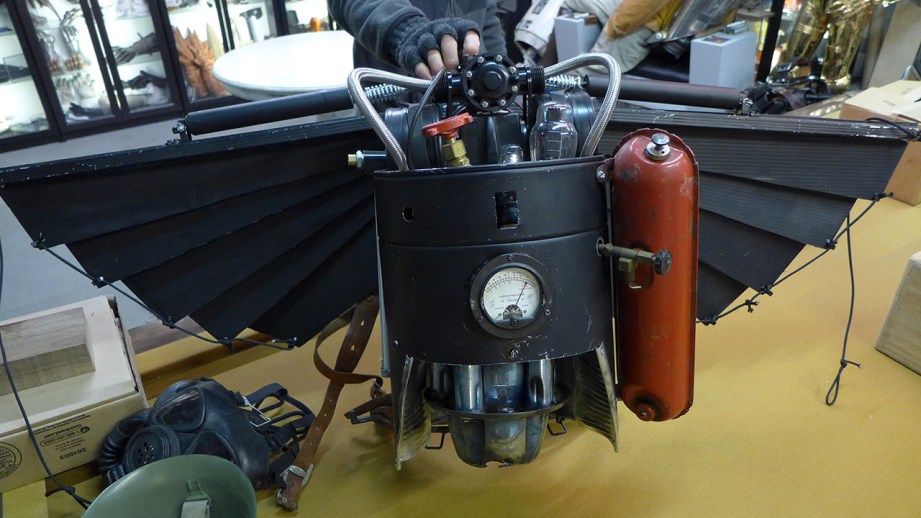
Flash back seventeen years ago when I was doing my Thesis Film and building a bunch of props, including a crude jetpack made from–you guessed it–a vacuum cleaner. I decided to return to the classics and make an even better one, but no suitable vacuum cleaner was to be found. I ended up with a garden sprayer canister that was perfect but promptly sprayed stuff all over me. WTF is this stuff?! Poison? Acid!? Can I still have children!? It was colorless, odorless and I was pretty sure it was just water, so I wiped myself down as best I could and continued on.
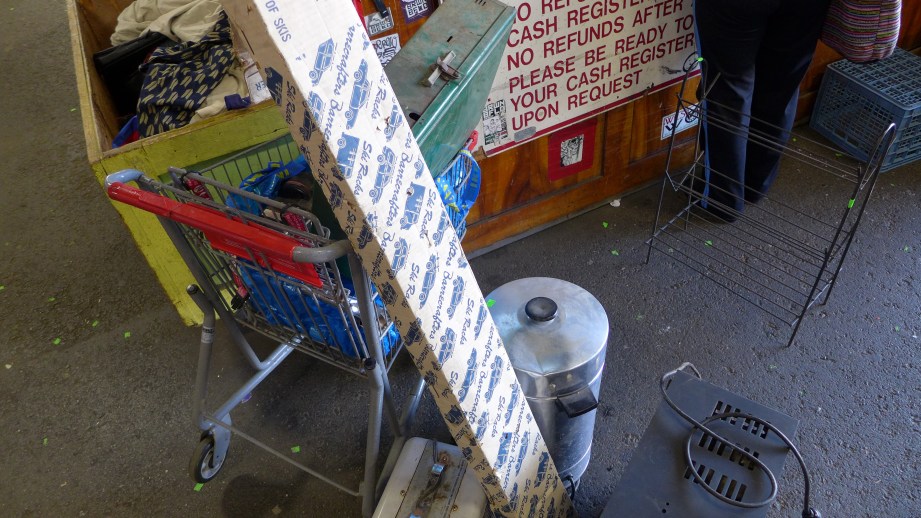
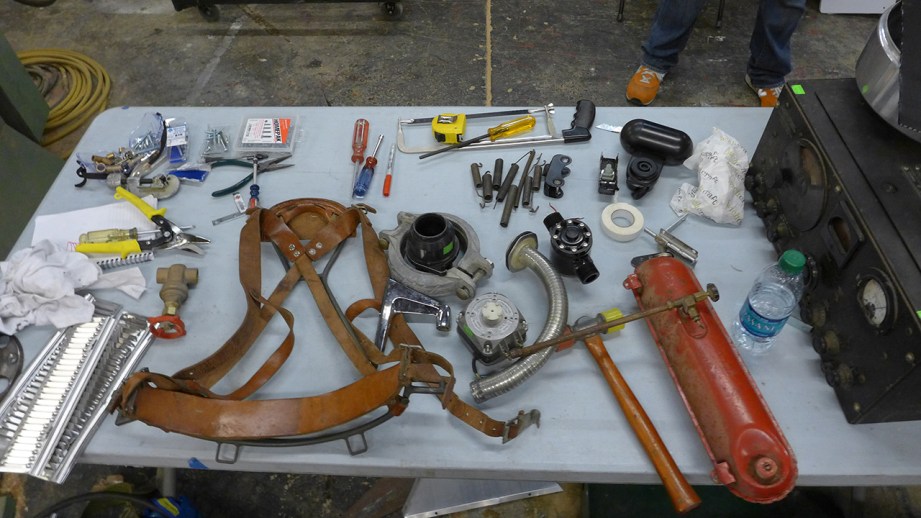
I filled a cart full of hubcaps, a roof rack, valves, hoses, gauges, industrial filters, straps, vents, a Coleman stove and a 40 lb WWII-era radio that I was hoping to steal parts from. The radio alone was marked $75 so I was worried about blowing too much money here, as I still needed a backpack to attach everything to. Good news – the sinister sprayer was indeed full of water, bad news – it’s Urban Ore’s in-house spray can for keeping the dust down, so I lost my jetpack. I dove back in and scrounged up a big old percolating coffee maker although it was a bit pricey at $28. Checking out with my cart of loot, I asked how much for everything except the WWII radio which I considered a bonus item. The guy purused my haul and after some thought says, ’50 bucks’. Wow! Great, how much with the radio? ’50 bucks.’ I love this place. On my way out I pass Ron Erickson hauling out an entire motorized dental chair. Interesting.
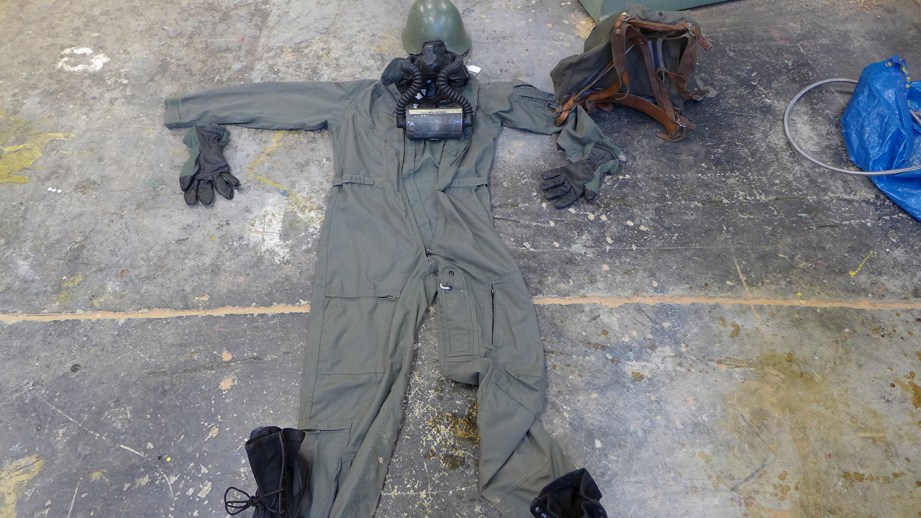
On Norm’s advice I headed over to Berkeley Surplus, a great little Army/Navy store that had great prices. My original thought was to get an ALICE pack like they used for the Ghostbusters proton packs, but Jerry, the owner, had something even better in the back. WWI Scandinavian backpacks with weathered leather straps and brass fixtures–way cooler and only $28. Since it was so cheap and I had spent only $50 at Urban Ore, I splurged and bought a flight suit, helmet, gasmask and combat boots to complete the outfit. I figured Adam would appreciate a full ensemble.
This still left me with enough cash to buy most of the hardware, tools and raw materials I thought I would need. Working in a strange shop is tough and we didn’t really know what was there other than woodworking tools. To be safe, I bought a rivet gun, sheet metal screws, some double-sided tape, paint and pneumatic screen door closers, which blew the rest of my money.
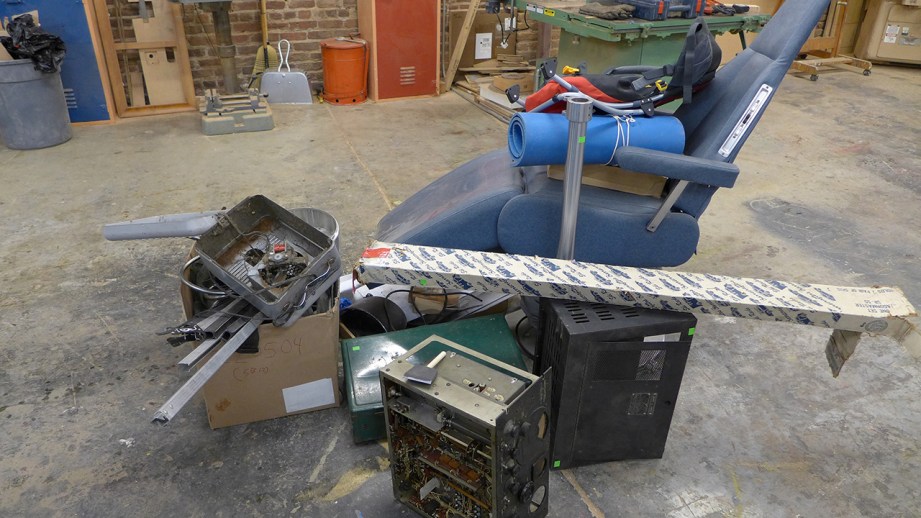
We had that evening to organize things and prep for the next day so I took stock of my junk and formulated some plans. Ron arrived with his dental chair, a backpack and a bunch of metal. Brandon had a giant chunk of oak, steel cabling and heavy metal. Whoah, this looks serious. I got back to the hotel to find my wife had called and had a six pack sent to my room. She’s awesome like that. Refreshing beverage in hand, I worked out some plans, particularly for the articulated wings I wanted to make. I had never done it before so was unsure of how best to pull it off, but my thinking was to use corrugated plastic for sections of the wing, string it together with paracord and activate it using the pneumatic door openers with the roof rack as the frame. The final touch was to use a flexible parts grabber (little claw at the end) with a door slide bolt as a release mechanism.
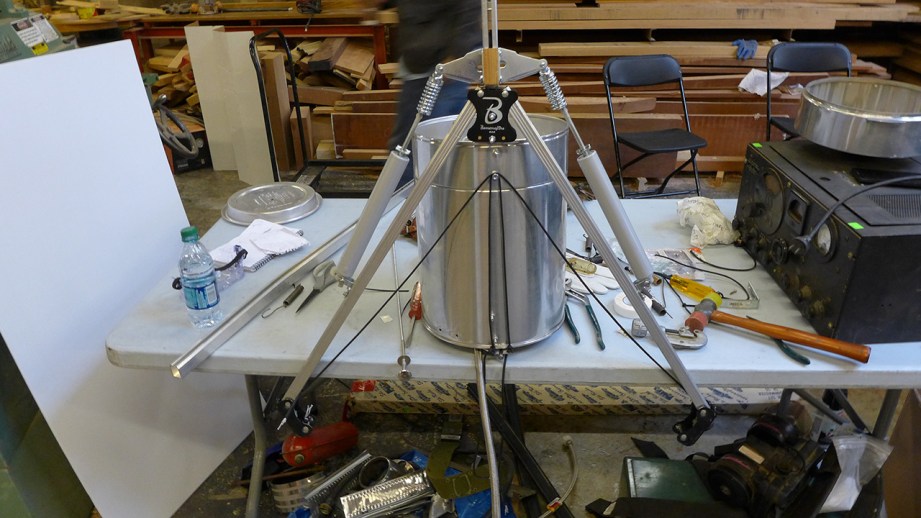
Too nervous to sleep well, so arrived at the shop the next morning groggy and jittery. We got to mess around a little until Adam showed up for the first time to check in on us. That was a surreal experience, meeting the guy you’ve been watching on TV for years. He was very nice and took time with each of us and gave feedback on our projects. We had the entire day to work and my first order of business was to figure out the wing mechanism using the roof rack and door openers. By early afternoon I had the mechanism working, including a remote release using the parts grabber but disaster struck when the grabber broke and I spent the next hour trying to fix it. I had unfortunately used up all my cash, otherwise I could have run out to get another one, made all the more frustrating since it was an $8 part. Adam showed later that afternoon and was a little concerned over how much more work needed done. He recommended abandoning the mechanism and go with a manual release. I figured if Adam was ok with that, I was too and moved onto finishing work. I managed to get everything painted and a rough assembly done by the end of the day and I was totally exhausted.
Slept like the dead that night and the next morning got up really groggy and sore all over. Stood up, tried to take a step and fell flat on my face. My feet and legs were not working at all, totally freaking me out. I pictured crawling to the phone, fumbling for the front desk button and yelling, ‘I’ve fallen and can’t get up!’ I managed to get up but my feet wouldn’t move up and down like normal, I could, however, walk like Frankenstein. I had spent the whole previous day working mostly on the floor and squatting down to work on the jetpack. I was also getting up and down a lot to run for tools and parts and after doing this for 10 hours I had pretty much blew out my legs! After the fact, I found out I damaged the nerves in my legs which caused drop foot, so I tromped around New York like that for a few long weeks until it healed.
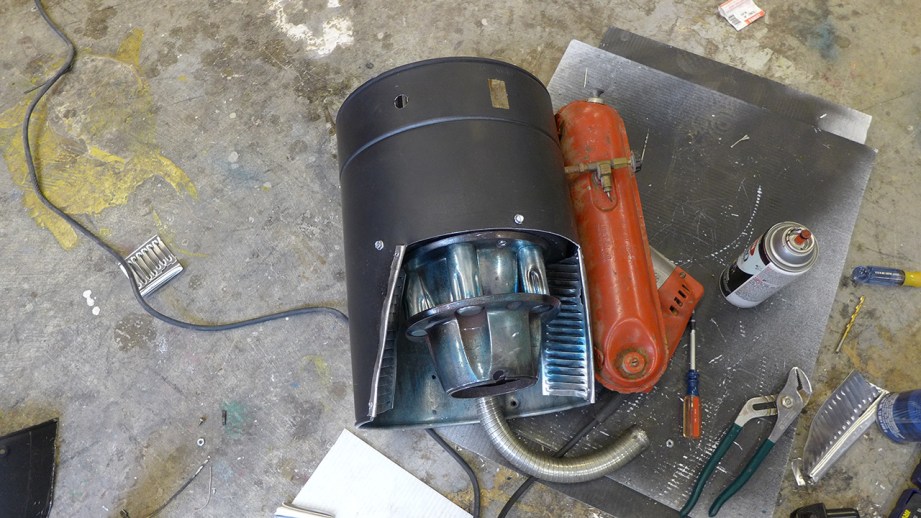
Today we had a few hours to finish things up before the finale at Adam’s shop. He popped in for an update and suggested that I open up the back of the jetpack to give it some depth and to use some mechanics marking fluid to simulate discoloration from heat on the nozzles. My previous attempt at doing this with a torch melted a big hole in one of my parts, so his idea was way better. The big disaster of the day occurred due to my bad legs as I was squatting in front of the table to work on the wings, lost my balance and took the whole jetpack with me. Bent the wing mechanism and a bunch of the pins and bolts flew out. Was able to get things back into relatively working condition.
Started to panic and did some really crappy weathering with silver paint, should have stopped while I was ahead. I didn’t get to use nearly as many cool parts from the WWII radio since I lacked the proper tools to take it apart. And I wish I had bought a hot glue gun since it will stick about anything together. In the end, I managed to finish most everything and at the very least, I liked how it looked.
During all of this, Ron and Brandon were woodworking, milling, bending, torching and welding like crazy. I was totally impressed with their skillset, they had me beat there, as I spent the entire time at my workbench with a drill, rivet gun and snippers. I’d also like to say that ‘competing’ with Ron and Brandon was an absolute pleasure. Really nice people that represent what Tested is all about–we ended up helping each other, lending tools, parts and elbow grease and had a good time. The three of us have stayed in touch since then, too.
It was finally time to go to Adam’s shop for the finale. I don’t know if I was more excited about the competition or the nerd goldmine that awaited us. They filmed us coming in, capturing our looks of awe and with my Frankenstein legs I promptly tripped and almost fell flat on my face. They kindly edited that out. It was total overload between being really nervous for the finale and wanting to look at everything. I tried to take as many pictures as possible, because I wouldn’t remember much of it otherwise. We all presented our projects and then awaited the decision out on the street, near the shop. When they announced it, I really didn’t know what to say. Having never won anything in my life and generally avoiding competition, this was new for me and it was great. We hung out with Adam for a few hours and he found something to share with us all. He bonded over tools and machinery with Ron, props with Brandon and film and audio equipment with myself, it was a really good time.
This whole thing was so unexpected and great and I would like to thank Will, Norm and the readers of Tested for their support, we truly have a great community. I will also say this, when faced with safe or crazy, try the crazy thing once and awhile. Crazy may just be stepping outside your comfort zone which is what I did by building the Octopod for my thesis. My original plan was something safe and kind of blah that would have got me through school. I usually play it safe, so I can’t say why I decided to build a 3D printed, articulated octopus sub, but I did and it’s one of the best decisions I’ve ever made. It started me down this whole crazy path.

With everything wrapped up, I returned home and heard from Adam a few weeks later. He wanted to know if I would be interested in 3D printing a piece for ‘Rasputin’s Mecha Hand from Hellboy’. He couldn’t figure out an easy way to fabricate it and thought this might be a good fit for my skill set. As a fan of the Hellboy comics and movies and particularly the production design, I immediately agreed.
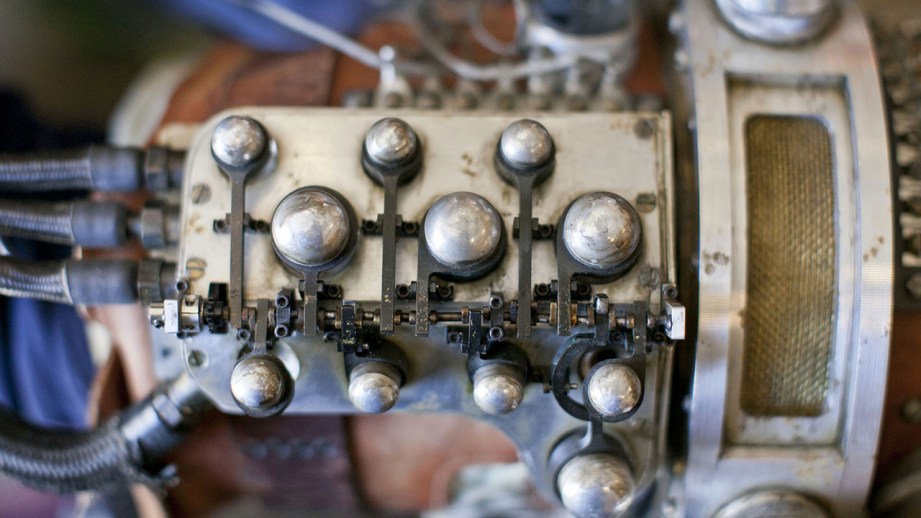
Adam sent me a slew of great reference photos that he took in person at Spectral Motion, the original fabricators. When I saw how many pieces were involved, the many tiny parts and the fact that Adam wanted it to actually work, I was a little intimidated. Nothing to do but forge ahead and what was originally to be a one week project with Adam turned into three months. Over the next few weeks we’ll see the ups and downs, a lot of problem solving and all the other good stuff.
Next week: breaking down the Motivator into it’s component parts, determining the scale and figuring out how to build the whole thing.
- Part 1 – Becoming The Inventern
- Part 2 – Reference & Measurements
- Part 3 – Prototypes
- Part 4 – Final Print
- Part 5 – Finishing Work
All photos courtesy Sean Charlesworth unless otherwise specified.


25 thoughts on “Bits to Atoms: Building the Millenbaugh Motivator, Part 1”
Leave a Reply

One Day Builds
Adam Savage’s One Day Builds: Life-Size Velocirapt…
Adam embarks on one of his most ambitious builds yet: fulfil…

Show And Tell
Adam Savage’s King George Costume!
Adam recently completed a build of the royal St. Edwards cro…

All Eyes On Perserverance – This is Only a Test 58…
We get excited for the Perserverance rover Mars landing happening later today in this week's episode. Jeremy finally watches In and Of Itself, we get hyped for The Last of Us casting, and try to deciper the new Chevy Bolt announcements. Plus, Kishore gets a Pelaton and we wrack our brains around reverse engineering the source code to GTA …
Making
Adam Savage in Real Time: God of War Leviathan Axe…
Viewers often ask to see Adam working in real-time, so this …

One Day Builds
Mandalorian Blaster Prop Replica Kit Assembly!
Adam and Norm assemble a beautifully machined replica prop k…
House of MCU – This is Only a Test 586 – 2/11/21
The gang gets together to recap their favorite bits from this past weekend's Superb Owl, including the new camera tech used for the broadcast and the best chicken wing recipes. Kishore shares tips for streamlining your streaming services, and Will guests this week to dive into the mind-bending implications of the latest WandaVision episod…

One Day Builds
Adam Savage’s One Day Builds: Royal Crown of Engla…
One of the ways Adam has been getting through lockdown has b…

Making
Adam Savage Tests the AIR Active Filtration Helmet…
Adam unboxes and performs a quick test of this novel new hel…

Making
Weta Workshop’s 3D-Printed Giant Eyeballs!
When Adam visited Weta Workshop early last year, he stopped …

One Day Builds
Adam Savage’s One Day Builds: Wire Storage Solutio…
Adam tackles a shop shelf build that he's been putting off f…
What a great read. Jet Pack looked really awesome
Sean, this is the first article of yours I’ve read and it won’t be the last. That was thoroughly entertaining. I look forward to the rest of the series.
Absolutely loved this article. Keep em coming!
These aren’t the droids you’re looking for! Move along… 🙂
Nice read!
Hoping to see more of your stuff and yourself on Tested.
Sean, great piece. Clearly besides being a talented maker you are a writer as well and I’m looking forward to the rest of this series.
Wonderful read, Sean!
Thank you for sharing your thoughts about the time that you spent working on the Inventern.. 👍
Congratulations. I remember watching the various videos of you and the other finalists. Keep working hard in a fun way! Cheers
Great article Sean !
I enjoy your writing ! And your work is pretty cool as well !
I’m developing an interest in 3D printing. I’.m really looking forward to reading what you have to tell us in the future !
Thanks !
Well written!
Nice work on the Motivator and jetpack. Can’t wait to see the finer details of the reverse engineering process and 3d printing.
Keep the fine work flowing!
Hi Sean, great job getting to work with Adam. I’m jealous.
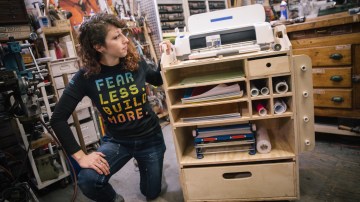
I’m wondering if you can talk about the parts storage system you have behind you, the clear containers with the red labels? Where did you get these?
Great read!
Any chance of a shop-tour from you?
Well done Sean sounds like you had a blast. Can’t wait to read more of your adventure.
Man this is fascinating, keep it up!
I Sure hope that you’re here to stay on Tested Sean, inventern or not!
The bins are from McMaster and work great but are pricey. It’s a steel housing that you can slot 5 bins into. It works really well if you can deal with the cost. Also used miles of P-Touch labels, each bin is marked with part and McMaster reorder #.
It’s already on Google maps, just find the right manhole cover in NYC.
I would have to clear that with NYU but I wouldn’t rule it out.
I’d be terrified for what I’d find lifting manhole-covers in NYC, alligators and Ninja Turtles are probably the least scary things living/growing there 🙂
Printing question, for a friction fitting how do you account for the filament size and what tolerance you need for the two pieces in the fitting?
Love the video of the motivator, the working assembly looks great
Good question. It varies greatly from printer to printer. On the MakerBot I usually try .2mm difference between parts. But even this varies depending on how big or small the parts are. On the ProJet printer I used for the final motivator I could use exact numbers.
Holy fast response batman!
Thanks I really appreciate the response. Small follow up, I’ve heard from a printer tech about take a finished part (ABS plastic), and using acetone fumes in a small container to slightly melt the outer face of the part to smooth it out and get rid of the ridge’d finish.
Thoughts on this process or other ideas besides sanding to get a smooth finish? I liked your idea about scotch bright and rub and buff on the motivator.
Will tried this out a while ago and it does work pretty good. I haven’t done this mainly because it’s really stinky and for most of what I have been doing the lines don’t bother me. Plus you do loose detail from the process and it seems like there’s a lot of fussing to get it just right.
I did use Bondo Glazing Putty for my Stormtrooper scope and it worked really well.
Great article! It would be interesting to see more about your daily work, maybe a series on what you repair and your methods? Maybe an article on 3D modeling? At least a shop tour is in order!
Sounds like you managed to pull through some near disasters to snatch victory. I can’t begin to imagine how surreal the whole process must have been. I’ve been a fan of your octopod for a long time, it is a beautifully realised design with a great mix of realism and fantasy. I I look forward to reading more of your adventures.
PS. Maybe look into the design and manufacture of an exosuit… try to save those legs 🙂