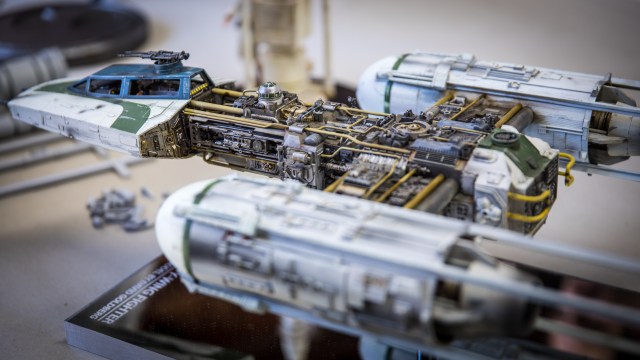
In the making of Star Wars, there are few model miniatures more detailed and beautiful than the Y-Wing made by ILM. Modelmaker Dave Goldberg shares with us his masterful studio scale build of the rebel starfighter, alongside his builds of the Tantive IV escape pod and Tatooine moisture vaporators. Dave’s scratch-built models are a true labor of love and a sight to behold!
Episode 448 – Robo Calls – 5/10/18
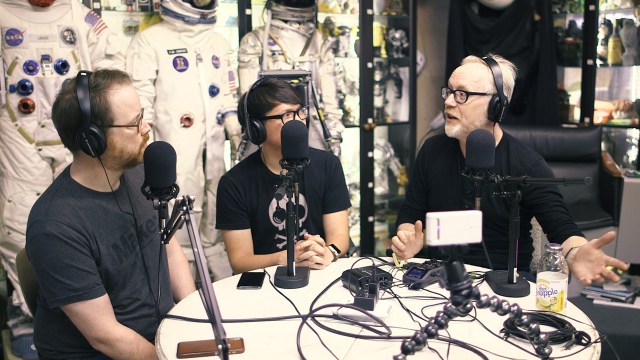
With Google IO, Microsoft Build, and Facebook F8 all happening within a week of each other, there’s lot to talk about on this week’s show. We discuss the implications of Google’s new AI efforts, Oculus’ new prototype VR headset, and Nintendo online service plans. Plus, more details about our trip to see the NASA InSight mission rocket launch!
Simone’s TED Talk: Why You Should Make Useless Things
Simone’s TED talk is online! “In this joyful, heartfelt talk featuring demos of her wonderfully wacky creations, Simone Giertz shares her craft: making useless robots. Her inventions — designed to chop vegetables, cut hair, apply lipstick and more — rarely (if ever) succeed, and that’s the point.”
Tested at the NASA InSight Rocket Launch to Mars!
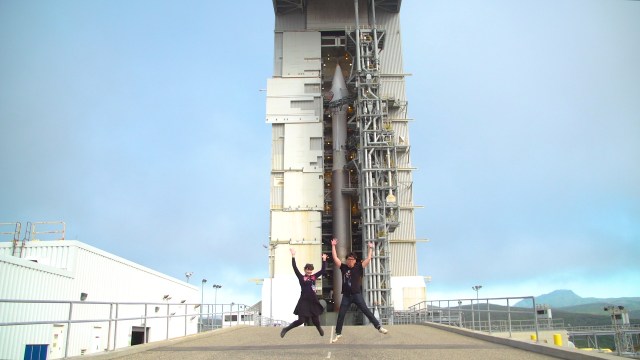
We go to our very first NASA rocket launch! This past weekend, the InSight mission sent a robot lander to Mars, launching from the central coast of California. Norm and Ariel trek to Vandenberg Air Force base to get up close to the rocket and experience this historic west-coast interplanetary launch!
Building a Hobby RC Plane with Balsa Wood
The vast majority of modern RC airplanes are factory-built to some degree. It is no longer mandatory to spend long hours cutting, gluing, and sanding pieces of balsa wood to create a flying model. But for many, the process of transforming lightweight lumber into a flying machine is their favorite aspect of the RC hobby. There is certainly an enhanced sense of pride when your hand-built creation takes to the skies.
Building from kits is now a niche segment of aeromodeling. It was still the norm, however, when I got into the hobby as a kid in the 1980s. So, I learned basic building skills by necessity. I still use those skills today when building a modern kit or repairing a factory-built ship.
Some aspects of building balsa models can appear rather intimidating. But don’t worry. It’s all pretty easy once you break it down. In this article, I will walk you through the basic elements of what is involved.
About the ElectriCub II
Like so many other aspects of RC, balsa kits have benefitted from new technologies. Most new airplane kits are designed with CAD software and manufactured by laser cutting. This produces clean, sharp edges and parts that fit together perfectly (well, usually).
Not so long ago, kit components were produced by die-cutting. A cookie cutter-like tool would stamp the parts from balsa sheets. This process works fine so long as the die is sharp. But it was not uncommon to find parts with crushed or unfinished edges.
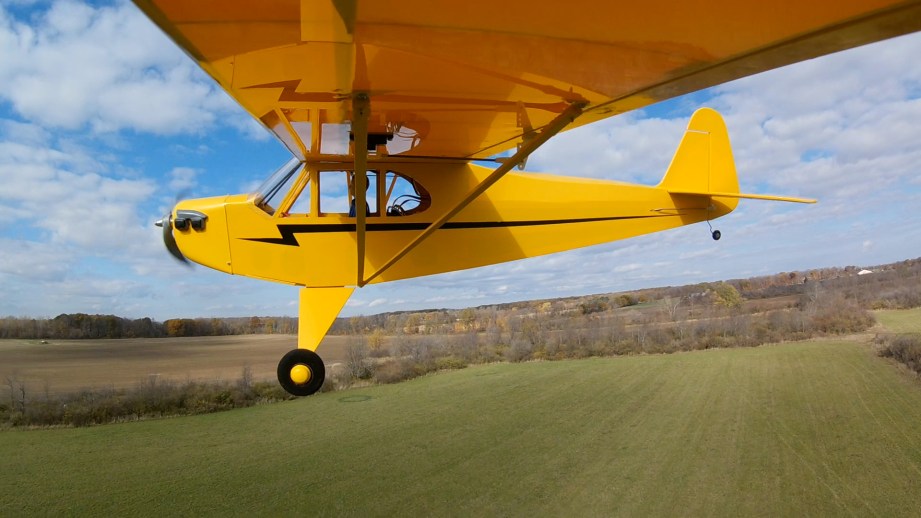
The example kit here, a Great Planes ElectriCub II ($100), is a bit of a hybrid. The design dates back to the 1990s and it was originally produced as a die-cut kit. The version you can buy today has most of the legacy die-cut parts, along with some updated pieces that are laser-cut.
Electric-powered models from the 90s are my favorite genre of airplanes to build. Power systems of the time used brushed motors and Ni-Cad batteries. The brushless motors and LiPo batteries of today can output significantly more power at far less weight. Upgrading to a modern power system often requires a few airframe modifications, but the performance boost makes it worthwhile.
Tools of the Trade
It probably would not be very beneficial for me to try to explain specific building techniques in a written article. I think it’s an ideal situation to learn by doing. You may want to start with something really simple like the AMA Cub or one of the laser-cut free-flight kits from Stevens Aero. Whatever you choose, just dive in, start building, make mistakes, and develop your own best practices.
One thing I can do is outline some of the tools you will need. Hobby knives are a must. I use a simple #11 X-Acto for most of my building. They dull quickly, so buy in bulk.
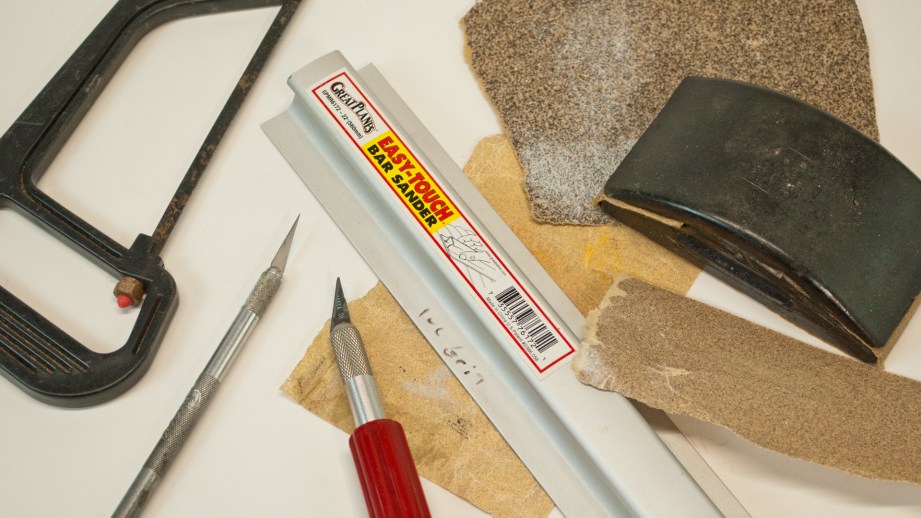
Some kits require you to cut balsa sticks at precise lengths and angles to create truss structures. Mitre boxes and fine-tooth hand saws can make this job much easier. I recently began using a cheap mini table saw for this task. It probably isn’t powerful enough for anything other than hobby tasks, but it works great for me.
You will also need a variety of sandpaper. I typically get by with 80, 150, and 220-grit. A sanding block isn’t mandatory, but you’ll be glad you have it. I use Easy-Touch bar sanders.
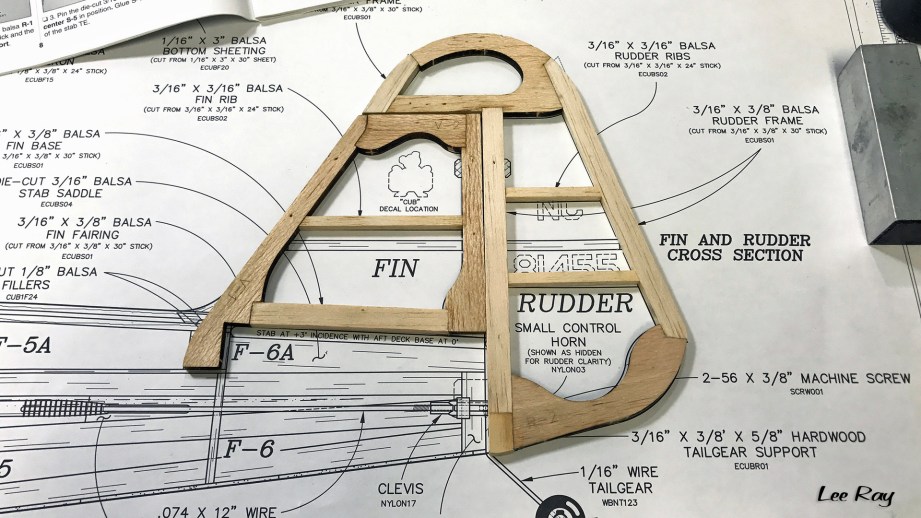
Like most balsa kits, guidance for building the ElectriCub comes from a step-by-step assembly manual and full-size printed plans. The manual tells you what to do while the plans define what everything should look like. Many assembly steps require you to apply wax paper over the plans and pin the balsa parts into position before gluing them together.
My workbench has a plywood top. Pins do not stick into the plywood very well. So, I like to lay out a few ceiling tiles on the benchtop. The plans and wax paper are then layered over the tiles. This gives me a flat work surface that will accept and hold pins really well.
Sticky Notes
There are countless adhesives to choose from. That topic alone could fill up several articles, but I’ll cover only the basics here. Most hobbyists use CA glue (cyanoacrylate) for building balsa airframes. It is available in different viscosities (thin, medium, thick). The primary appeal of CA is that it dries very quickly–usually within a few seconds. Spray-on accelerants can be used to speed up the process even more.
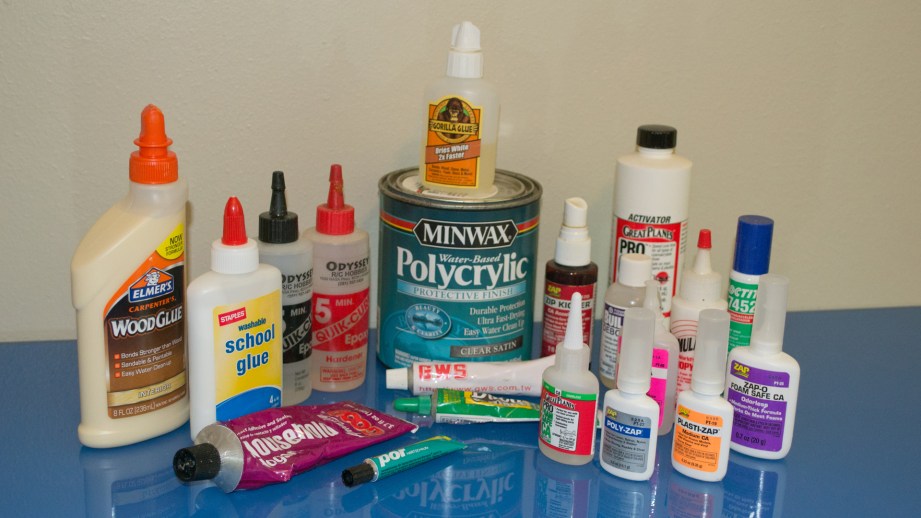
For all its speedy stickiness, CA definitely has drawbacks too. Cured CA is very hard and brittle. Also, CA doesn’t discriminate between balsa and your skin. Anyone who uses thin CA will inadvertently glue themselves to something sooner or later–probably sooner.
Some modelers avoid CA because the fumes are an irritant/allergen for them. Others just don’t like the smell. Personally, CA doesn’t bother me. I use it for most of my projects. However, the accelerator gives me headaches at times.
There are lots of slower-drying alternatives to CA. Solvent based cellulose glues have been used since the early days of modeling. Some derivatives are still available. I like to use carpenter’s glue. It is cheap, easy to work with, and creates very strong joints. Yes, it takes several hours to dry, but that’s okay. In some instances, the additional working time is helpful to get all of the parts correctly aligned.
Some areas of an airframe, such as the firewall and landing gear mount, require extra strong glue joints. The traditional adhesive for these applications is 2-part epoxy. It is available in a variety of working times (5, 30, 60-minute). Epoxy is great stuff, but it is also very heavy. It is important to use epoxy very strategically on model airplanes to avoid creating an overweight dud.
Making Sense of the Skeleton
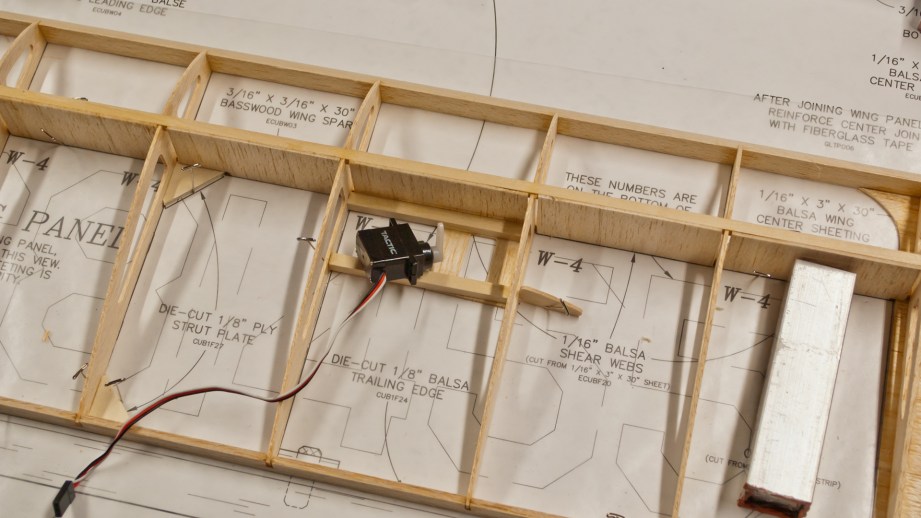
The ElectriCub II provides a good example of the typical structure you will find in a balsa RC airplane. It should come as no surprise that there is also a lot of overlap with how wooden full-scale aircraft are built. The wing is constructed of die-cut balsa ribs, hardwood spars, and pre-shaped leading and trailing edges made of balsa. You pin the bottom spar to the plans and begin gluing all of the other pieces in place. Think of it as a 3-dimensional jigsaw puzzle. It goes together rather quickly.
Construction of the fuselage involves building the left and right sides using die-cut balsa parts and sticks over the plans. A common mistake is to build two of the same side…doh! The sides are then joined together with a series of rectangular bulkheads. This is a critical task. You want to take your time and make sure that you align everything perfectly. A bobble here could introduce warps into the fuselage that make your completed model difficult or impossible to trim. I typically like to use slow-drying glues so that I can obsess over keeping things square.
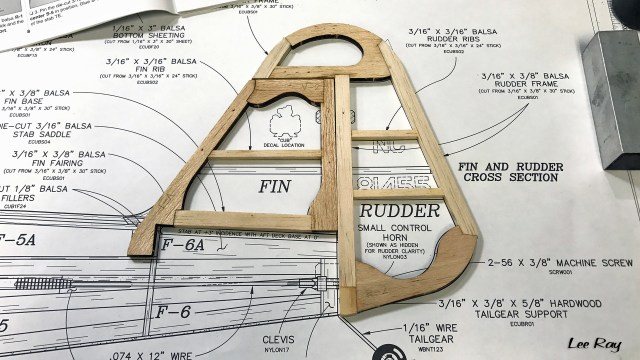
The Cub’s tail feathers were a little unique. Some models use simple balsa sheet for the tail feathers. Others utilize a truss made of balsa sticks. This Cub has laser-cut parts to form the perimeter of each structure. Then balsa sticks are integrated to strengthen them.
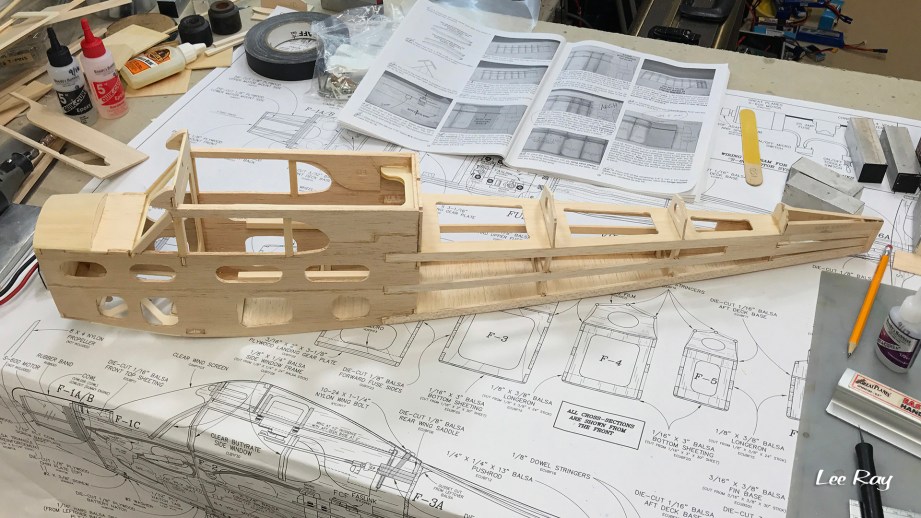
The laser-cut parts in the tail should have been the best fitting pieces of the entire kit. But they were actually the worst. Laser-cut parts are only as good as their design, and these were designed poorly. The curves they created were significantly different from what was shown on the plans. My options were to modify the parts to match the plans or use the parts as-is and deviate from the plans. I chose the latter.
Making it Yours
Speaking of deviating from the plans. That is one of the big advantages of building a kit. You don’t necessarily have to adhere rigidly to the stock layout. You can take it in any direction you like. The more kits you build, the more comfortable you’ll become with paving your own path.
I built my kit at the same time that my buddies, Fitz and Lee, built their own ElectriCubs. We all started with the same kit, but ended up with significantly different airplanes! I’m usually the adventurous one, but not this time. I built a moderately powered civilian Cub in the traditional yellow trim scheme. Fitz gave his airplane gobs of power and the markings of a US Navy NE-1. Lee got very imaginative and created a fantasy twin-engined Cub.
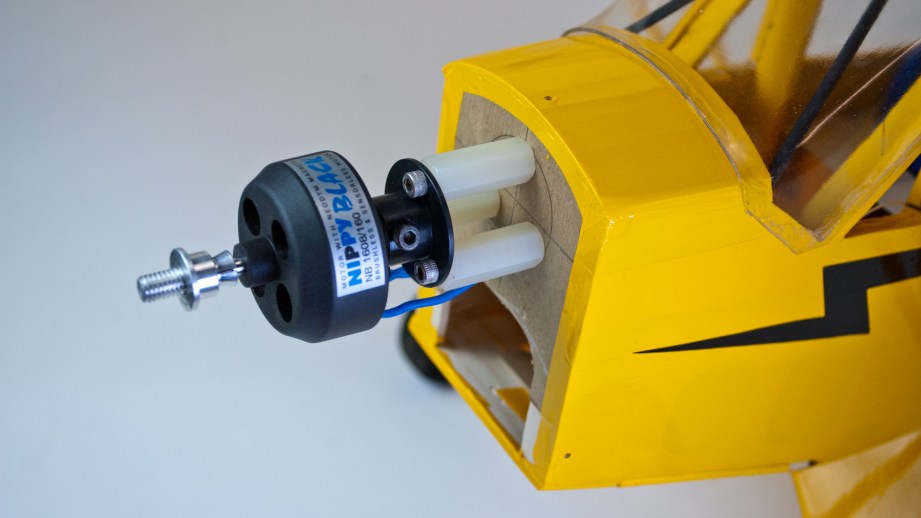
The modifications I made to my Cub were relatively minor. Obviously, I made changes to accommodate a brushless power system and a LiPo battery. It was merely a matter of fabricating a simple mount for each component.
Per the plans, a single standard-size servo drives both ailerons via a flexible cable. Modern mini servos are inexpensive and powerful. So I simplified things by using a Tactic TSX-5 mini servo ($9) for each aileron. This saves a little weight and omits the complexity of an internal cable. I saved additional weight by using TSX-5 servos for the rudder and elevator controls as well.
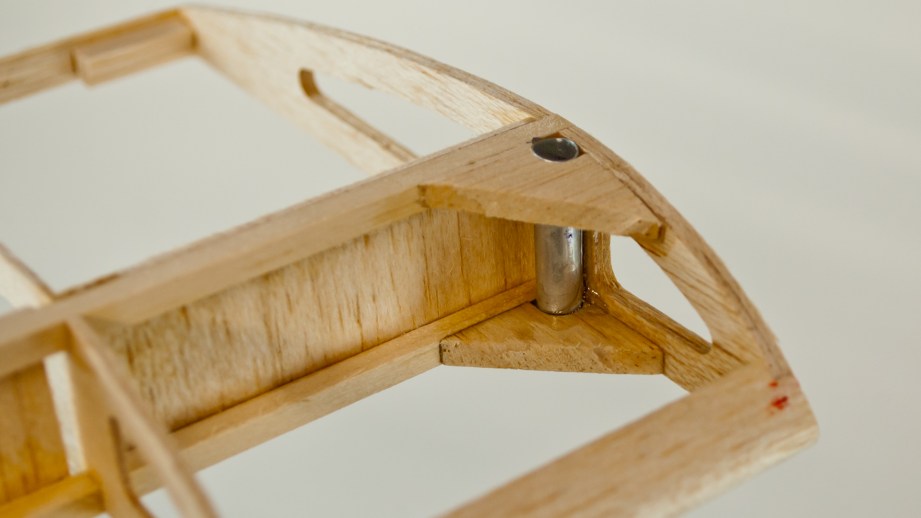
I thought that the stock window cutouts were considerably undersized. I expanded them to more accurate proportions by cutting the fuselage sheeting and repositioning the affected doublers. My only other notable modification was to add ¼”-diameter vertical tubes near each wingtip. This allows me to easily mount action cameras to the Cub for capturing in-flight footage.
Slip Me Some Skin
Completing the structure of a balsa model can be very deceptive. A commonly-used phrase for this milestone in the process is “75% down, 75% to go.” The point is that having a framed out airframe makes it feel as if you’re near the finish line. But the reality is that there is a lot of work left to be done. One of the primary tasks is to cover up all of your previous work by giving your airplane an outer skin.
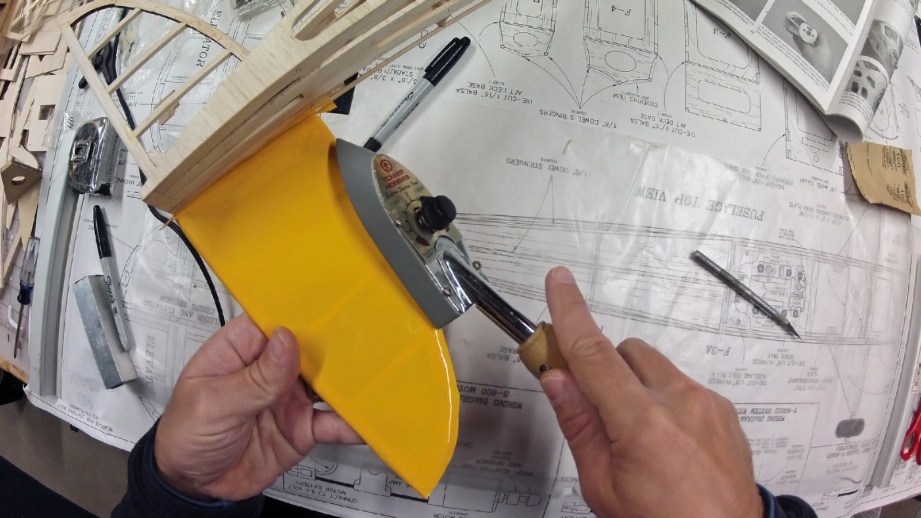
The modern day covering of choice is plastic film with heat-sensitive adhesive. The basic idea is that you apply panels of the covering to the airframe by adhering the borders with an iron. You then shrink it tight with a heat gun. It sounds simple, right? Well, it is in theory. There is definitely a learning curve to achieving a smooth finish and making the 2-dimensional film conform to compound curves without wrinkling. The good news here is that most mistakes are purely cosmetic. You have to foul up pretty badly before an amateur covering job will affect a model’s flight performance to any significant degree.
One of the keys to achieving a nice finish is making sure that the airframe is smooth. The iron-on covering does not hide bumps and low spots in the wood structure. It accentuates them. So plan on doing a lot of sanding…and then a little more. The smoother the airframe, the smoother the covering.
A household iron will work for applying covering, but using them is really cumbersome. Hobby shops carry irons and heat guns that are made specifically for this job. They’re reasonably priced and make things so much easier.
Final Stretch
Once your model is covered, you basically have the equivalent of a factory-built model. The end is finally in sight and the maiden flight isn’t far away. You’ll still need to install a power system and radio gear. But those are skills which are not specific to kit building. So, we can cover those topics another time. Some modelers see that first flight as the payoff for all of the hours invested in building. Others see it as their cue to start looking for their next kit to build.
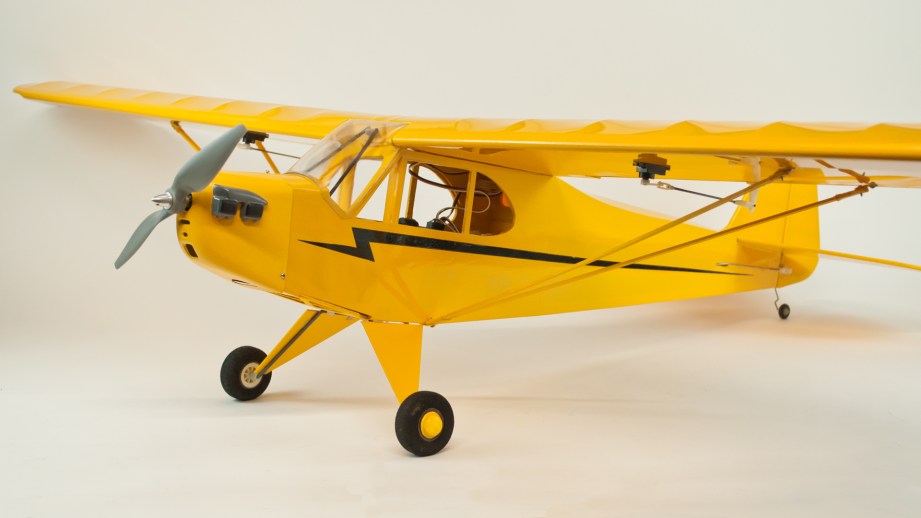
Building an RC airplane from a kit demands considerable time, a few specialized skills, and it usually costs more than a pre-built model. Even so, the benefits of kit building are substantial. First of all, building can be relaxing and enjoyable. There is also the bonus that a model you’ve built is uniquely yours. Every piece has your fingerprints on it (and maybe even a little blood). I can tell you that it is a pretty awesome feeling to see something you’ve built with your own hands take flight (and land safely). Try it yourself and see.
More Info
For anyone interested to learn more specifics about my ElectriCub II, I encourage you to listen to RC Roundtable podcasts 41 and 41.1. I joined my buddies to discuss our collective experiences with building, modifying, and flying this classic balsa kit. You can also view videos that Fitz and Lee created about their specific ElectriCub II models.
Terry is a freelance writer living in Buffalo, NY. Visit his website at TerryDunn.org and follow him on Twitter and Facebook. You can also hear Terry talk about RC hobbies as one of the hosts of the RC Roundtable podcast.
Giant Pacific Octopuses – Still Untitled: The Adam Savage Project – 5/8/18
Science in Progress: Making an Octopus Puzzle, Part 1
Adam visits the California Academy of Sciences to meet one of its Giant Pacific Octopuses and chat with marine biologists to learn about Octopus intelligence. Back at the cave, he designs and builds a feeding puzzle to give to the Cal Academy to help stimulate the GPO!
How Could Alien Communication Work? Offworld episode 6: Arrival
This week on Offworld, we look at the science fiction film Arrival and its depiction of communication with alien life! Ariel is joined by cognitive neuroscientist Dr. Teon Brooks and Dr. Douglas Vakoch, President of METI (Messaging Extraterrestial Intelligence) to discuss how we might try to decipher verbal and visual language or alien origin.
Lenovo Mirage Solo VR Headset Review!
We test and review the Lenovo Mirage Solo standalone virtual reality headset! What makes this headset unique is its Worldsense inside-out tracking system, which gives you six degrees of free movement while using it. We show how that works, its limitations, and see what 6DOF adds to Google’s Daydream VR platform. Plus, we review Beat Saber!
Model Behavior: Patina and Polish
We can’t get enough of Bill’s Skyrim-inspired prop builds, and this week we assemble a cold-cast dagger kit from the Punished Props archive. Bill shows us how you can get a metallic finish by polishing cold cast parts, and then add real patina weathering without any paint!


