


Simone shares her favorite things from 2016, including new tools, electronics, and the potato parcel! Hope you’ve have a fun and safe new year’s eve, and we’ll see you in 2017!
Tested in 2016: Joey’s Favorite Things!
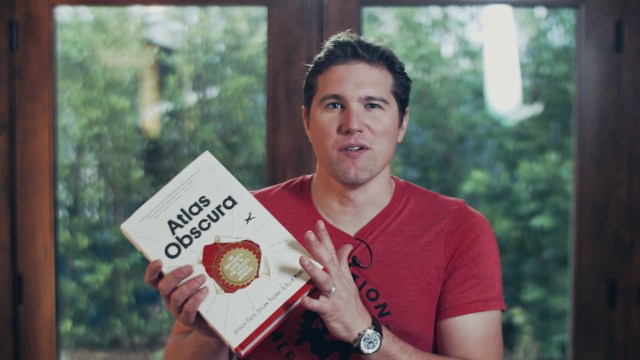
Our senior video producer Joey Fameli shares some of his favorite things from 2016, including a few books, a piece of video grading software, and his still-favorite PC game!
The White House’s SXSL: Designing Adaptive and Assistive Technologies
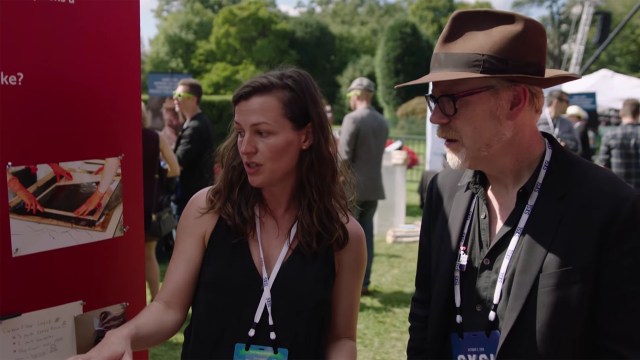
South by South Lawn was a gathering of artists, entrepreneurs, thinkers, and makers at The White House to share ideas, art, and action. And at the event, Adam Savage meets Sara Hendren, an artist and design researcher studying the adaptive and assistive engineering. Here, she shares with Adam a few examples of inclusive design.
Adam Savage Opens His Imgur Secret Santa Gift!
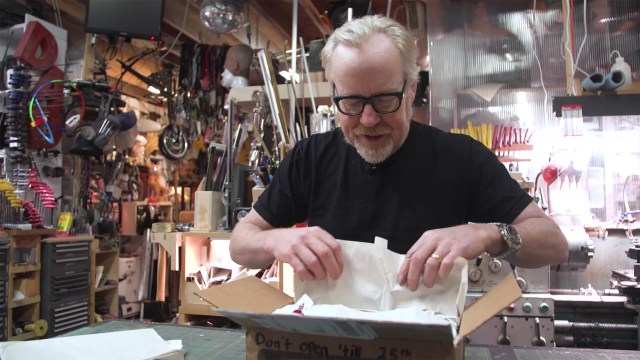
Adam opens up his mystery gift from this year’s Imgur Secret Santa gift exchange! His present is from Paul, to sends some regional treats! Have a wonderful Christmas and happy all of the holidays!
Planet Express Spaceship for Futurama Fan Film!
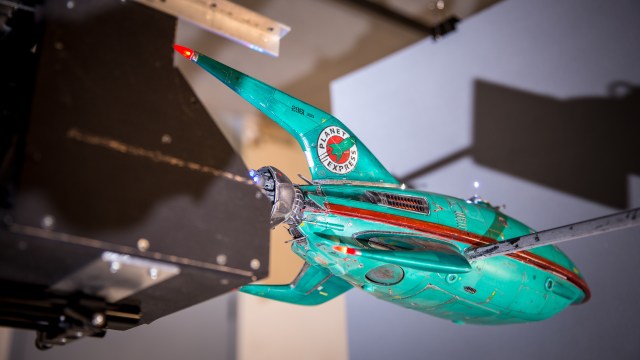
For the Fan-O-Rama live action Futurama short film, Cinema Relics used motion control technology for its Planet Express ship shots. We chat with the film’s effects director to learn how their team heavily modified a model kit to adapt it for stop-motion filming!
Shot by Joey Fameli and Edited by Jay Cisneros
Adam Savage’s One Day Builds: Vsauce Glasses Hack!
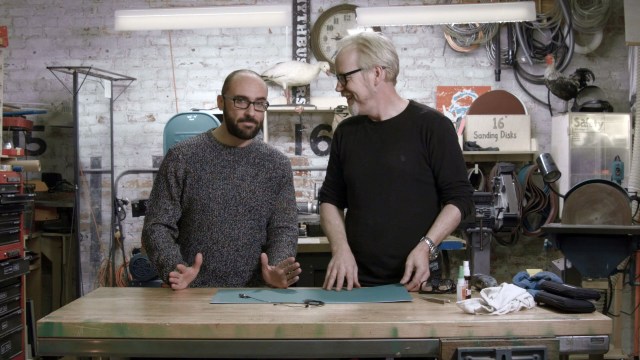
In anticipation of their upcoming Brain Candy live show tour, Adam invites Vsauce–Michael Stevens–to the cave for a special One Day Build. While the two chat about science, curiosity, and duct tape, Adam makes modifications to Michael’s glasses to hide a stage microphone inside!
Episode 380 – Our Virtual Reality – 12/22/16
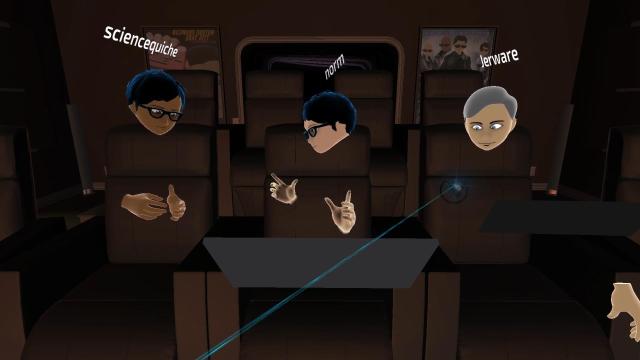
For our last episode of This is Only a Test this year–we record entirely in virtual reality using BigScreen VR! Jeremy, Kishore, and Norm discuss Rogue One and share some of their favorite technology products, Tested video projects, and science stories of 2016. Have a great holiday, and we’ll see you all in the new year!
LEGO with Friends: The Excavator, Episode 3
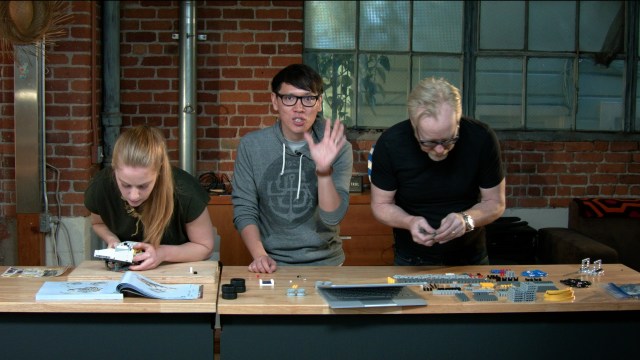
Progress! The team gets into a groove of building, but a strange disturbance on the set throws the concentration into disarray. Can the builders recover from a missing brick in the past? The feeders also overstep their bounds!
How To Make Airplanes from Christmas Cards
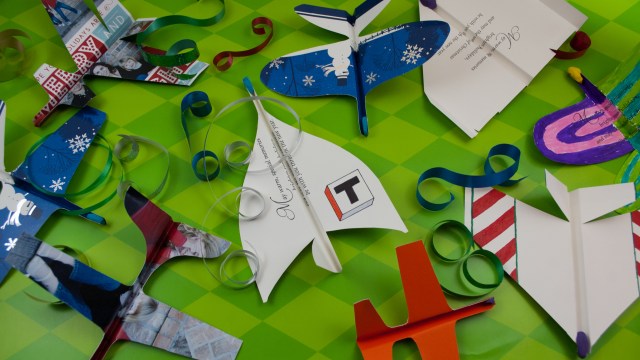
Like many people, my first lessons in aerodynamics came from creating enormous fleets of paper airplanes. Most of my pulp-based flyers were constructed from sheets of folded notebook paper. My creativity soared once I realized that I could also make great-flying airplanes using index cards and other forms of cardstock. In many ways, these cardstock airplanes were simpler to make and more robust than my paper models. More importantly, the rigidity of cardstock released my airplane designs from the straight-lined, angular constraints of folded paper. I could shape my cardstock airplanes however I wanted.
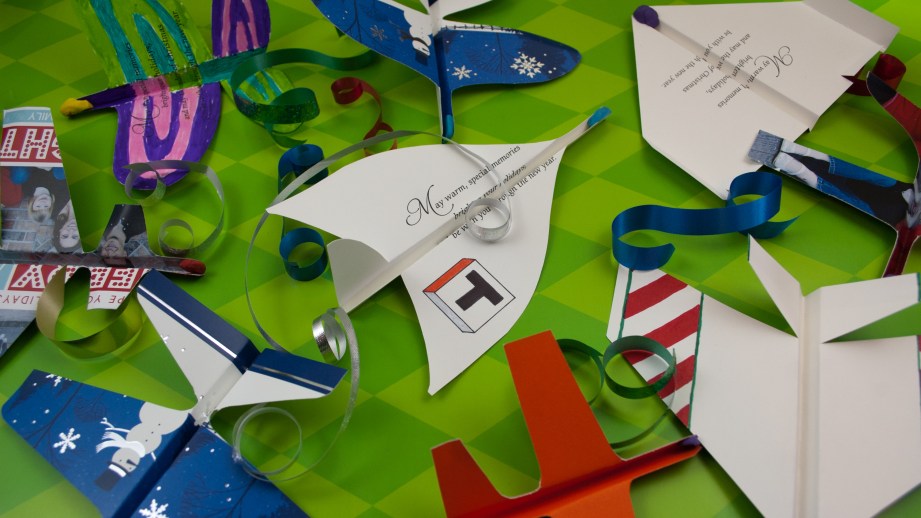
Not many of us keep a supply of cardstock handy. But, that all changes at Christmastime. All of those holiday cards that you receive can be repurposed as glittery, Santa-adorned living room flyers. Creating these airplanes is easy and a lot of fun.
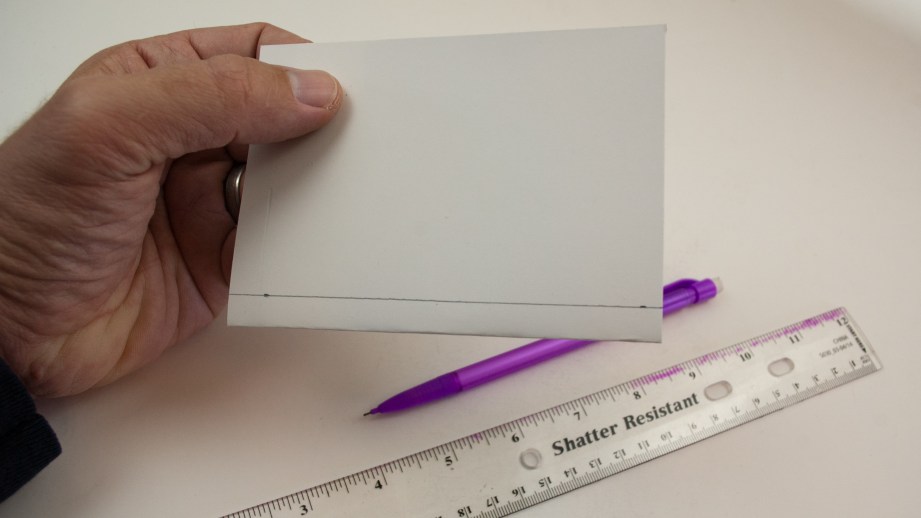
Step 1: Gather Supplies
Most of the Christmas cards that I currently have around my house measure just a shade under 5″x7″ (127mm x 178mm). We’ll call them 5×7 just to keep things simple. Some are folding cards, while others have only one panel. We’ll be using a single 5×7 panel for each model. So if you’re using a folding card, cut it in half along the fold. Now you can make two airplanes!
The size of the card(s) you use for this project actually isn’t that important. The concept can be scaled up or down with little effect. The same is true of the weight of the cardstock as well. Just use whatever you have on hand. The one notable exception is cards printed on photo paper. I have yet to make a decent flying airplane with that heavy, floppy stuff.
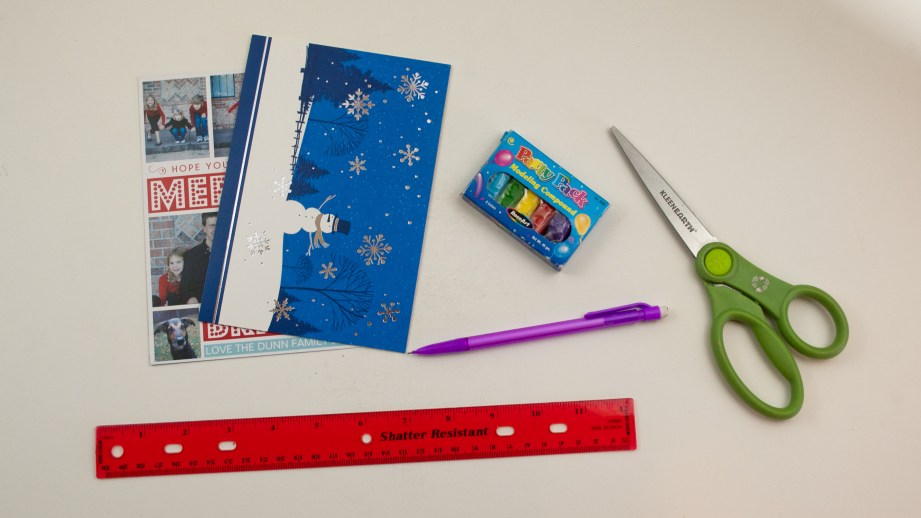
In addition to a card or two, you will also need a ruler, something to draw with, and a small amount of modeling clay.
Step 2: Fold the Panel
Take a single 5×7 panel and fold it in half. You can fold it along either axis. If you’re starting out using the linked Holiday Delta design template, you’ll need to fold the panel along the long axis. If you’re designing a model of your own, you may want to fold it the other way. Chances are that you’ll be making more than one airplane. So mix it up and put some variation in your fleet.
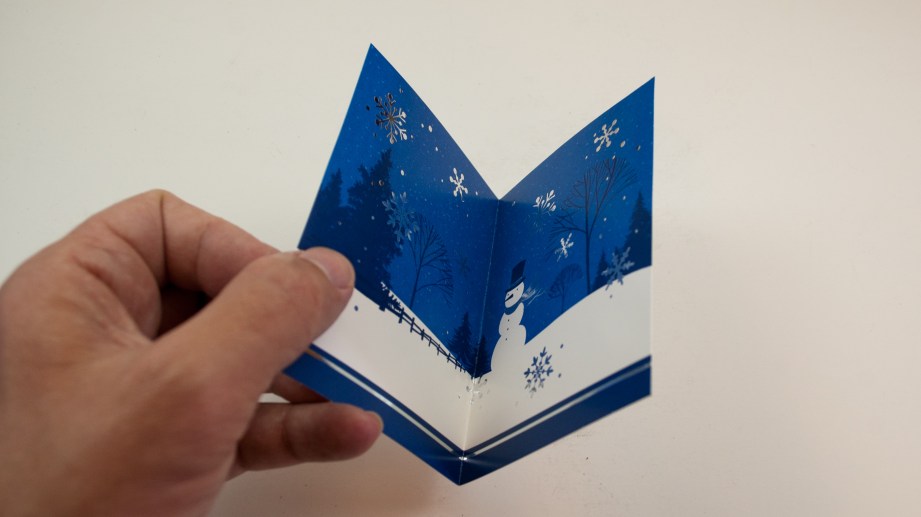
The inside surface of the fold will end up being the top of the airplane. Take that into consideration as you decide where you want the card’s printed design to appear on the finished airplane.
Step 3: Mark the Fuselage
The fold you created in the previous step will become the spine of your airplane and also the place where you grip for launches. Decide how tall you want the spine to be and draw a line on each side. Keep in mind that the taller your spine is, the shorter your wingspan must be. I typically make the spine 3/8″ (9.5mm) tall.
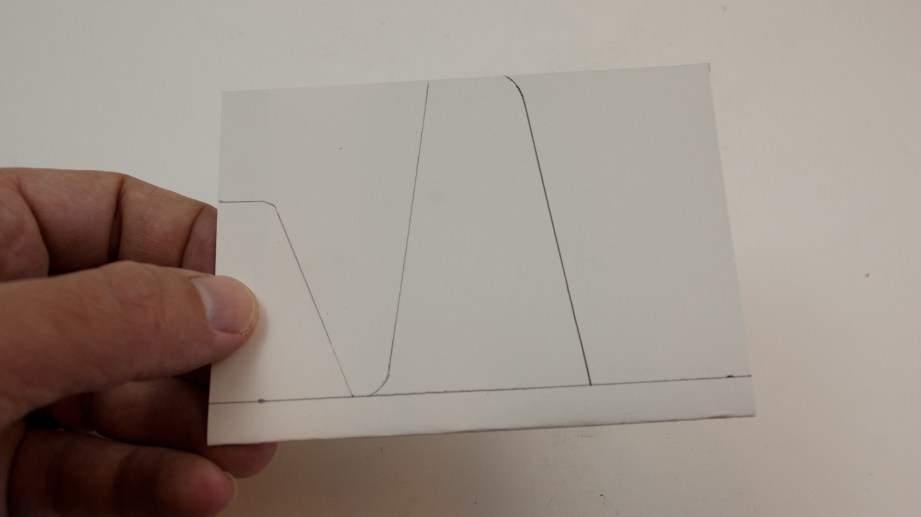
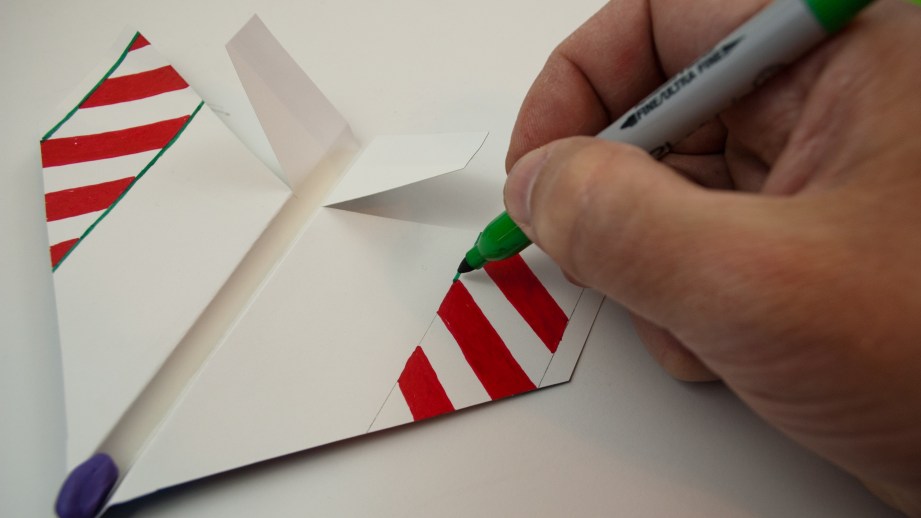
Step 4: Draw Your Airplane
Once your fuselage has been marked, draw the profile of your wings and tail feathers on one side of the card. The sky is the limit here. Simple airplanes like this are a great avenue for seeing what works and what doesn’t. If, like me, you favor unusual designs, I would encourage you to start out with a few models using a traditional layout. Once you have the hang of flying those, you’ll have a better foundation to successfully get weird.
The tail feathers of most full-scale airplanes consist of a vertical stabilizer and an independent horizontal stabilizer. That would be difficult to emulate with folded paper (but certainly not impossible). While it may seem unorthodox, the simplest solution here is to create a V-tail.
A V-tail looks like it sounds. The tail has two surfaces, each angled upward about 45-degrees. Both surfaces serve simultaneously as vertical and horizontal stabilizers. Because of that duality, you’ll probably want to size these surfaces a little larger than normal vertical and horizontal stabilizers.
The Holiday Delta design uses a triangular-ish, delta wing layout (hence the name). So it does not require a separate horizontal stabilizer (or equivalent V-tail). It does, however, need a vertical stabilizer. The way it is drawn, you will end up with two vertical stabilizers when you cut out the airplane. You can choose to keep both stabilizers and angle them apart slightly. Alternately, you could opt to cut off one of the vertical stabilizers.
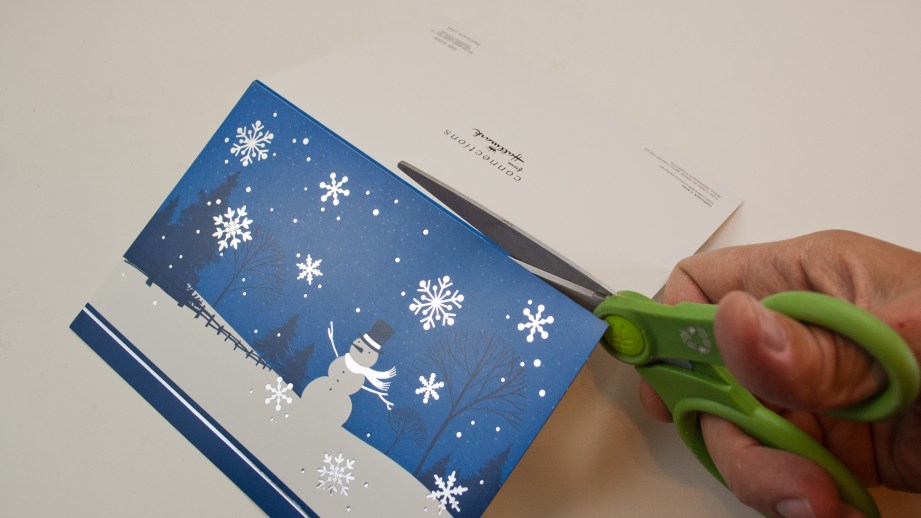
Step 5: Cut Your Airplane
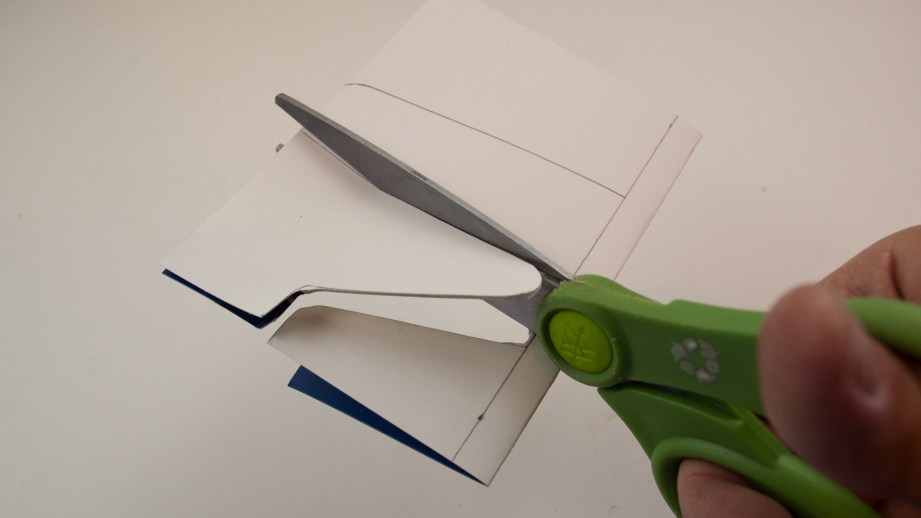
Once your design has been drawn onto the panel, use a pair of sharp scissors to cut both sides at the same time. As you navigate the scissors around curves, be sure that you are not creasing any parts of the airplane. A little bending is probably unavoidable, but a crease is bad news.
Step 6: Fold the Wings
Your Christmas card is going to look like an airplane very soon! Place the edge of a ruler along one of the fuselage marks that you drew in step 3. Fold the wing and tail surface on that side of the panel, making sure to create a tight crease on the drawn line. Flip the panel over and repeat the process for the other wing and tail surface.
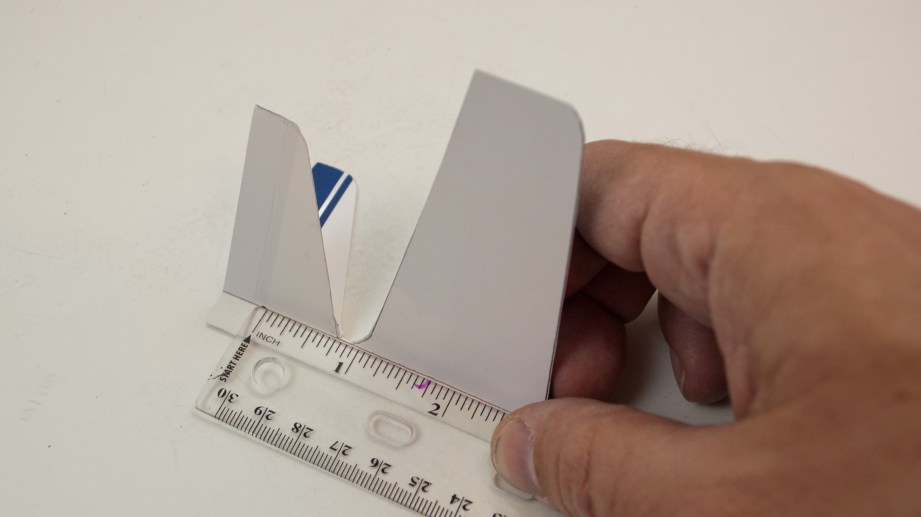
Once you have created the necessary creases, you can fold the wing and tail surfaces into their final positions. Each wing should be arranged in a very shallow upward angle when viewed from the front. If you’re using a V-tail, position each surface about 45-degrees upward. A pure vertical stabilizer such as that on the Holiday Delta, should be straight up.
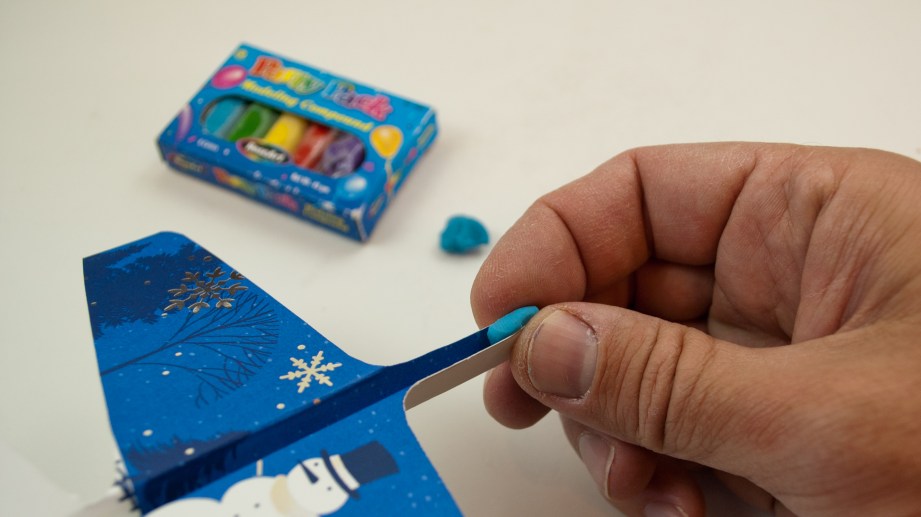
Step 7: Balance Your Airplane
The balance point of an airplane (center of gravity – CG) is a critical element in determining how it will fly. A small adjustment in the CG can determine whether an airplane flies well or not at all. Most of the time you’ll need to add nose weight to balance a model. Simple modeling clay is a great material for this. Just squish a piece into the nose of the airplane and add or subtract small amounts as needed for proper balance.
I’ve marked my recommended balance point on the Holiday Delta. There are many formulaic approaches to estimating where the optimum CG should be for a given airplane design. But that’s much too broad a topic to cover here. So I’ll just give a simple example that you can extrapolate to get in the ballpark for a given model. You can then hone in on the best balance point with flight tests.
The chord of a wing is the distance between its leading edge and trailing edge. With a simple rectangular, constant-chord wing design (aka a Hershey bar wing), you typically want the CG to be X-distance behind the leading edge, where X=25-30% of the chord. For example, a model using a Hershey bar wing with a 2″ (51mm) chord will likely fly well if balanced .5″ (13mm) behind the wing leading edge. Once you introduce variables such as tapered, swept or delta wings, things get more complex. Those are lessons for another day. But feel free to make your Christmas card wings as wacky as you want. “Guessing and testing” is a perfectly valid method for balancing a paper model.
Step 8: Flight Testing
Here’s the best part! Once you’ve balanced your model, take a quick look at the airplane from all sides to see if there are any obvious twists or warps. Most of the times that I’ve had a maiden flight go horribly bad, it was because I had a twist in the wing that I failed to notice beforehand. You generally want both wings to be as flat as can be.
You’ll also want to add a little bit of nose-lifting control input called “reflex” to your model. On the Holiday Delta, you add reflex by bending the trailing edge of both wings upward very slightly. Models with a V-tail should have the trailing edge of both tail surfaces bent slightly upward.
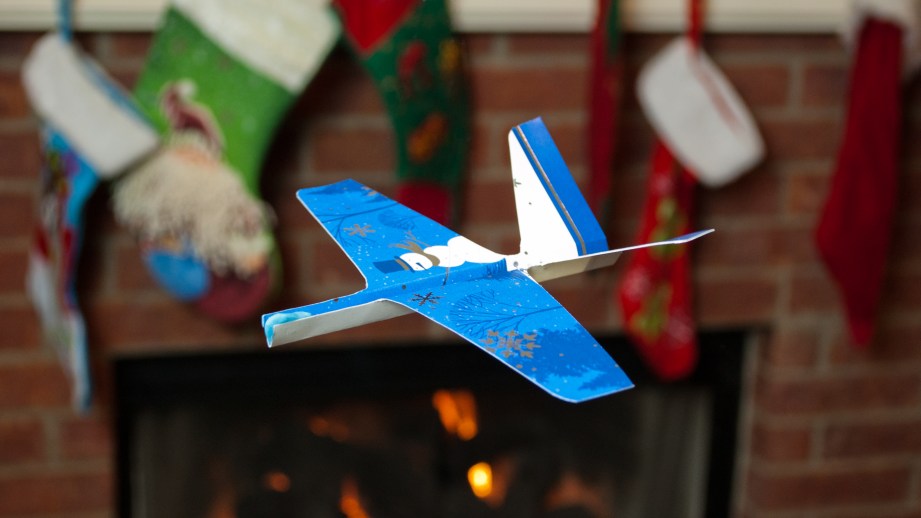
These models fly best indoors or in very calm weather. Launch your airplane with a gentle, horizontal toss. The goal is to have your airplane fly straight away in a gentle descent. With any luck, this will happen on the first flight. The more likely scenario, however, is that you’ll need to do a little trimming.
If the model turns to the right after launch, raise the trailing edge of the left wing a little more and try launching again. You could also lower the trailing edge of the right wing for the same effect. Either way, bending just a small area near the wingtip will usually have the desired effect.
If the airplane noses up after launch, it probably needs more nose weight (and/or less reflex). A model that is only slightly tail-heavy will follow an up and down “porpoising” flight path. Add a small amount of nose weight and you should be good to go. Take the opposite steps for a model that noses down after launch.
I think you’ll find that trimming paper models is a learned skill that will improve with practice. Starting out with a simple and proven design like the Holiday Delta removes some of the variables and will help you get the hang of things quickly.
Make It A Game
Many of us will soon find ourselves flush with holiday cards and perhaps an equal overabundance of visiting family members. Making Christmas card airplanes can be a group activity for adults and kids. You’ll likely end up competing to see whose airplane can fly the furthest, or which one looks the coolest. Even if your airplane doesn’t win the family flight trophy, these models are still fun to design, create, and decorate.
Terry is a freelance writer living in Lubbock, Texas. Visit his website at TerryDunn.org and follow him on Twitter and Facebook. You can also hear Terry talk about RC hobbies as one of the hosts of the RC Roundtable podcast.
Adam Savage Meets Black Girls Code Organizers at The White House
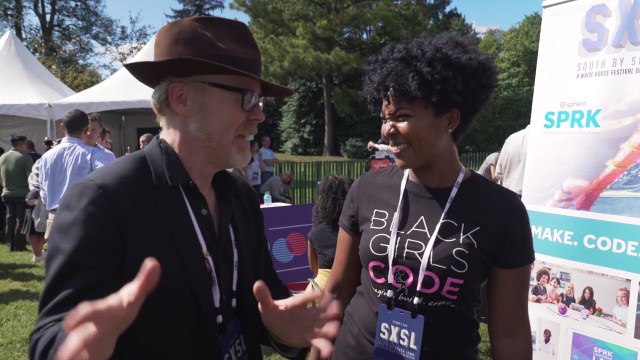
South by South Lawn was a gathering of artists, entrepreneurs, thinkers, and makers at The White House to share ideas, art, and action. And at the event, Adam Savage meets with organizers of Black Girls Code, who work to make progamming more accessible to young women around the country.
Shot by Burke Doeren, Tyson Call, and Duncan Wolfe
Edited by Casey Redmon