Meet the Makers: Mel Ho

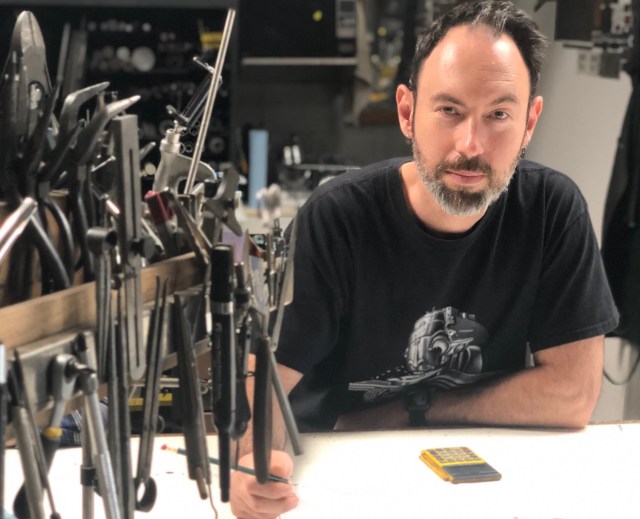
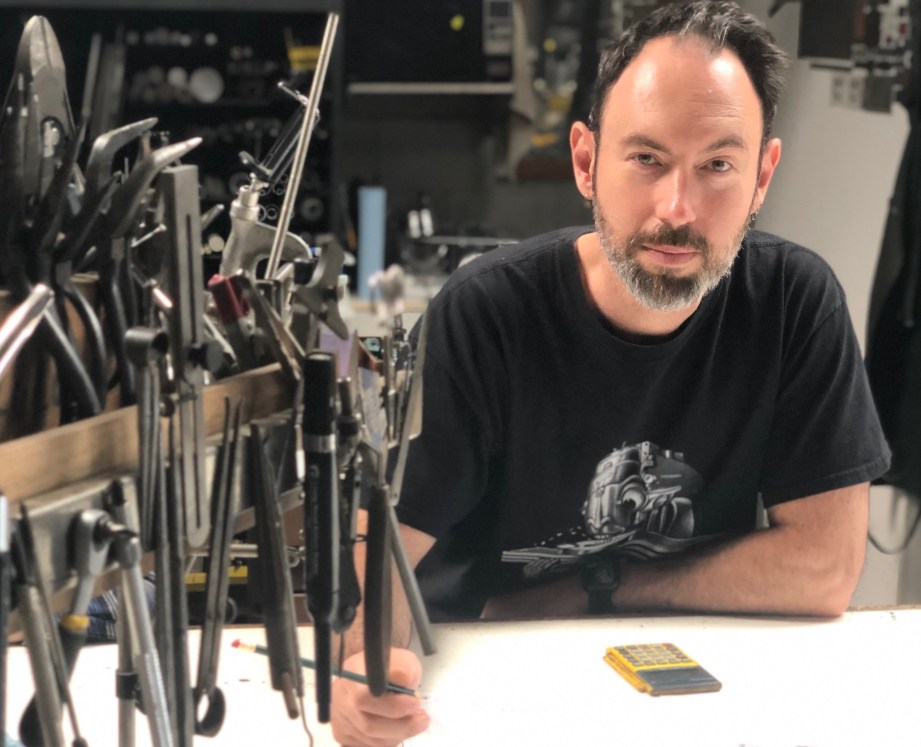
Besides making a part for Project Egress, and participating in the live build, Mel Ho works in Adam Savage’s shop when they’re not in school. They’re also our good friend.

Read on to learn more about Mel.

Bio: Mel Ho is a fabricator and robotics engineering student obsessed with vintage computing, mathematics, and the cyberpunk dystopian future.

If there was one thing that could encompass Mel’s life, it would be a laundromat cafe that serves ice cream, notarizes papers, and officiates weddings. Along with having extensive experience with fabrication tools in makerspaces and CNC manufacturing spaces, such as Techshop and Plethora, they have also dabbled in graphic design, illustration, network security, music production, and basically anything that can pay the bills.

When not in UCSC working on bio-inspired robots (DANSER Lab) and studying hard for that diploma, Mel lives a second life as an artist and fabricator for the illustrious Adam Savage in his sweet cave.
Artist statement: “It has been an exciting and humbling experience to participate in Project Egress. Collaborating with Jen Schachter on our dazzle camo part, not only forged a strong bond between two shop heads, but contributed to an elaborate sculpture that encapsulated the same feelings of creativity and wonderment the original Apollo missions set out to do.

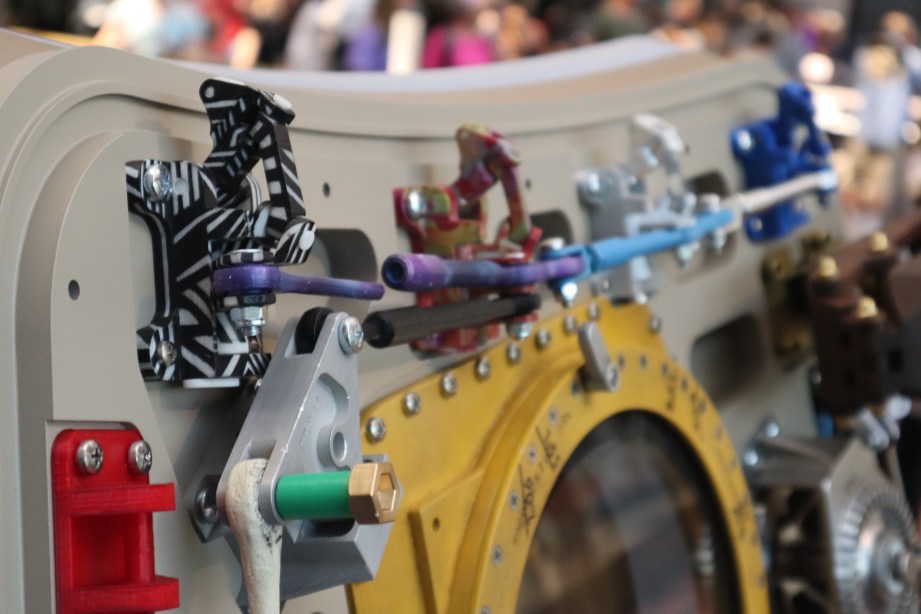
What defined Project Egress for me was the diversity of fabrication techniques used by everyone involved with the project. From 3D printed parts with interesting finishes to machined wood and metal components, the hatch door is an amalgam of artistry and engineering. Regardless of the artist’s background or skill sets, we are all part of something magnificently interesting; eclectic fragments that create a greater whole.”

Follow Mel: Website |Instagram

Meet the Maker: Baker Ripley Fab Lab

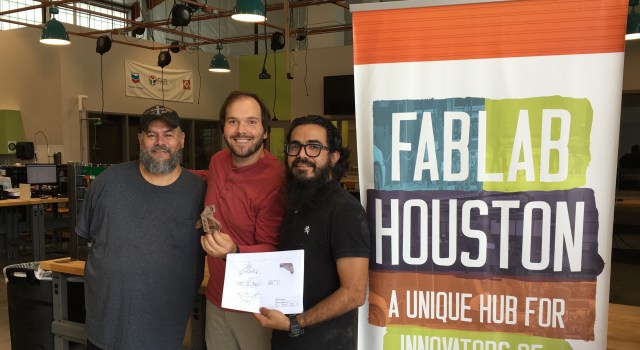
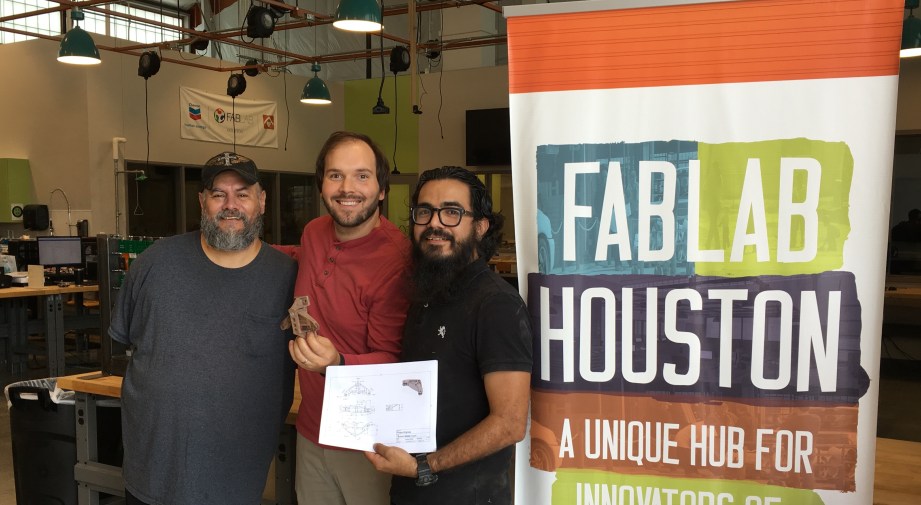
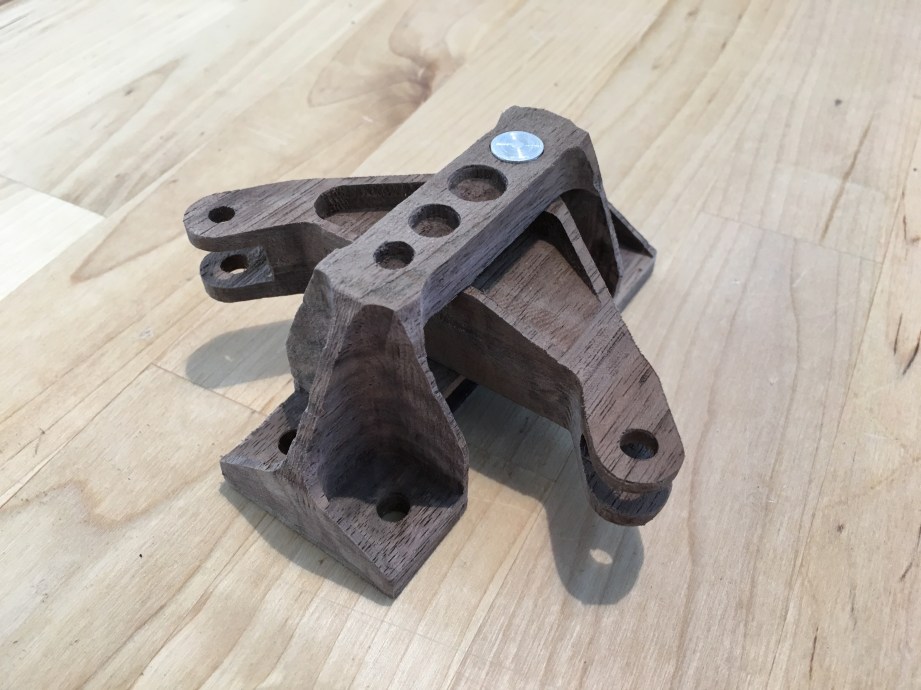
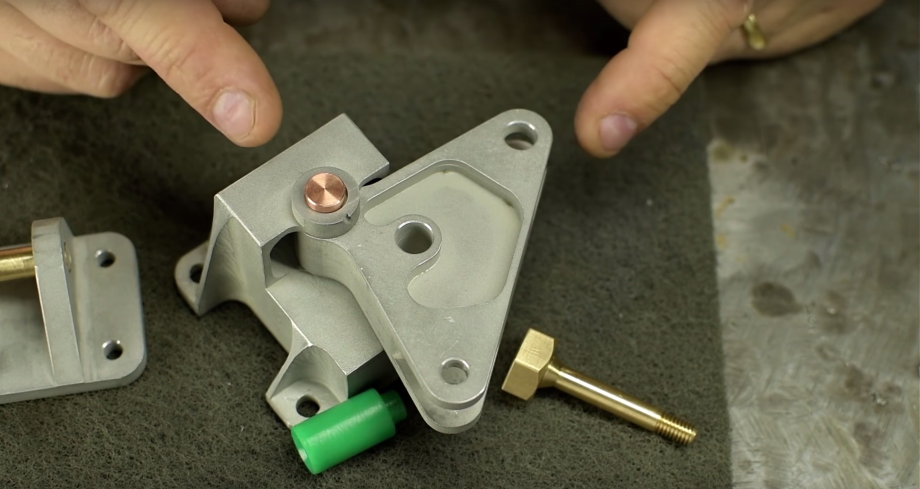
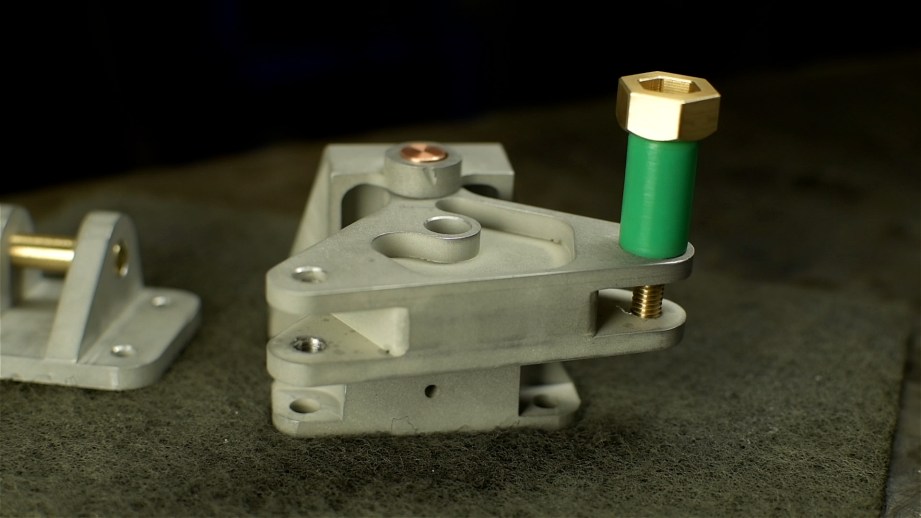
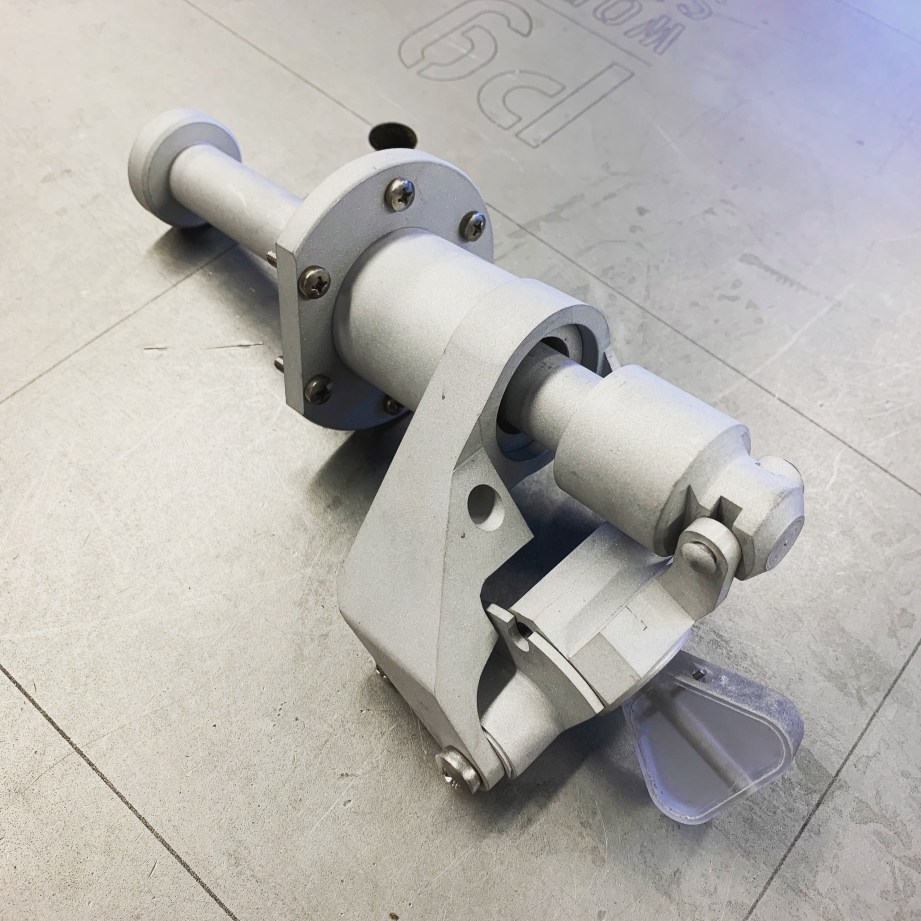
Houton’s Baker Ripley Fab Lab is one of several Fab Labs that participated in Project Egress. And their bottom middle bell crank assembly is a thing of beauty.

Bio: Fab Lab Houston is located in the BakerRipley East Aldine Campus, thanks to the generous support of Chevron and Fab Foundation. Fab Lab Houston’s goal is to cultivate a community of makers in East Aldine and Houston by providing resources and opportunities for collaboration, entrepreneurship, STEM education, teacher professional development and certifications for enterprising work.

The maker behind the BakerRipley Fab Lab part is Brent Richardson, the Director of Fab Lab Houston. He is a Houston based artist working in a variety of mediums to create interactive electronic sculptures and installations. This work has taken many forms from building interactive museum experiences to coordinating community art projects. In addition to gallery art exhibitions,

Brent also co-founded a website with his wife, Gray House Studio, featuring plans and tutorials that focus on teaching others to build projects for their home and kids. Their unique projects have been included in several publications like Better Homes and Gardens, Good Housekeeping and more.

PART #12: BOTTOM MIDDLE BELL CRANK ASSEMBLY PART #12: BOTTOM MIDDLE BELL CRANK ASSEMBLY

Artist Statement: “At Fab Lab Houston we are always looking for new ways to train community members on tools so they can gain the skills necessary to realize their project ideas. Fabricating a part for Project Egress was a fantastic platform to demonstrate the real world application of digital fabrication equipment and go from schematic to final product with fidelity.

Located at the new BakerRipley East Aldine Campus, Fab Lab Houston is a place of welcome, engagement and collaboration where neighbors can enjoy a variety of holistic programs, resources and services. This initiative is possible thanks to a partnership between BakerRipley, Chevron and the Fab Foundation.”

Follow Fab Lab Houston: Website | Instagram | Twitter

Meet the Maker: This Old Tony

Judging from the comments on the Project Egress video, many of you know This Old Tony, who makes incredible metalworking (and machining) videos on YouTube. We were very proud when he agreed to be part of our initiative.

If you Google “This Old Tony Face” you’ll … get a face (he didn’t send us one for this article), but we decided to present a more familiar “profile” image. Scroll down for a photo of This Old Tony’s Project Egress parts and his build video!

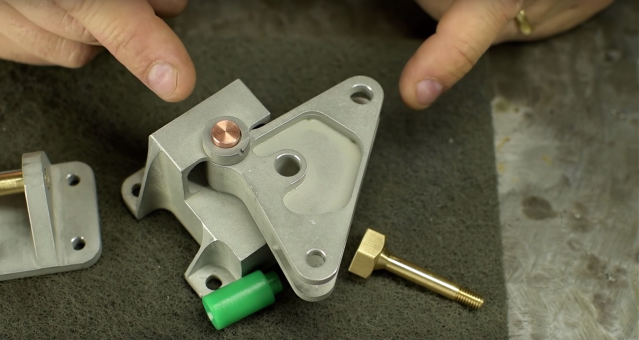
PARTS #11: TOP BELL CRANK ASSEMBLY & #20: JACKSCREW BAR ASSEMBLY PARTS #11: TOP BELL CRANK ASSEMBLY & #20: JACKSCREW BAR ASSEMBLY

Follow This Old Tony: Website | Youtube | Instagram

Meet the Makers: Jonathan Odom and Joe Jastreboski, Autodesk

Project Egress was born from a 3D scan project that Autodesk conducted with the Smithsonian Digitization Office, and two of their fabricators also made a key piece of the hatch.

(This is not a photo of Jonathan and Joe, obviously. But it is a demonstration of one of Autodesk’s many contributions to Project Egress. Read on to learn more!)

Bio: Jonathan Odom and Joe Jastreboski are multidisciplinary designers, fabricators, and creative facilitators at the Autodesk San Francisco Technology Center. Their work ranges from technical and conceptual consultancy to hands-on digital fabrication.

Artist Statement: Read it here.

Links: Website | MP4 video | Instagram | Twitter

Meet the Makers: Evan and Katelyn

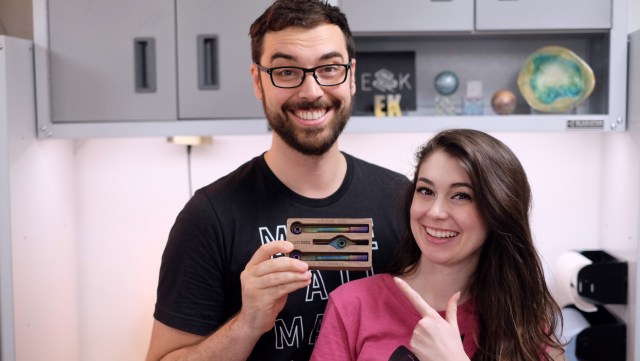
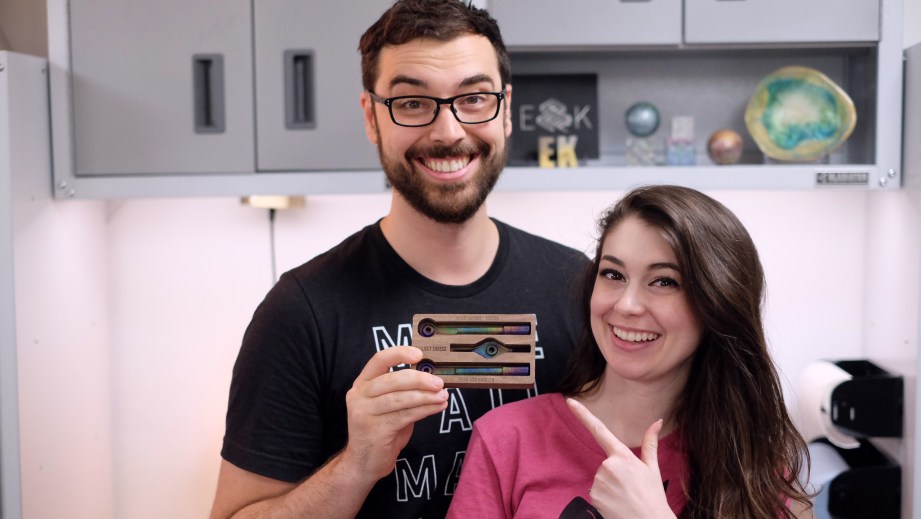
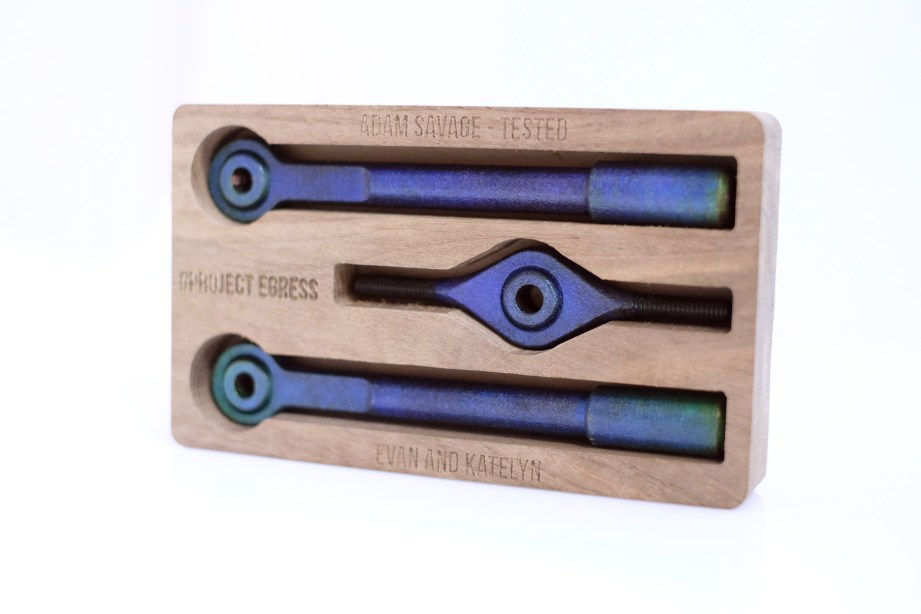
We love Evan and Katelyn’s videos on YouTube (we’re guessing you do too), so we were THRILLED when they agreed to take part in Project Egress. (Especially when their part came in that pretty box! So cool.)

Read on for more about Evan and Katelyn, as well as production notes on their build!

Bio: Evan and Katelyn are a husband & wife maker-team sharing projects on YouTube. These projects are sometimes practical, sometimes totally goofy, and you can often find them cracking dad-jokes and talking to their “Supurrvisor” (aka their cat). When they’re not making things, they’re playing games on Evan & Katelyn Gaming. They met when they were 18 and got into DIY when they fixed up their first house, and their goal is to show that making doesn’t have to be intimidating.

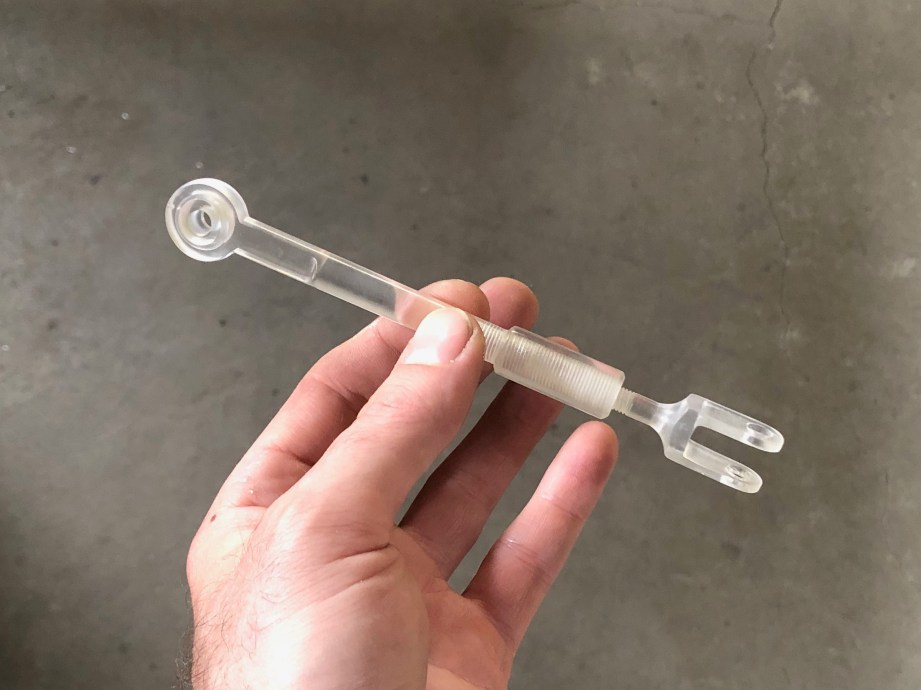
PART #26-A: SIDE LINKAGE ASSEMBLY A PART #26-A: SIDE LINKAGE ASSEMBLY A

Artist statement: “We are so excited to be part of the awesome team that recreated the Apollo II Command Module hatch for Project Egress! We immediately thought of airbrushing our piece with thermochromic ink (aka mood ring juice), because the color map visual made us think of computer simulated structural stress. 50 years ago we sent people to the moon on Apollo 11 without resources like this, so we thought the juxtaposition was appropriate. Huge thanks to Adam Savage and the whole team for organizing this and continuing to inspire people to make things and follow their curiosities.”

Production notes:

Before production: Threads were modeled into the 3d file because we wanted the parts to resemble the original Apollo 11 parts as accurately as possible. There were also concerns about accuracy, as 3d prints are sometimes 1-2% dimensionally innaccurate and we want this to fit smoothly into the assembly. With threads, the final length could be adjusted on site.

Method of production: Laser cured resin (Stereolithography or SLA) was chosen because it was the most accurate way to produce the fine threads needed.

Method of finishing: Thermochromic liquid crystal 12 color ink was chosen because it reminded us of computer simulated structural stress. 50 years go when we sent people to the moon on Apollo 11, we had nowhere near the resources we have now, so we thought the juxtaposition was appropriate.

Further thoughts: The ball joints fused together during the print because the printer could not make such a small gap, but after checking the master assembly model it was concluded that the piece would still work.

Follow Evan and Katelyn: Website | Youtube | Instagram | Facebook | Twitter

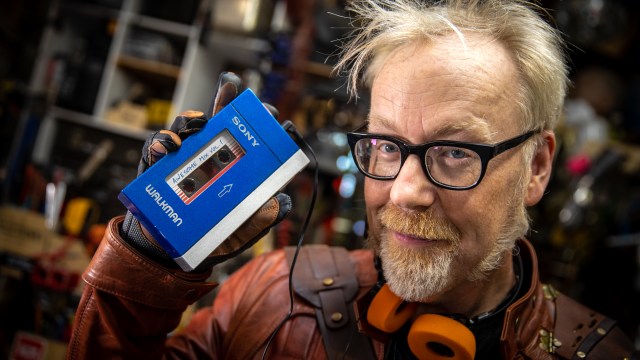
Adam Savage’s One Day Builds: Star-Lord’s Walkman!

Adam’s latest prop build is a replica of Star-Lord’s Walkman from Guardians of the Galaxy! This is a styrene scratch build using some of Adam’s favorite modelmaking materials and techniques. And a few firsts for a One Day Build–the use of a vinyl cutter for the logos, as well as a minor injury mid-build!

Episode 516 – The Legend of Jon – 9/5/19

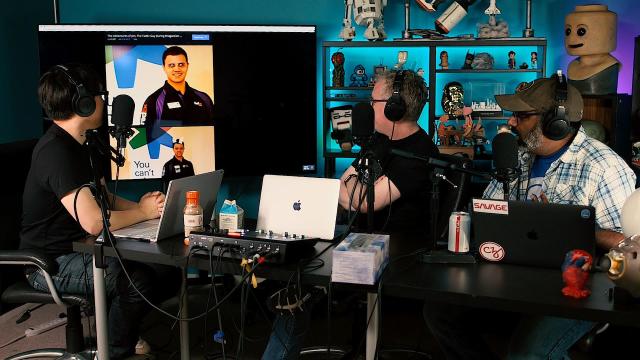
We get the full download of Kishore’s adventures at Dragon*Con, including a roundup of his favorite cosplays, meetsups, and spontaneous shennanigans from this past weekend. We also talk USB 4, the impending iPhone event, right to repair, and FMK with streaming services. Plus, a Moment of Science and the VR minute!

Meet the Maker: Val Shamma

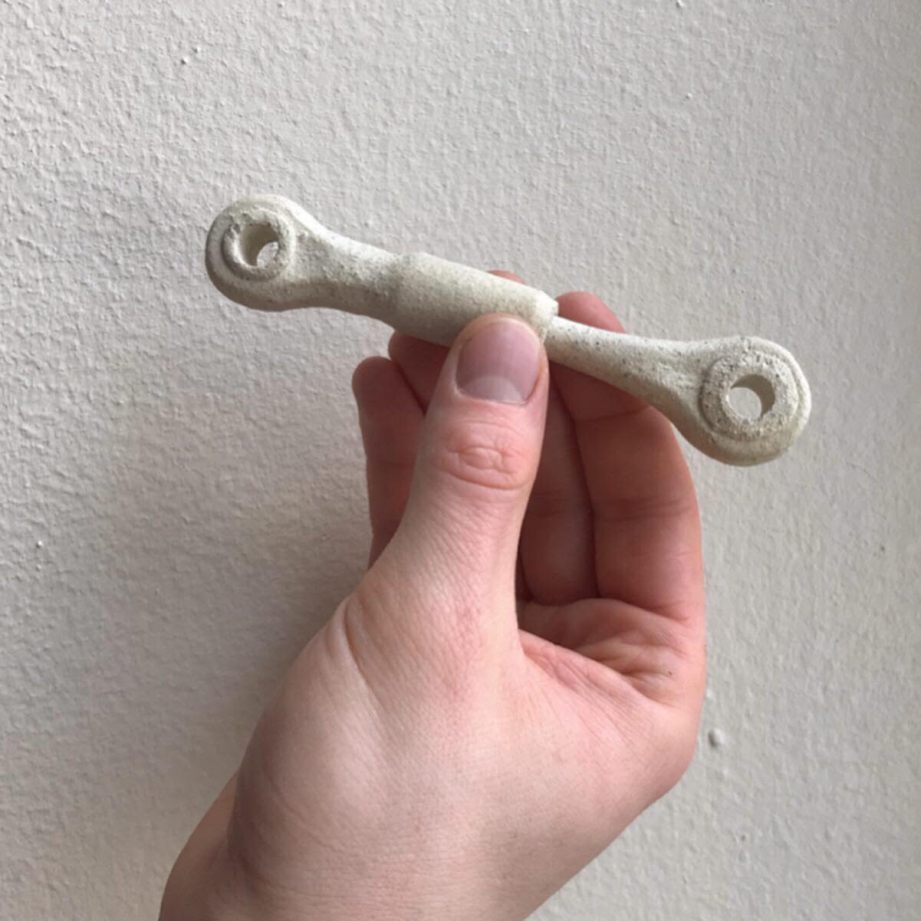
Val Shammer is an artist who predominantly works with ceramics, so he created his part for Project Egress from STONEWARE CLAY … and then decided to make the linkage so it was moveable to boot.

Read on to learn more about Val and to get his thoughts about using a material and process that were so vastly different from those used to create the original hatch component

Bio: I am an artist predominantly working with ceramics to create sculptures that evoke the simultaneous fragility, strength, permanence, and ephemerality of objects that possess specific mechanical functions.

PART #27: LEFT SIDE TO TOP BELL CRANK LINKAGE ASSEMBLY PART #27: LEFT SIDE TO TOP BELL CRANK LINKAGE ASSEMBLY

Artist Statement: “To create my assigned piece for the 50th Anniversary of the Apollo 11 mission and Project Egress, I began by sculpting the general shape of the linkage from the stoneware clay I typically use to make sculptures.

As I formed the piece of clay into shape, I thought of how this material and process were so vastly different from those that would be used to create the original component that my part was based on. The process of sculpting clay by hand on a small scale while needing to be precise to the nearest millimeter with final measurements is not typical; aside from jar and teapot lids and nesting bowls, tolerances are not normally in the mind of a ceramicist or potter.

When I decided I wanted the linkage to be moveable, the tolerance of the two parts fitting together and having the ability to move was a new challenge for me. The uneven shrinkage of the material was another factor I needed to be aware of before I began the forming process; every relevant dimension of the component needed to be multiplied by 1.08 to account for the shrinkage of the clay as it moved through the process of two kiln firings.

This project challenged me to approach clay in a specific way and it put my method of making in the context of a long history of advanced machining and design. I’m honored to have been chosen to form a raw fragile yet strong material into a model that looks and acts similar to the original component from the Apollo 11 module.”

Follow Val: Website | Instagram

Meet the Maker: Nemo Gould

The kinetic sculptures of Nemo Gould have fascinated us for a long time, which is why we’ve covered them — as well as his maker space — on Tested. And when we approached him for Project Egress, Nemo didn’t disappoint, choosing to create his part in a material that tells its own story.

Read on to learn more about Nemo and the decisions behind the making of his hatch part.

Bio: Oakland, California-based found-object fine artist Nemo Gould has produced a prolific body of work that attempts to reconcile the innocent wonder of youth with the dull complexity of the adult experience. A look at his portfolio will deeply challenge any preconceived notion of what art made from salvaged materials can look like. His kinetic works bear clean, polished lines, exhibit fluid motion, and evoke a genuine, childlike sense of wonder and surprise.

Gould earned his Bachelor of Fine Arts degree at the Kansas City Art Institute in 1998, and his Master of Fine Arts degree at U.C. Berkeley in 2000. His work has been featured frequently in national media and is shown in galleries and museums throughout the U.S. and abroad.

Artist Statement: “Even 50 years later, the moon landing remains one of the greatest engineering triumphs of humankind. How many individual peoples efforts went into the project unnoticed? As an artist, with limited technical skill, I enjoyed the challenge of reproducing my part of the hatch as accurately as I could, using techniques and equipment similar to those used at the time of the original Apollo program.

I decided to use acrylic because it makes an otherwise mundane piece of hardware seem somehow precious, and I like the idea of an invisible part, made by the invisible hand of the technicians who worked on the original spacecraft.”

Follow Nemo: Website | Instagram | Facebook | Twitter

Meet the Maker: Blondihacks

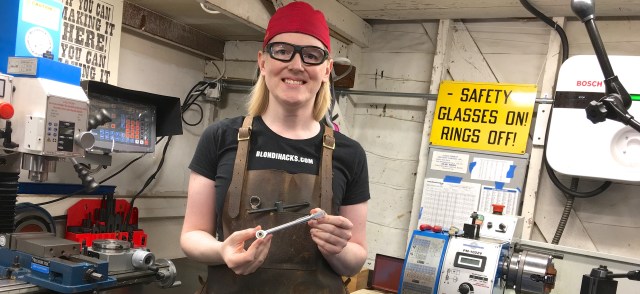
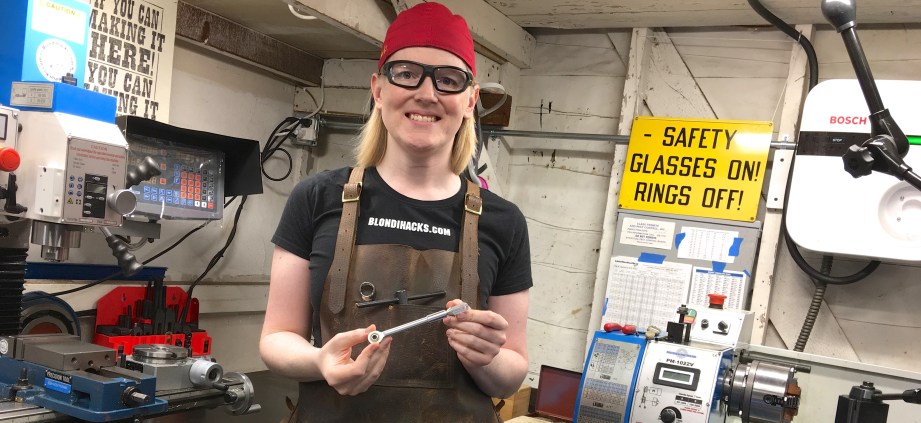
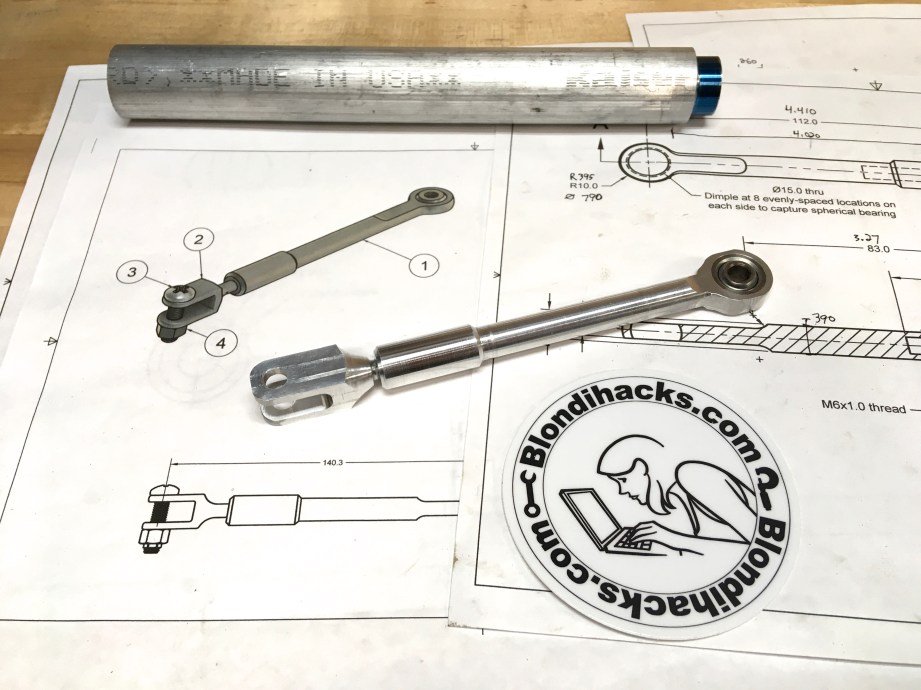
You’ll see that in her artist statement that Blondihacks says participating in Project Egress was a huge thrill for her. Well, when she agreed to take part it was a huge thrill for US.

Scroll on to read more about Blondihacks and to watch her build video.

Bio: Quinn Dunki has been making video games for 36 years, on platforms ranging from the Apple II to all manner of newfangled things. Her current passion is sharing knowledge about metalworking, machine shop skills, fabrication, and electronics. She produces weekly educational and project videos for YouTube, Instagram, and Twitter. Sometimes there are cats.

PART #31: Top 3 linkage assembly PART #31: Top 3 linkage assembly

Artist Statement: “It was a huge thrill for me to be brought into this project. To me, the Apollo program is one of the greatest things humanity has ever accomplished, and it was a privilege to be able to honor it in some small way. The amount of engineering and manufacturing that went into Apollo is hard to overstate, and as I was fixturing my machine tools to try and recreate a tiny piece of it, I felt connected to those engineers and machinists who did the same so many years ago. I’m sure I’ll never know what it’s like to walk on another world, but a project like this gives me hope that our grandchildren may again dream as big as our grandparents did.”

Follow Blondihacks: Website | Youtube | Instagram | Twitter