Join us live on Monday, Dec. 14, at 2pm PST and make your cards along with Jen and other viewers at home! (This live stream will be viewable to everyone, but the chat will be exclusively for Tested members.)
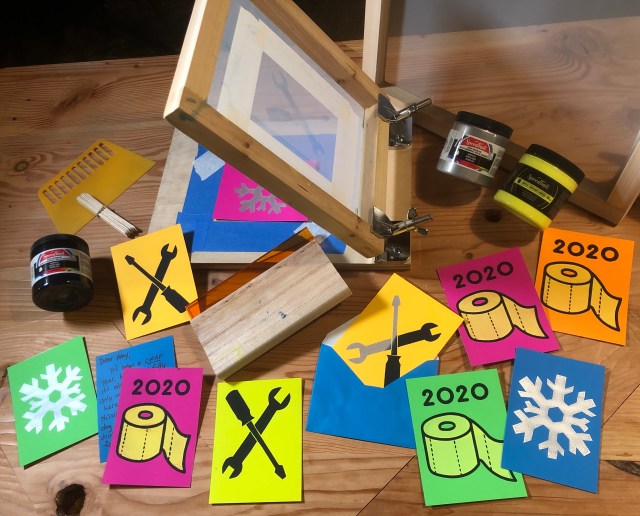
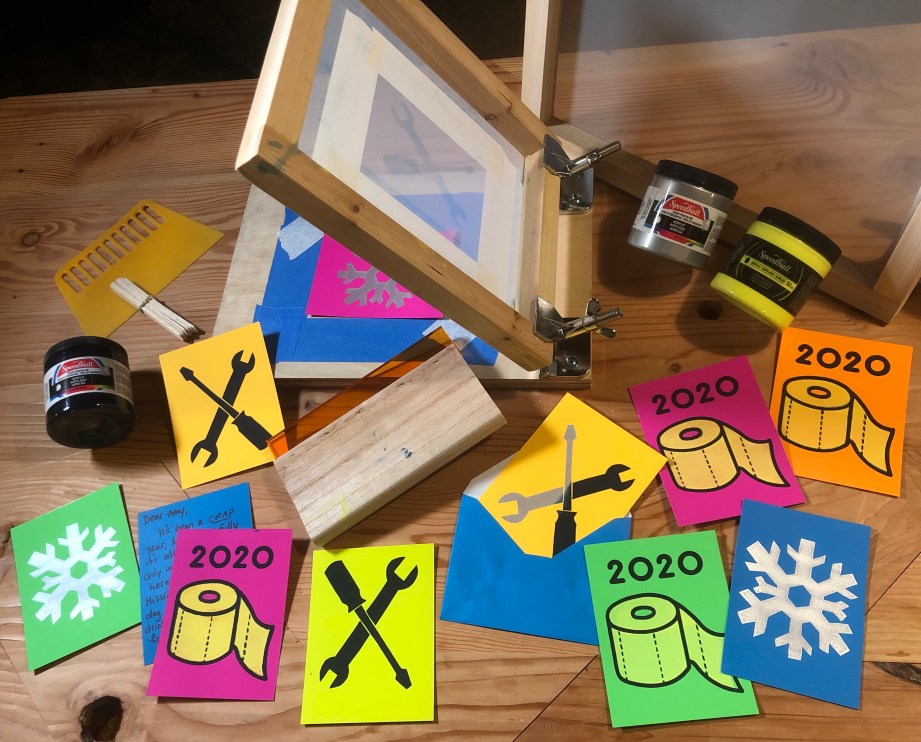
Screen printing at home is easier than you think with this DIY hack! We’ll use adhesive vinyl and a simple screen kit to make original prints with your own hand-cut designs — NO fancy photo emulsion or exposure lights required. Send faraway friends and loved ones something handmade and personal this year, and pick up a new maker skill in the process!
Jen will walk through the steps to prepare a design, apply it to a small silkscreen, and make multiple prints on greeting cards or paper of your choice.
To follow along, order the materials in advance using the links below!
(We anticipate it will be about an hour long process)
Tools + materials list:
You’ll also need:
To get the most out of our time together it’s best if you prepare some things ahead of time!
- Tape down some scrap paper to protect your work surface.
- Pick a few simple graphics you want to print. Bold, solid graphic shapes are best since we will be cutting them by hand. If you like, have some reference images ready in advance.
- Set up the hinge clamps (if you choose to use them) by pre-drilling and screwing them into your piece of plywood.
The clamps are totally optional, but they will make pulling multiple prints much easier – plus you’ll have a compact, reusable screen printing set up you can use again and again! To prepare, clamp a screen into the hinge jaws and position the brackets so the screen fits squarely on the plywood piece. Mark the hole position. Pilot holes and drive screws to secure the hinge clamps to the board.
We’ll see you soon! (And yes, if you miss the live stream, you’ll still have the chance to watch the build later.)


