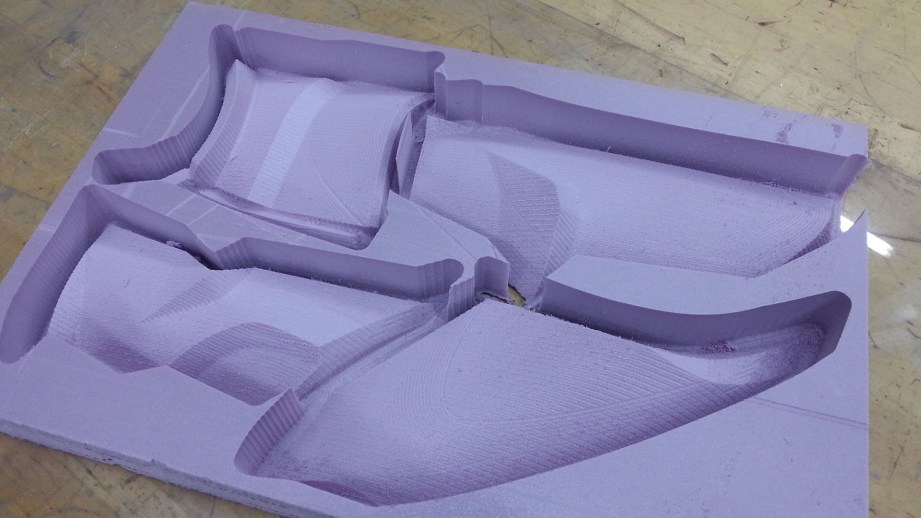
For the parts of the Fallout 4 power armor we aren’t 3D printing, we’ll be creating them with the CNC router. A CNC router is effectively a 3D printer in reverse; instead of an empty build platform that material gets deposited onto, with a CNC router you start out with a large piece of material stock and the router cuts away everything to make the relief of your part. The CNC is a tool that’s new to me and one I wanted to really fully utilize on this build. Full disclosure, I am admittedly taking a lot of lessons from I’ve followed builds from Shawn Thorsson who does a lot of CNC routing for his large scale costumes and props.
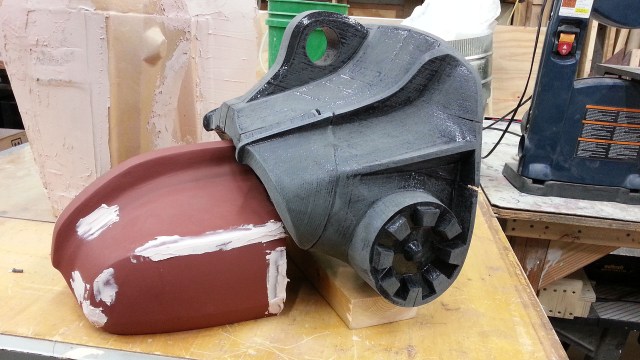
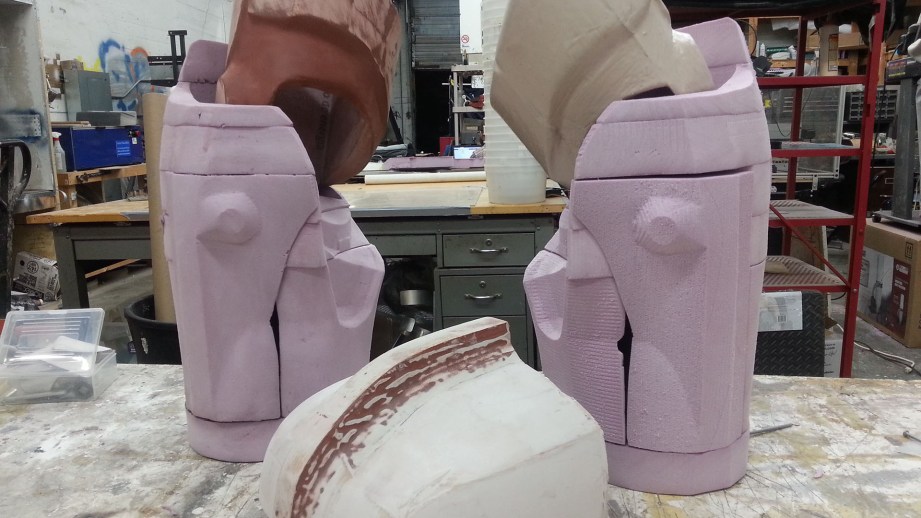
The digital workflow is similar to 3D printing, but still something I am working on really getting solid. You still need to split your model up into sections that will fit within your stock – in my case, sheets of 2″ polystyrene insulation board found at the local big box hardware store – while being mindful of any undercuts or concave sections. As I only have a 3-axis CNC, if a part has any concave sections, those areas will not get cut away and my CNC routed part will not come out correctly. For example, this forearm part was cut into several sections, but the gentle concave slope along the back wasn’t able to be removed, leaving me with these “steps” that I would have to manually trim or sand away.
The CNC software I am using is MeshCam which is simple and very effective. MeshCam is used to generate Gcode for the CNC, the same way Cura or Simplify3D creates Gcode for your 3D printer. My only complaint about it is that it doesn’t visualize the undercuts so I can’t know what parts won’t be fabricated correctly. Its built in slicing tools leave a lot to be desired, so I have been using Netfabb to create my 2″ slices off of the main model and arranging them so that several slices will be cut at a time. This is still cumbersome and time consuming so eventually I’ll be looking for a better toolchain for this step. After I run my slice through MeshCam and send the Gcode to the CNC router for each cutting job, the forearm is ready to assemble and sculpt.
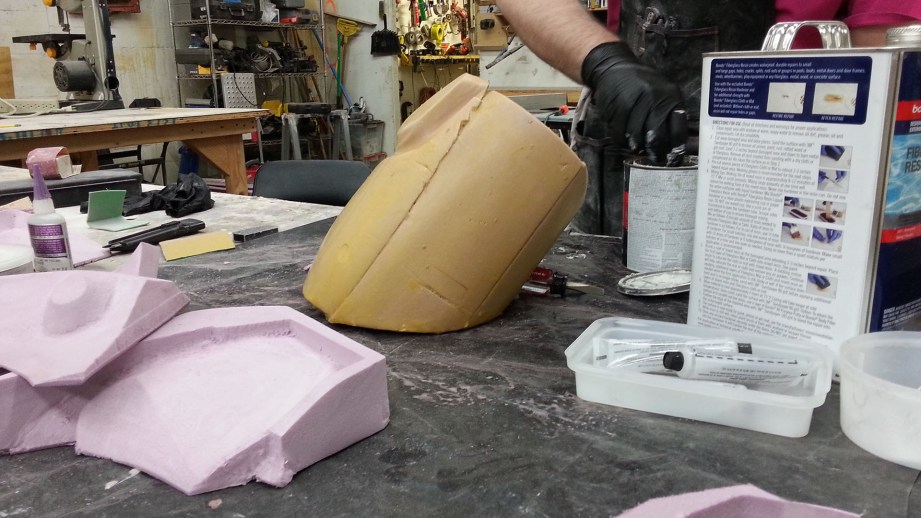
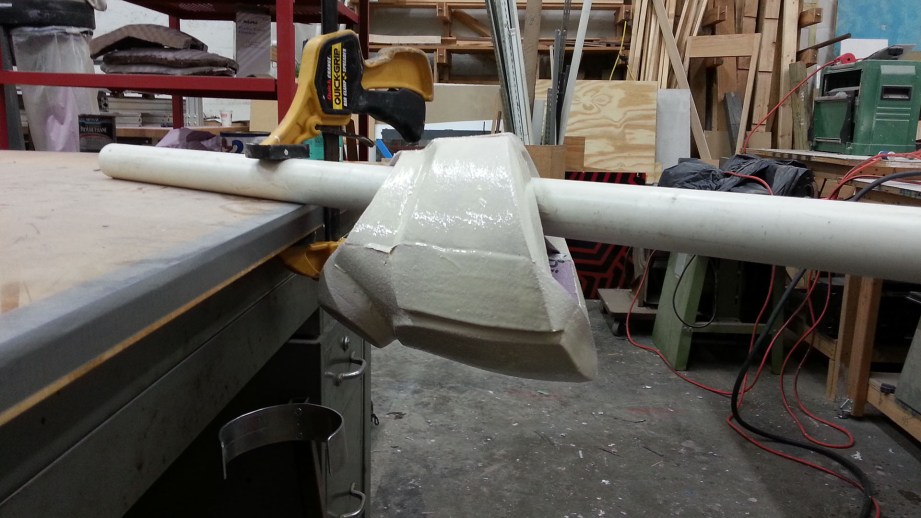
I used some medium duty spray adhesive to attach the parts together, clamped them together and let the whole thing sit for a couple of hours before moving on to sealing. The polystyrene board I am using is very soft and easy to damage and I wanted to coat it in something rigid so that I can more easily sculpt on it and to make it nice and smooth. It also reacts poorly to just about everything you might normally do this with, including most spray paints, so I need to coat the part in a sealant.. After giving everything a quick sand with some high grit sandpaper to get rid of any remaining CNC artifacts, I coated everything in a couple coats of wood glue. This would not only provide a surface that is non-reactive to the fiberglass and bondo I would be coating it with, but it also gives the part a lot more strength against bumps and scratches.
After waiting 24 hours for the wood glue to fully dry, I mixed up a small batch of “rondo”, a term prop builders give for a mixture of fiberglass resin and body filler. Rondo is great for certain applications because it exhibit properties of both materials, and can be made more liquid (for slush casting) by adding more resin, or more like a trowleable paste (for coating surfaces with, like we’ll be doing) by adding more body filler. It also has a somewhat self leveling property, so you don’t wind up with brush strokes and in general have a nice surface to do our next wave of sculpting work. I mix up about an ounce of each material, and after adding both hardeners you have about 10 minutes working time, and I used a disposable chip brush to apply a thin coat to the whole part. Once the rondo has fully cured in a few hours, we give the part the old sand and fill.
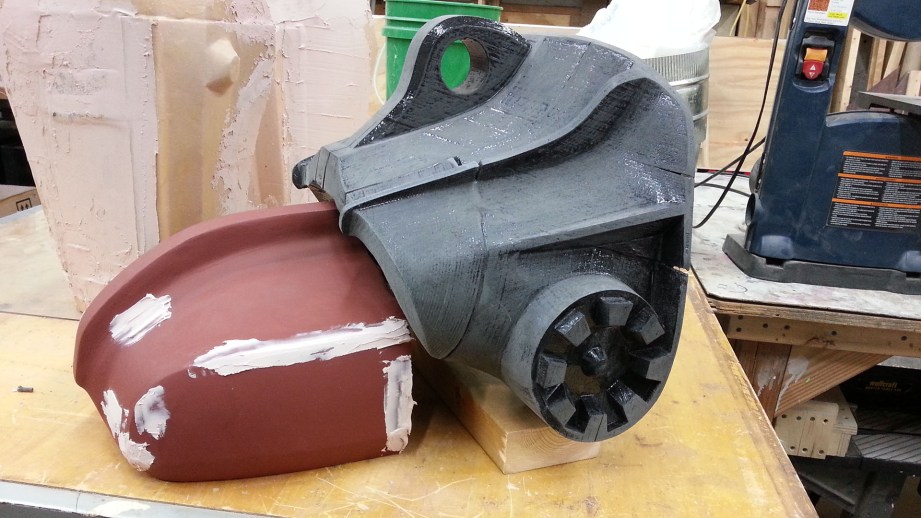
Certain sections of the CNC cut armor had areas that needed filling with body filler, so a couple batches of bondo were made up to fill and help smooth everything out. One of the many upsides to the “rondo” coating is that body filler sticks to it really well, and the sculpting process went by really quickly for the arms. The massive forearm armor had some weirdly shaped sections that were a bit of a struggle to get into and clean up, but overall the CNC process was the right solution for the job and something I can see myself doing a lot more for big armor or other props.
From this point the sculpt on the CNC sections is the same as our 3D printed parts – prime it, fill it, sand it and repeat as necessary. The CNC got us most of the way there with the shape and details, but I still want everything to be crisp and perfect so there was plenty of time spent sanding rondo!
Why didn’t I CNC the entire costume? I very well could have, and really a lot of bigger parts were fabricated on it. The digital toolchain is something I am trying to work the kinks out of, right now everything is very much eyeballing and guesswork. Up until recently when the CNC was donated to Freeside Atlanta, I didn’t have access to a machine like it. The physical footprint, the safety hazard, and the cost to get started put it out of reach of most people without having access to one through their local hackerspace.
The choice of materials can also be difficult and start to get very expensive – a large sheet of 2″ insulation board is only $40, but some of the better CNC materials like urethane tooling board can run 10 times that or more. MDF is an option, but it leaves a finish that is far from ideal and you still have the issue of sealing it before you can really work with it. On top of that, you can’t really wear your CNC part due to how the fabrication works, so you need to expect to mold it which further drives up the cost.
All of that said, I absolutely see myself doing a lot of CNC in the future for large scale projects like this and more. Unfortunately this technique will be out of reach for most people, but if you have access to a CNC router via your local hackerspace then I definitely recommend giving it a try.
Using our 3D printers and the CNC router, we’re able to produce the bulk of parts for the armor and after lots of sanding work, we’re just about ready to move on to molding. But what if you don’t have access to either machine? What if you wanted to make one out of EVA foam? In our next article, we’ll be talking about Pepakura and how just about anyone can get into armor building using it. See you then!
Read Part 0, an overview of this costume project, here!
Read Part 1 here
Read Part 2 here


